RCBS Tube Pistol Bullet Feeder User Manual
Page 5
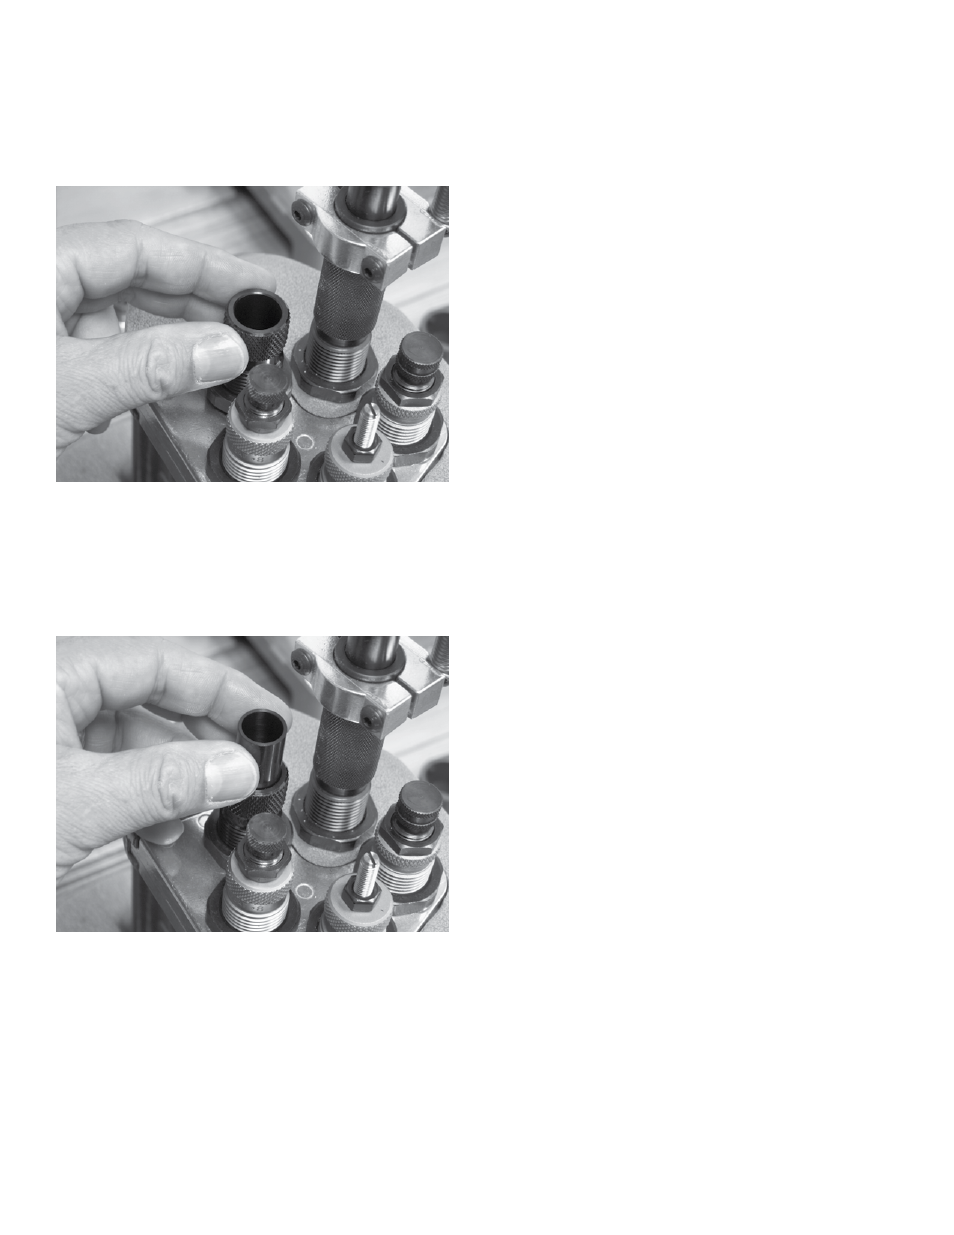
Install the Bullet Die assembly into your press (See
ADJUSTMENT section for proper setup). Where you
choose to install the Bullet Die depends on the press
that you are using. For RCBS five station presses,
station four (4) is the most common position. See
Photo 1.
Install the Bullet Guide into the die body, the tapered
inner portion is the “top” of the guide with the stamp
ID up and readable. Bullet guides are stamped on the
side for identification. See Photo 2.
Place the plastic Clear Feed Tube into the top of the
Bullet Die.
OPERATION
Fill the Feed Tubes. The Bullet Guide in the top of
the Bullet Die aligns the bullet for feeding through
the Bullet Fingers. The case will expand the Bullet
Fingers and allow one bullet to be placed on the
case mouth. As the case is retracted, the Bullet
Fingers close, preventing the next bullet from passing
through the Bullet Die.
The weight of the bullet stack puts enough pressure
on the placed bullet to prevent it from falling off the
case as it moves to the next station to be seated and
crimped. Add more bullets to the Feed Tube as need-
ed. NOTE: The Small Tube Bushing is required for
use with the small Clear Feed Tubes, (380/9mm/38).
NOTE: Additional tubes are available.
ADJUSTMENT
The position of the Bullet Die must be adjusted to
properly place the bullet on the case mouth at the
top of the press stroke. This is a trial and error
adjustment.
Case mouths must be belled/flared .030” over the
bullet diameter. For example:
.380/9mm
.385”
.38/.357
.387”
.40 S&W
.430”
.45 ACP
.481”
Failure to flare cases .030” over bullet will not allow a
bullet to drop from the Bullet Fingers. With the Bullet
Die partially threaded into the press and the plastic
Clear Feed Tube filled with bullets, run a properly
flared case up into the Bullet Die. Thread the Bullet
Die into the press until you hear a bullet drop or see
the bullet stack move down. Thread the Bullet Die
down a further ½ turn and temporarily lock the Bullet
Die lock ring. Run another properly expanded and
flared case up into the Bullet Die to check the setting.
If a bullet is placed on the case and no other bullets
fall through the die, the setting is correct. Lock the
Bullet Die lock ring. If a bullet is not fed, loosen the
Bullet Die lock ring and thread the die down in ½ turn
increments until the proper setting is achieved.
NOTE: If you are loading 170-grain or heavier
.38/.357 bullets, the Bullet Finger with four marks
and the .38 Bullet Guide marked “38L” with the
stepped inner base must be used together.
MAINTENANCE
Disassemble the Bullet Die body and clean the Bullet
Guide and Bullet Fingers to ensure smooth function.
Photo 1
Photo 2
5