Alarm 2, Setting the analog output (o/p), 2 alarm – HF scientific 19998 Triple Validation Turbidimeter - 0-100 NTU User Manual
Page 26
TVT 1 (5/02)
20
Rev. 2.6 (.pdf)
Alarm 1 Set Point: Finally, you will be prompted to select the set point for this alarm;
this is indicated by “S/P” shown on the lower row of the display. You can select the
desired alarm level by using the
t
and
u
buttons. Once you have set the desired set
point, press the
↵
button to accept it. After you complete the settings for alarm 1 you
will be prompted to set up information on alarm #2.
8.5.2 Alarm
2
Repeat the procedure listed in section 8.5.1 to set up the parameters for alarm 2. If you
select to turn the alarm OFF, you will be immediately prompted to set up alarm set up the
analog output (go to section 8.6). If, on the other hand, you selected one of the other
functionalities you will be prompted to set the delay times and the set point as with Alarm
#1.
Once you complete the selections for Alarm #2 you will be prompted to set up the analog
output.
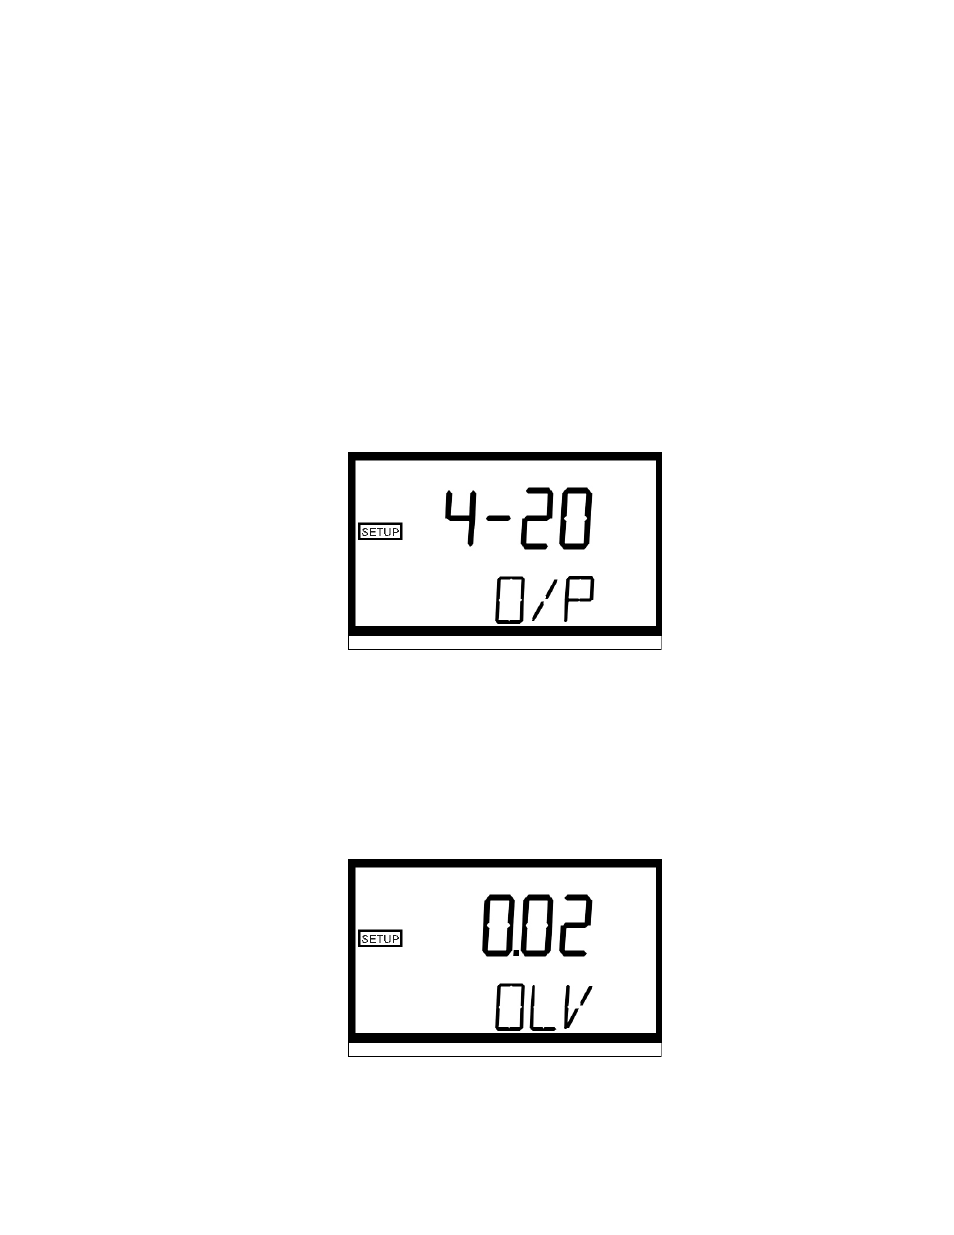
8.6 Setting the Analog Output (O/P)
The output (O/P) selection allows you to turn the 4 – 20 mA analog output on, or off.
You can select the desired analog output operation using the
t
and
u
buttons. Once
you have set the desired operation, press the
↵
button to accept it.
If you selected to turn the 4-20 mA output on, you will be prompted to set the upper
(OHV) and lower (OLV) turbidity levels corresponding to the 4 mA and 20 mA output
levels. First, you will be prompted with the turbidity level assigned to the 4 mA output
level:
Select the turbidity level you wish to assign to the OLV using the
t
and
u
buttons.
Once you have set the desired level, press the
↵
button to accept it.