Figure 6, Mounting the air tube: correct - incorrect – Metrohm 895 Professional PVC Thermomat User Manual
Page 21
■■■■■■■■■■■■■■■■■■■■■■
3 Installation
895 Professional PVC Thermomat
■■■■■■■■
13
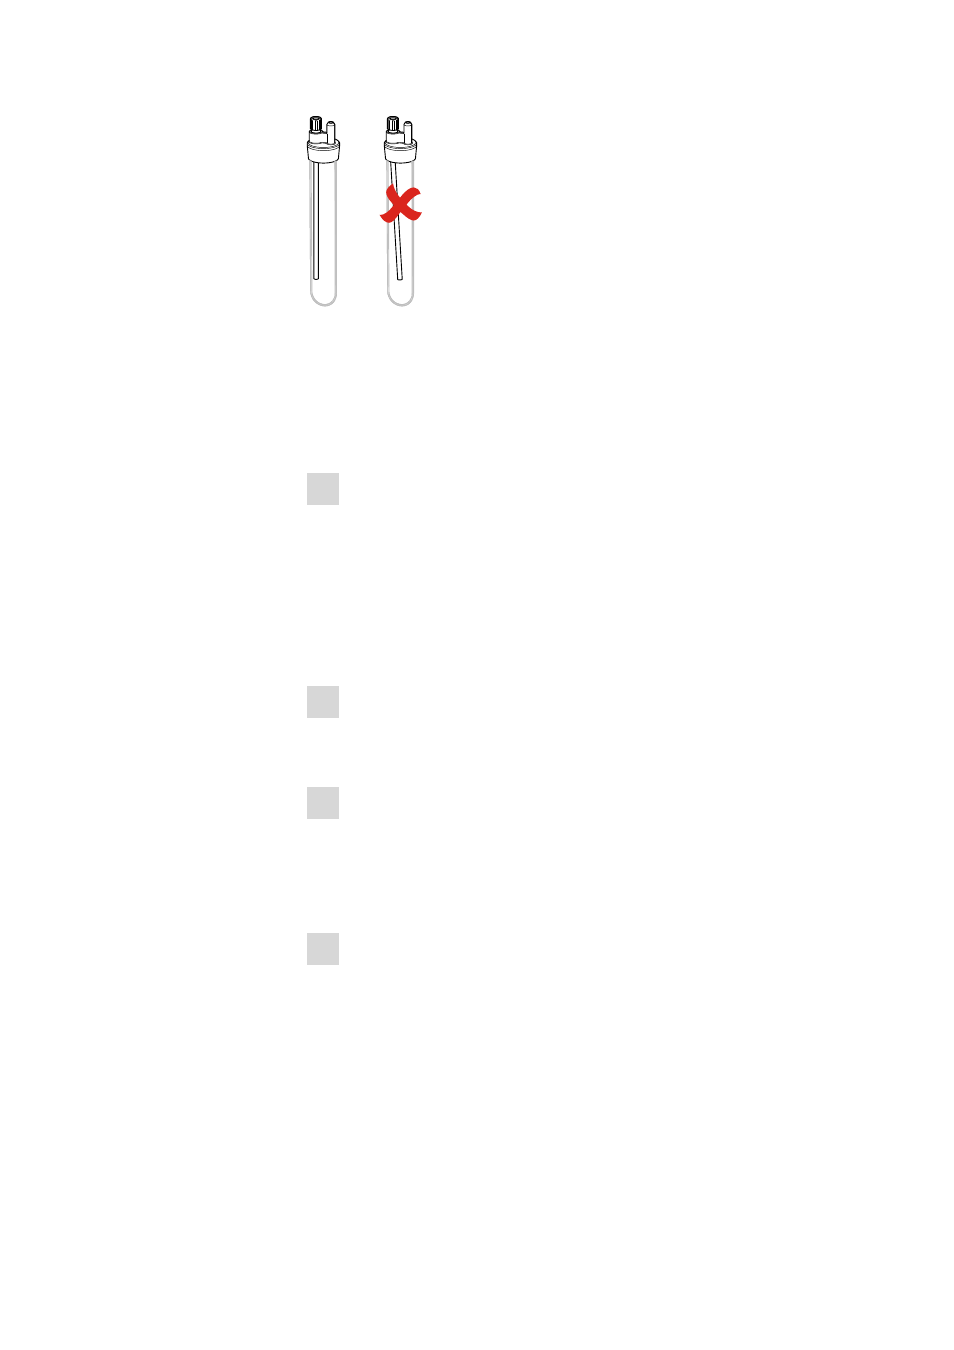
Figure 6
Mounting the air tube: correct - incorrect
3.2.3
Inserting vessels / Establishing tubing connections
After you have assembled the reaction and measuring vessels, insert them
in the 895 Professional PVC Thermomat and establish the tubing connec-
tions (see Chapter 2.1, page 6) as follows:
1 Inserting the measuring vessel
■
Fill distilled water into the measuring vessel.
■
Place the measuring vessel cover onto the measuring vessel.
■
Insert the measuring vessel into the openings provided on the 895
Professional PVC Thermomat. While doing so, carefully guide the
connector plug into the electrode connector.
■
Connect the white silicone tubing to the M8/olive tubing adapter
of the measuring vessel cover.
2 Mounting the tubing for the air supply
■
Screw the FEP tubing 250 mm to the air supply connections of
the 895 Professional PVC Thermomat.
3 Inserting the reaction vessel
■
Fill the reaction vessel with the sample.
■
After the required reaction temperature has been reached, insert
the reaction vessel with the mounted reaction vessel cover in the
openings provided on the 895 Professional PVC Thermomat.
4 Establishing the tubing connections
■
Connect the white silicone tubing that is connected to the mea-
suring vessel cover to the tubing connector of the reaction vessel
cover.
■
Screw the FEP tubing 250 mm which is connected to the M8/olive
tubing adapter of the 895 Professional PVC Thermomat to the
M8/M6 thread adapter of the reaction vessel cover.