Installation – ClearCube ClientCube 2 Mounting Bracket User Manual
Page 4
Page 4 of 6
P/N G0200165 Rev B, 1.1.08.15.2014
ClearCube Technology, Inc. 3700 W Parmer Lane Austin, TX 78727 (512) 652-3500 www.clearcube.com
Installation
This section shows how to install the mounting bracket and then install and secure a ClientCube 2.
Installing the
mounting
bracket
The steps below show how to install a mounting bracket under a desk.
Step
Action
1
Place the bracket on the underside of a desk. Ensure the front ears are set
back a minimum of 1 ⅛- inches from the front of the desk. Mark the holes in
the bracket and set it aside.
NOTE: If you are installing the mounting bracket near a wall, ensure that
the bracket ears can fully extend when securing the keeper bracket (see
.
2
Use a
32
3
-inch bit to drill pilot holes into the underside of the desk. Be sure
that pilot holes do not exceed the length of the included wood screws.
3
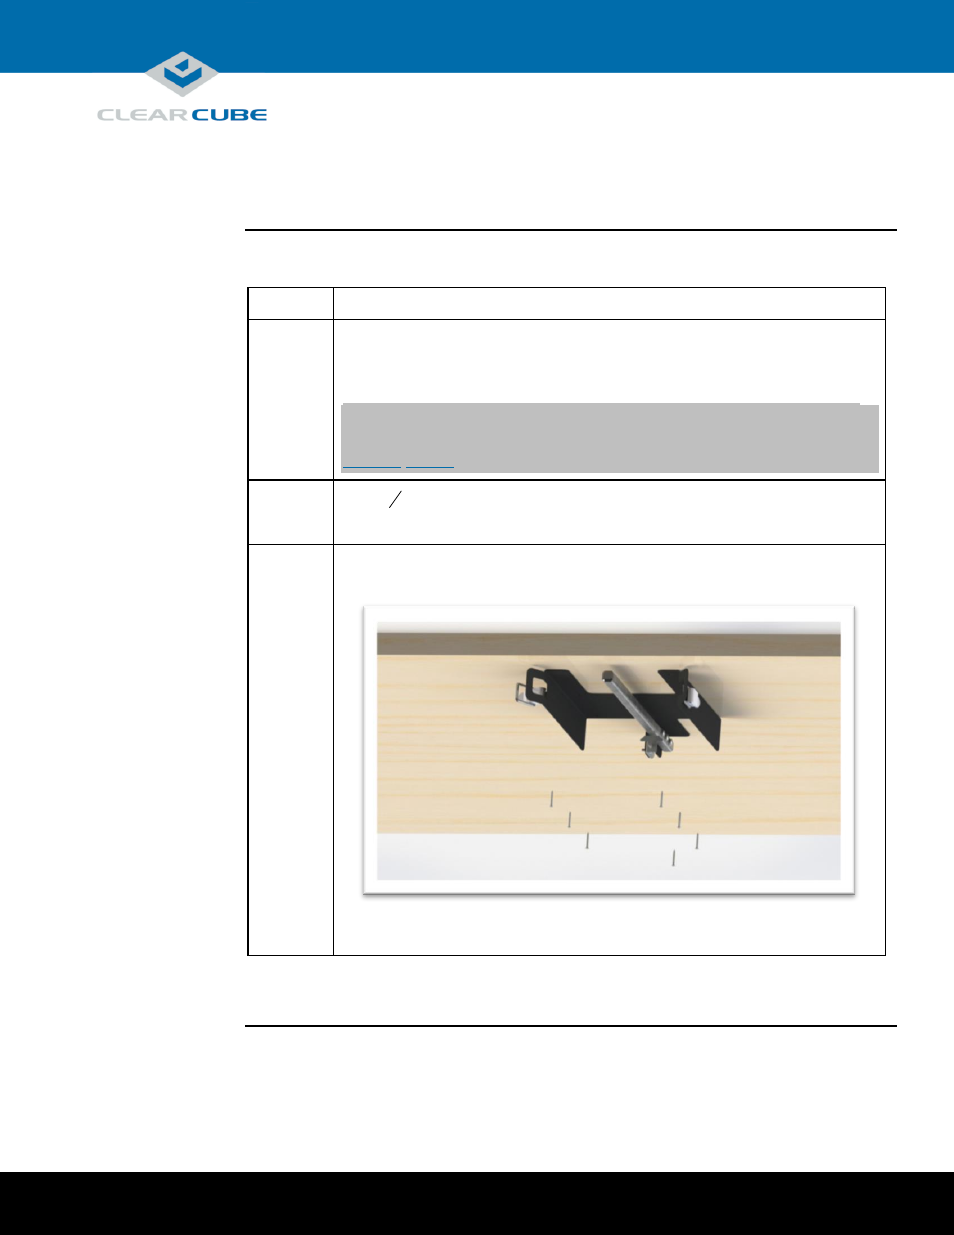
Support the mounting bracket and use the included wood screws to screw it
into place under the desk.
Figure 3. Screwing the mounting bracket into a desk
Now mount the ClientCube 2 as shown in the next section.
Continued on next page