Bang & Olufsen BeoSound 4 - User Guide User Manual
Page 3
Contents
Introducing your music system, 4
Menu system, 5
How to use your music system, 6
Find out how to switch on and operate sources,
such as CD, radio or A.MEM via the close-up
operation panel
How to read the menu symbols, 8
Get an explanation to the symbols which appear
in the menus
How to use the menus, 9
Find out how to move around in menus and how
to make settings in fi ll-in menus
Naming procedure, 10
Find out how to name your radio stations, CDs,
folders or Timers
First-time setup, 11
Find out about the fi rst-time setup procedure
Call up additional sources, functions and
menus, 12
See which functions, features and menus can be
activated via the close-up operation panel
A.MEM and memory card, 13
Find out how to use the source A.MEM
Tune in and edit radio stations, 14
Find out how to tune in, move, name and delete
radio stations
Audio CD settings, 16
Find out how to activate special CD playback
functions, how to name CDs
Make sound settings, 17
Find out how to set your own preferences for
volume, bass, treble, balance and loudness
Make option settings, 18
Find out how to change the basic settings of your
music system
Make your music system start and stop
automatically, 19
Find out how to name and activate Timers
How to use the pincode system, 20
Find out how to activate and use the pincode
system
Use the Beo4 remote control, 21
Find out how to use the Beo4 remote control and
operate your music system from a distance
Setting-up and assembly, 22
Find out how to set up your music system and
mount the glass door
Connect the cables, 24
Find out how to connect speakers and auxiliary
equipment
Audio/Video setup, 26
Find out how to connect your music system to
your video system
Maintenance, 27
Find out how to clean your music system
Index, 28
Move your hand from side to side
under the operation panel and the
glass door opens automatically,
revealing the operation panel
behind the door. Press the LOAD
button and the glass door slides
completely open, enabling you to
load a CD.
Use your music system to listen to
A.MEM or radio, to play a single
CD or to record onto the memory
card.
Introducing your music system
Display
The extended status display is not switched on
permanently. Only the fi rst line is displayed all
the time. When you operate the music system,
the display shows additional information, such
as track time and CD name briefl y. If you
change the display setting to EXTENDED, the
display always shows current status and
additional information. For further information,
see page 18.
Indicator light …
The indicator light below the display shines
continuously when the music system is in
standby. The light fl ashes when pincode
protection is active and you must enter a
pincode to activate the system.
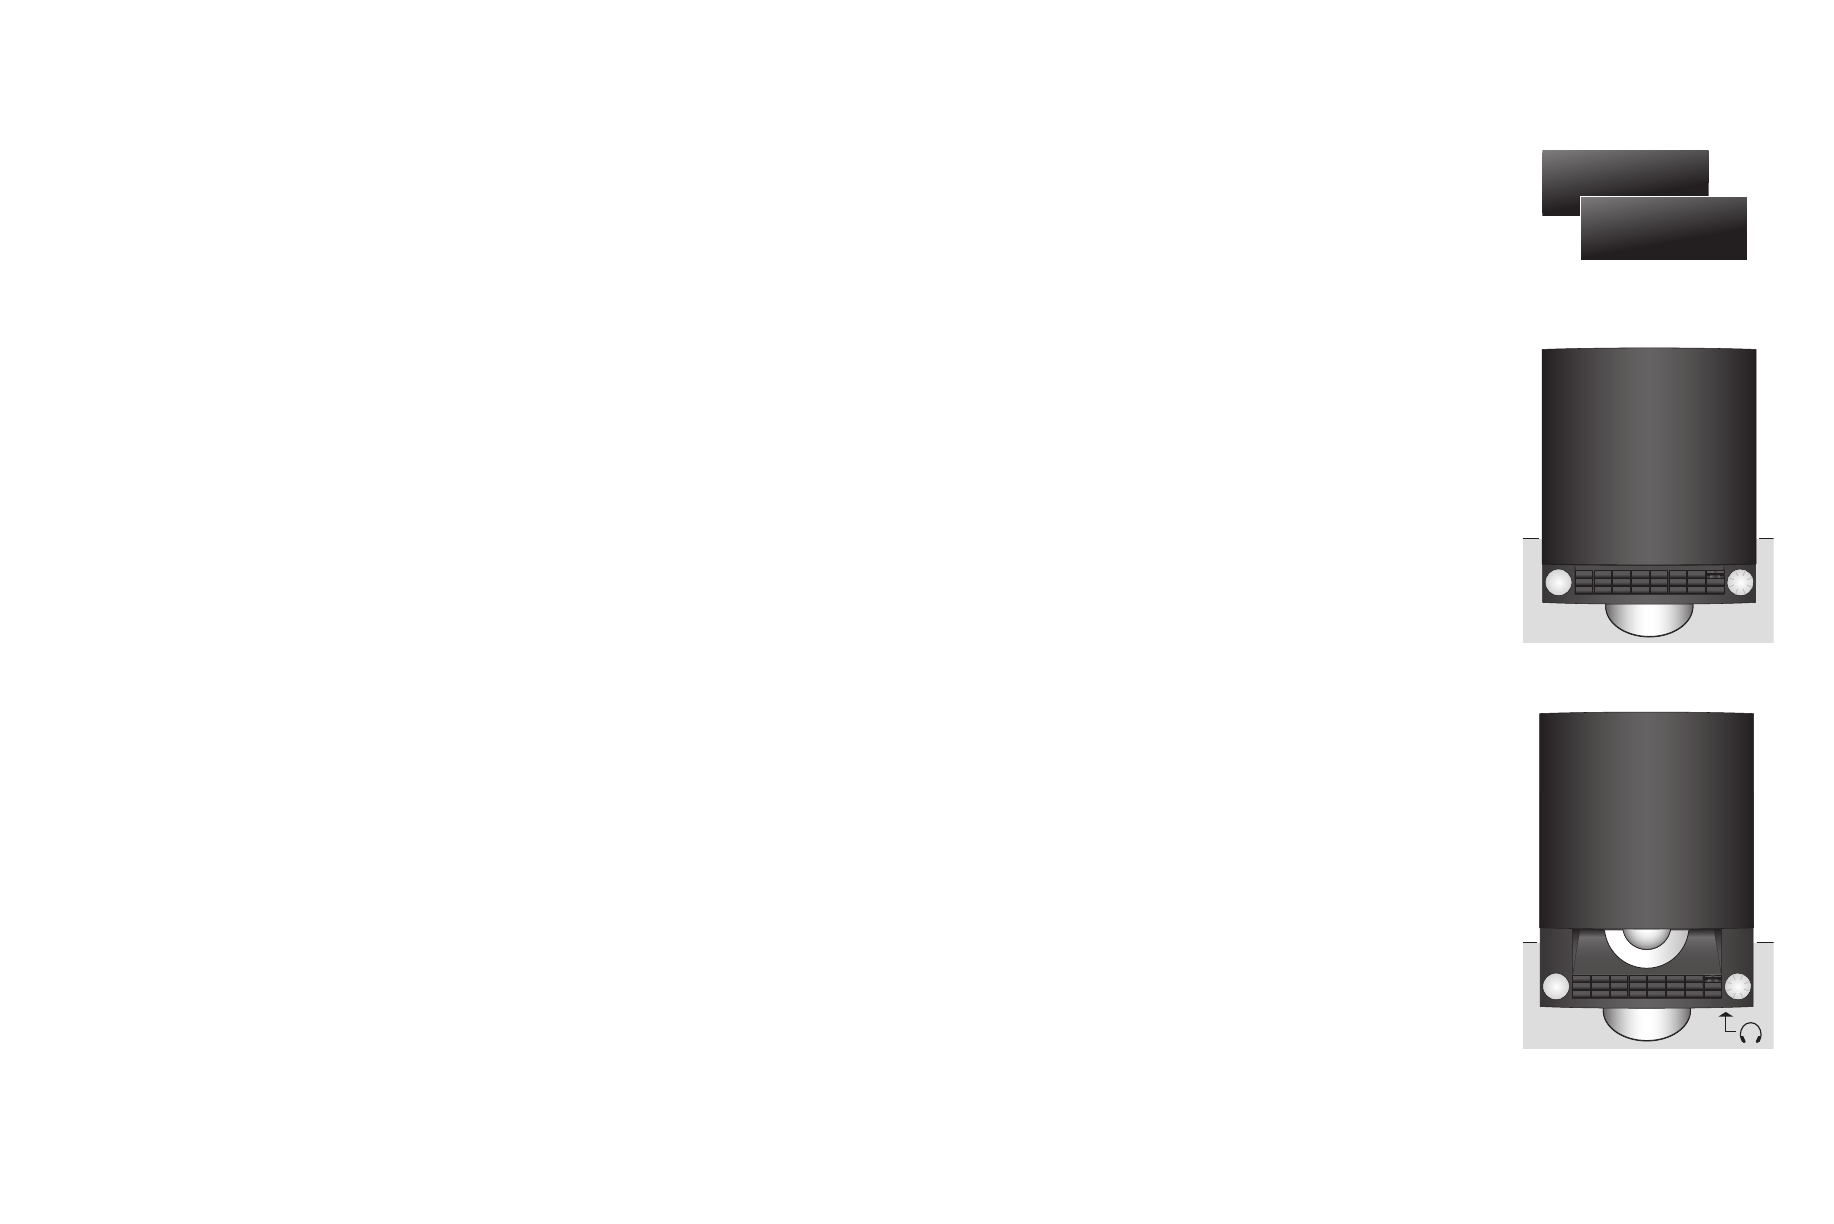
Load a CD …
Press the LOAD button to raise the clamp
which holds the CD in place.
You can now remove a CD or load one you
want to play. Always load a CD with the label
facing up.
Press LOAD again to lower the clamp. If you
press CD, the clamp lowers automatically and
playback begin.
Socket for headphones
When head phones are plugged in, the speakers,
connected to your music system, are muted.
LOAD CD
RADIO 1
CD 11 / 12
CD 11 / 12
2:18
GLENN MILLER
REPEAT RANDOM
Headphones socket