On-camera unit quick assembly instructions, Mounting plate preparation – Autocue On-Camera Unit User Manual
Page 2
On-Camera Unit Quick Assembly Instructions
www.qtv.com
2
www.autocue.com
Issue
#
: 080
612
©
2003
-200
8
Au
to
cu
e Grou
p Ltd
Repeat for the second tube clamp.
N
OTE
:
The locating pins ensure the holes in the tube
clamps are orientated correctly.
Use the supplied screws to secure the tube clamp in
position using a suitable Allen key.
N
OTE
:
The tube-clamps of the medium wide-angle hood
are fixed in place using two screws for each
clamp.
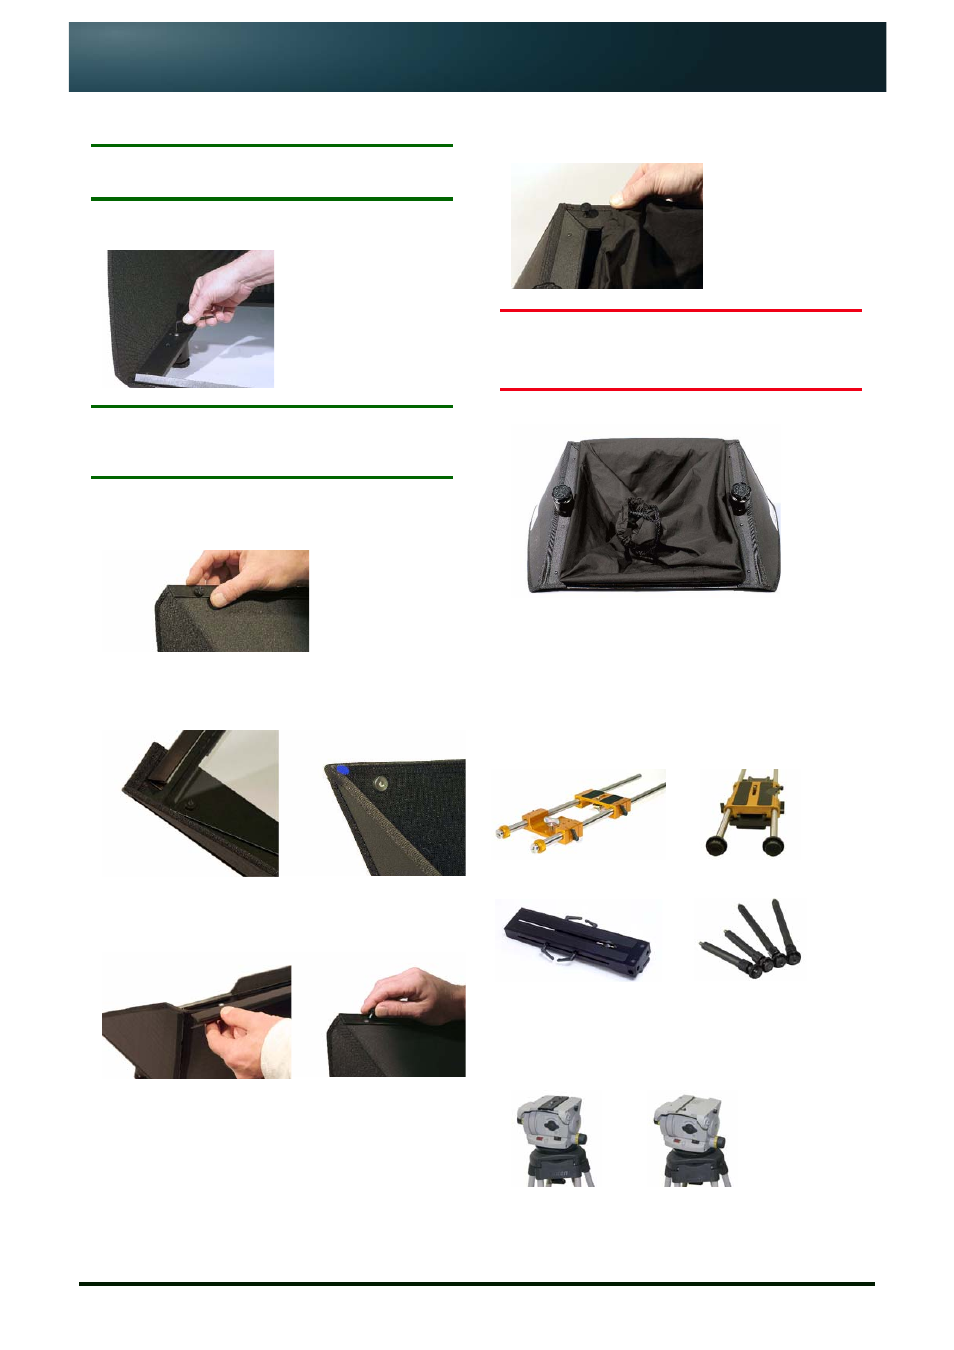
6. Remove the upper Glass Retaining Strip by unfastening
the two thumb screws securing it to the top edge of the
hood.
7. Insert the shorter edge of the semi-reflective glass panel
into the lower Glass Retaining Strip.
Ensure the blue dot is on the side of the glass facing you.
8. Position the upper Glass Retaining Strip over the edge of
the glass panel and re-attach with the thumb screws that
were removed in step 6.
9. Place the assembled hood, glass panel face down, on a
solid, stable surface.
Carefully stretch the elasticated end of the fabric light
baffle around the four screw posts on the rear of the
frame.
C
AUTION
:
The glass plate is fragile. Take
great care when handling it and
the completed hood.
WIDE-ANGLE HOOD FULLY ASSEMBLED
2.
Mounting Plate Preparation
Autocue/QTV produces three standard mounting
plates to cover all camera/tripod cmbinations.
Telescopic rods are also available for large studio
lenses and pedestal configurations.
All three mounting plates connect to the tripod
head in the same way:
1. Remove the tripod camera plate.
Gold Plate
Pro Plate
Roller Plate
Telescopic Rods