S&S Cycle Super Stock Ignition System Diagnostic Cable User Manual
Page 4
CONFIGURATION OPTIONS
Once data has been downloaded, the configuration options dialog box
appears.
The Kick Start Mode option is only applicable to Revision 7.0 and higher
Super Stock® ignitions. When this option is selected, the ignition will
immediately fire a spark when the engine is kicked over.
Cranking Revs sets the number of engine revolutions before the
ignitions fires the first spark. Most electric-start engines will start best
with a setting of 2. Please note that a hot engine may exhibit preignition
and appear to start on the first revolution even if the Cranking Revs
parameter is set to a non-zero value. The Cranking Revs slider will be
invisible when Kick Start Mode is selected.
UPLOADING DATA TO EEPROM
Refer to the Function of Utility Configuration topic for details about
USB Interface hookup and COM port up setup. Before uploading, make
sure the configuration options are correct.
Upload data by using the Upload To EEPROM command on the
Communications menu. A status message is displayed when the
upload process has been successfully completed.
FUNCTION OF EZTUNE
The EZTune software allows the user to make precise fuel adjustments
to the S&S EZFI system. The EZTune software includes extensive help
files to guide you through the process of connecting and making
adjustments to the EZFI module. You can access these help files by
going to the Contents section of the Help menu as shown below:
VISTA UAC TECH NOTE
An additional step must be taken when installing software on Vista
that is not necessary on other versions of Microsoft Windows. Due to
the User Account Control (UAC) in Windows Vista, install actions that
require administrative privileges can be blocked. Since our software
installations require administrative permissions, there will be problems
in Vista if the UAC is not turned off. Before installing our software
containing ComponentOne controls you must disable the UAC within
Vista, restart the system, and then install the software. After you install
the software, you can enable the UAC again.
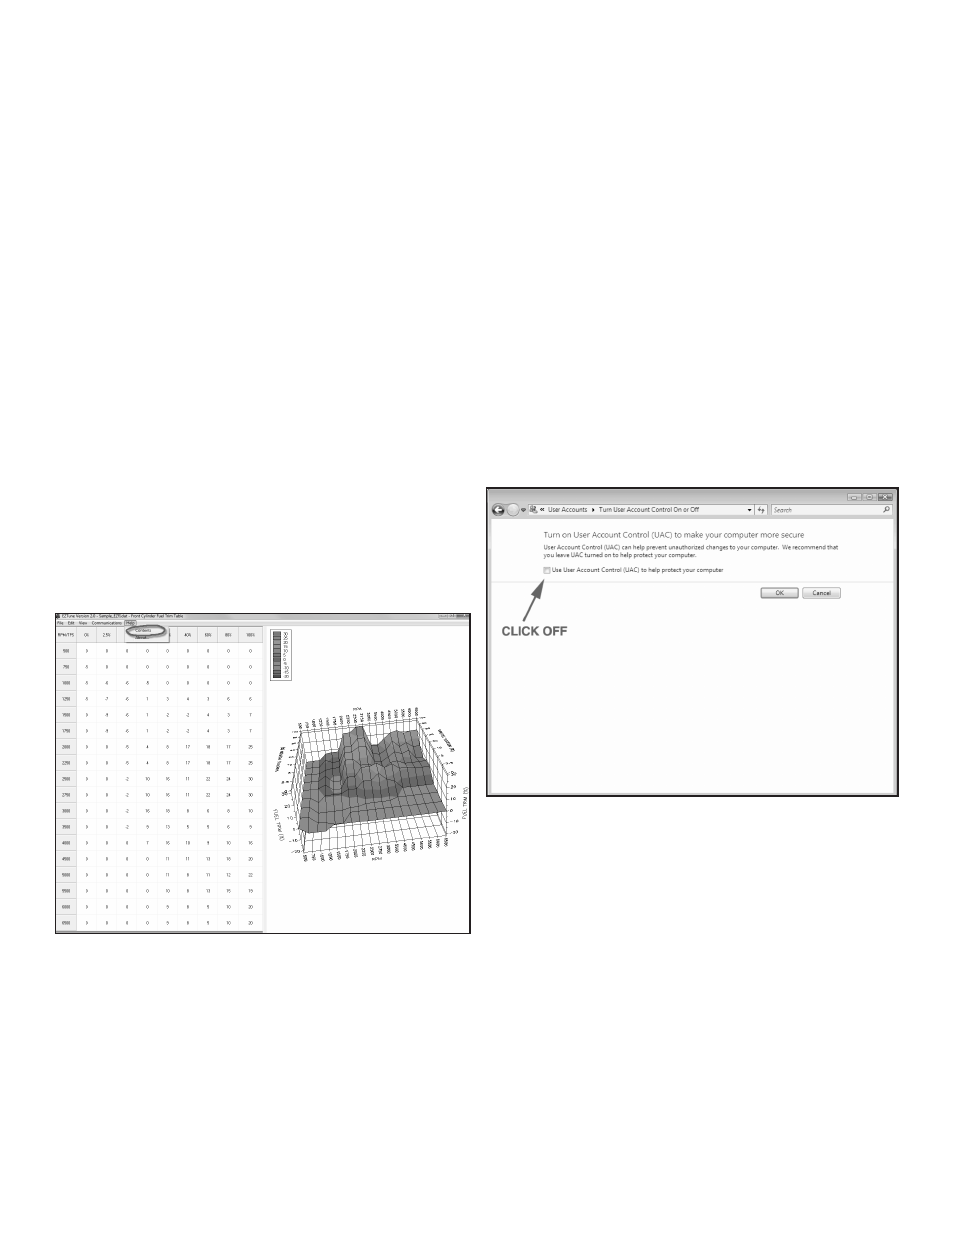
DISABLING THE UAC
The following steps explain how to disable the UAC in Vista:
1. Be sure that you are logged into an account that has administrative
permissions. Administrative permissions are required for the
software installs to complete successfully.
2. Go to the start menu and select “control panel.” This option should
appear in the right column of the start menu.
3. Open “User Accounts” from the control panel. This will display
options to make changes to your user account under the heading
“Make changes to your user account.”
4. Click the “Turn User Account Control on or off” option.
5. You will receive a dialog prompt asking for your permission to
continue. Click the Continue dialog button to proceed.
6. Now, the “Turn User Account Control On or Off” window will be
displayed. There is a checkbox below the window text with the
caption “Use User Account Control (UAC) to help protect your
computer.” If this box is checked, click the box to uncheck it. Select
the OK button.
7. You will be prompted to restart your computer for the change to
take effect. Restart when you are ready, then run the software
installation. After you install, you can go back to the UAC and turn
it on again.
4