RKI Instruments Beacon 200 User Manual
Page 20
20 • Wiring the Beacon 200 Gas Monitor
CAUTION: Do not route power and detector head wiring through the same
conduit hub. The power wiring may disrupt the transmission of
the detector head signal to the monitor.
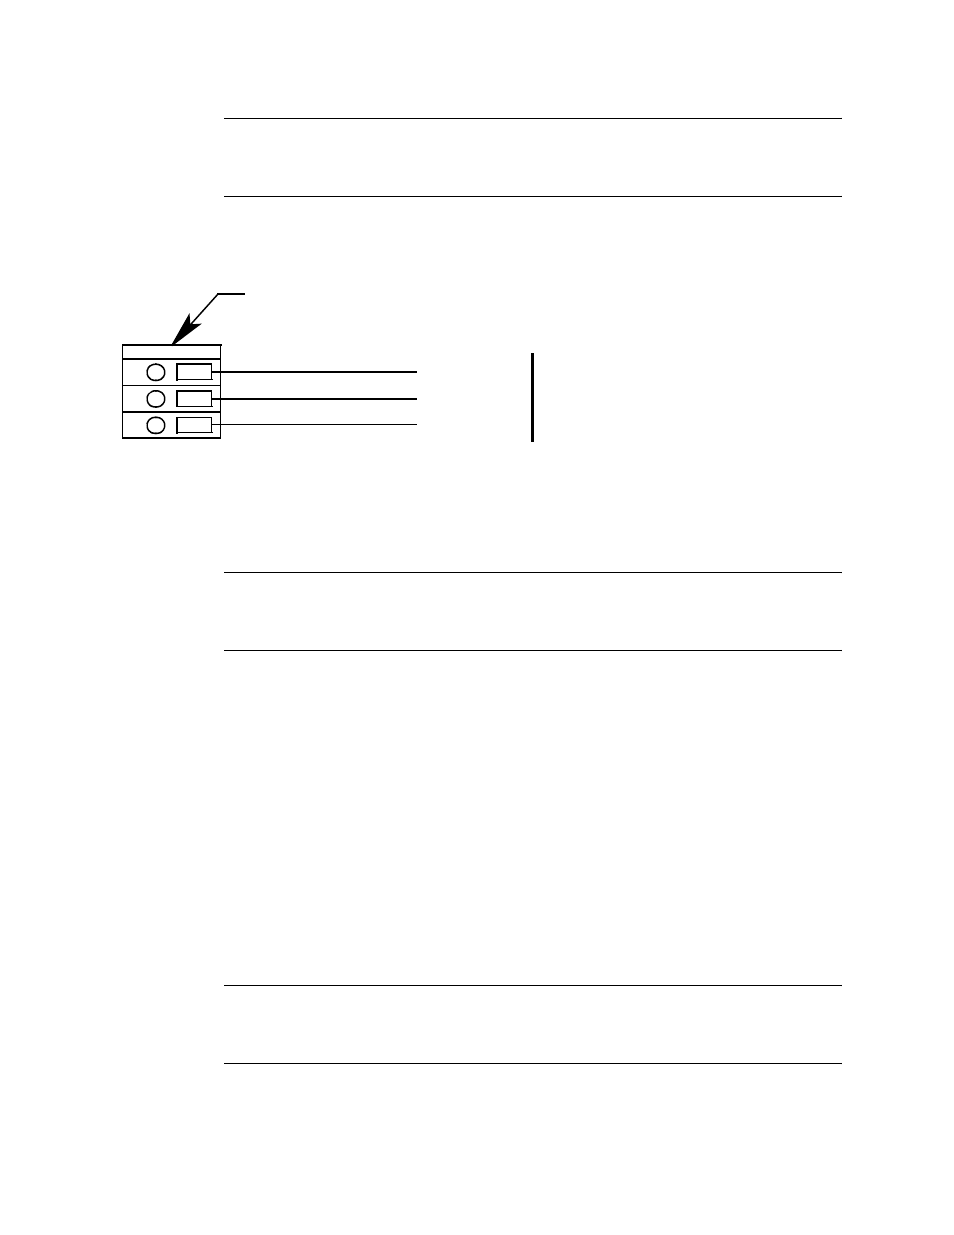
6. Connect the AC wires to the AC power terminal strip as shown in
Figure 6.
Connecting the DC Power Source
WARNING: Verify that the power source is unplugged or turned off at
the power source end before you continue with this
procedure.
DC power may be used as a primary power source. It may also be used as
a backup power source with a 24 VDC battery if AC power is the primary
power source. If DC power is the primary power source, DO NOT connect
AC power.
1. Turn off or unplug all incoming power to the Beacon 200 at the power
source end.
2. Open the housing door, then place the power switch in the OFF
position.Locate the DC power terminals on the controller terminal strip
(see Figure 1). They are labelled BAT - and BAT +
3. Install an appropriately rated cable bushing or conduit to one of the
unused conduit hubs on the bottom of the Beacon 200 housing.
4. Guide a DC power cord or wires through the selected conduit hub.
CAUTION: Do not route power and detector head wiring through the same
conduit hub. The power wiring may disrupt the transmission of
the detector head signal to the monitor.
Ground
AC In Terminal Strip
115 V~ ± 10%, 50/60 Hz
(220 V
~
Optional)
Neutral
Line (Hot)
Figure 6. AC Power Wiring