Step 3: scan editing – Penpower WorldocScan 400 (Win) User Manual
Page 20
3-8
Scan2PDF
3-9
Save File Settings
You can set the File Type, Name of Document and Open Document after Scan-
ning here. Please refer to the Step 2 of the section 3.2 Scanning Single Document.
PDF Setting
If you select PDF as the file type, you can set a password and make the searchable
PDF in the PDF Setting section. You can also set the PDF file quality. Please refer to the
Step 2 of the section 3.2 Scanning Single Document.
JPEG Setting
If you select Jpg as the file type, you can set the JPEG file quality in the JPEG Setting
section. Please refer to the Step 2 of the section 3.2 Scanning Single Document.
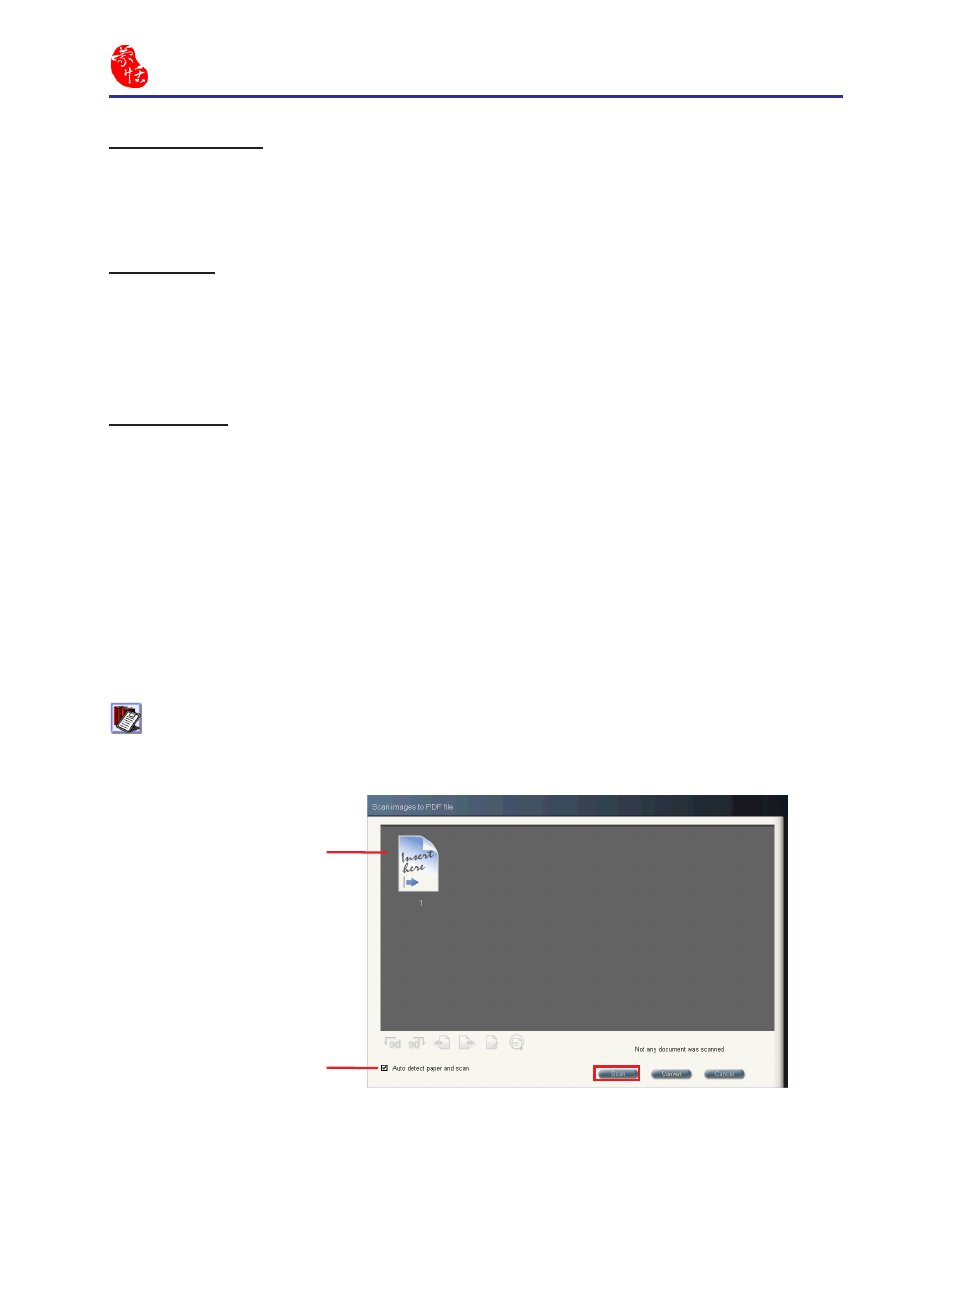
Step 3: Scan Editing
1. Once all settings have been set, click on the [Next] button to start scanning.
2. At the [Scan Image to...] dialog box, click on the [Scan] button to start scanning.
Tip: If you check [Auto detect paper], the scanner will start to scan the document
once you insert paper.
Scanned File Buffer
Auto detect paper