Preparing and operating your drinking water system – Purenex Multipure Aquaversa User Manual
Page 8
1. using a paper towel or cloth, dry off all connections and the Dws housing.
2. Make sure that all connections are tightly secured.
3. Purge any air from the unit.
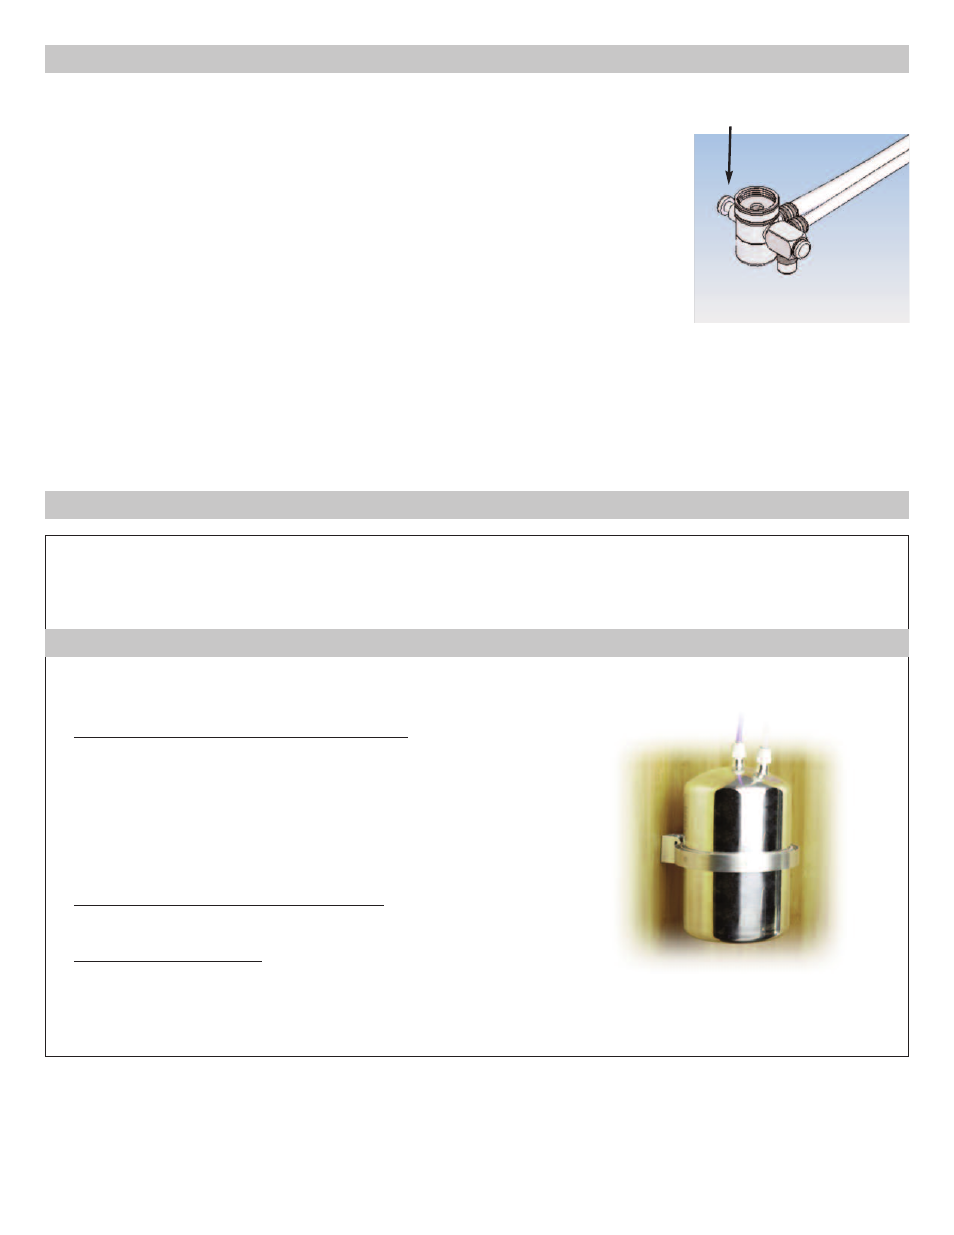
a. Press the right button on the diverter valve to select the filtered water spout.
The water will flow through the Dws and emerge from the smaller opening on
the diverter valve.
b. Allow water to flow through the Dws and filtered water spout for five minutes.
c. Press the left button to select the unfiltered water spout, and then turn off the
faucet.
4. Make sure that all connections are tightly secured and that there are no leaks.
5. Turn on the faucet and press the right button to select the filtered water spout.
6. Allow water to flow through the Dws and filtered water spout for approximately
30 minutes. This will flush the filter prior to use.
7. Press the left button to select the unfiltered water spout.
8. Turn off the faucet.
9. Check all connections to make sure that there are no leaks.
10. The system is now ready for use.
bypass
lever
2.2: Preparing and Operating Your Drinking Water System
The Aquaversa models MP750sB and MP1200el are designed for use below the sink and can be installed on the incom-
ing cold water line. The MP750sB and MP1200el systems are connected to a specially designed faucet which installs
directly on the sink.
Model MP750sB
The following tools are required to install your Aquaversa for below-
sink use:
1. Installing the faucet on a ceramic/porcelain sink:
a.
3/8” reversible electric drill
b.
7/16” (or 1/2") high speed steel drill bit
c.
1/2" carbide-tipped masonry drill bit
d.
hammer
e.
center punch
f.
8” adjustable wrench
g.
pliers/locking pliers
2. Installing the faucet on a stainless steel sink:
a.
everything from list #1, plus 1/8” high speed drill bit
3. Installing the Adapta Valve:
a.
8” adjustable wrench
b.
wire cutter or knife
3.
Below Sink Installation
3.1: Required Installation Tools
8