Adapta valve installation – Purenex Multipure Aquaversa User Manual
Page 14
Install the Adapta Valve
nOTe: The Adapta Valve must be installed on the cold water line only.
1. shut off the cold water supply to the faucet by rotating the angle stop valve clockwise until the water flow is off. Place a
catch basin or other container below the faucet to catch any residual water in the pipes.
2. Disconnect the cold water riser/supply line at the angle stop valve or cold water faucet pipe. use an 8” adjustable wrench
to rotate the slip joint nut counterclockwise until the riser/supply line and slip joint nut detach from either the angle stop
valve or the faucet pipe.
3. Connect the Adapta Valve to the pipe from which you removed the slip joint nut.
a. Align the Adapta Valve to either the angle stop valve or cold water faucet pipe, making
sure that the rubber washer is in place in the Adapta Valve.
b. use an 8” adjustable wrench to rotate the connection clockwise until tight. DO nOT
OVerTIGHTen.
4. Connect the cold water riser/supply line with the slip joint nut to the Adapta Valve.
a. Align the slip joint nut to the Adapta Valve.
b. use an 8” adjustable wrench to rotate the slip joint nut clockwise until tight. DO nOT OVerTIGHTen.
c. Make sure that the supply line does not block the shutoff valve on the side of the Adapta Valve. If necessary, trim the
supply line before reconnecting.
5. Connect the 1/4" clear plastic tubing (included with the system) to the Adapta Valve.
a. using wire cutters or a knife, cut (square cut) the tip end off of the clear plastic tubing. Do not use scissors.
b. Insert the tubing fully into the opening of the shutoff valve on the side of the Adapta Valve; the tubing should typically
be inserted 5/8” into the adapter.
nOTe: when pushing the tubing into the opening, you will encounter some resistance. This does not mean that the tube is
fully inserted. Continue to push firmly until the tubing is inserted as far as possible (roughly 5/8” into the adapter).
6. Confirm that the unit shutoff Valve attached to the Adapta Valve is in the OFF position by rotating the handle clockwise
until it stops.
7. Proceed to section 3.4: Connecting the Tubing to the Housing to connect the clear plastic tubing to the Dws.
Push the tubing into the small hole
as far as it will go. Pull to check
secure.
Adapta Valve Installation
(continued)
14
Insert clear tubing 5/8”
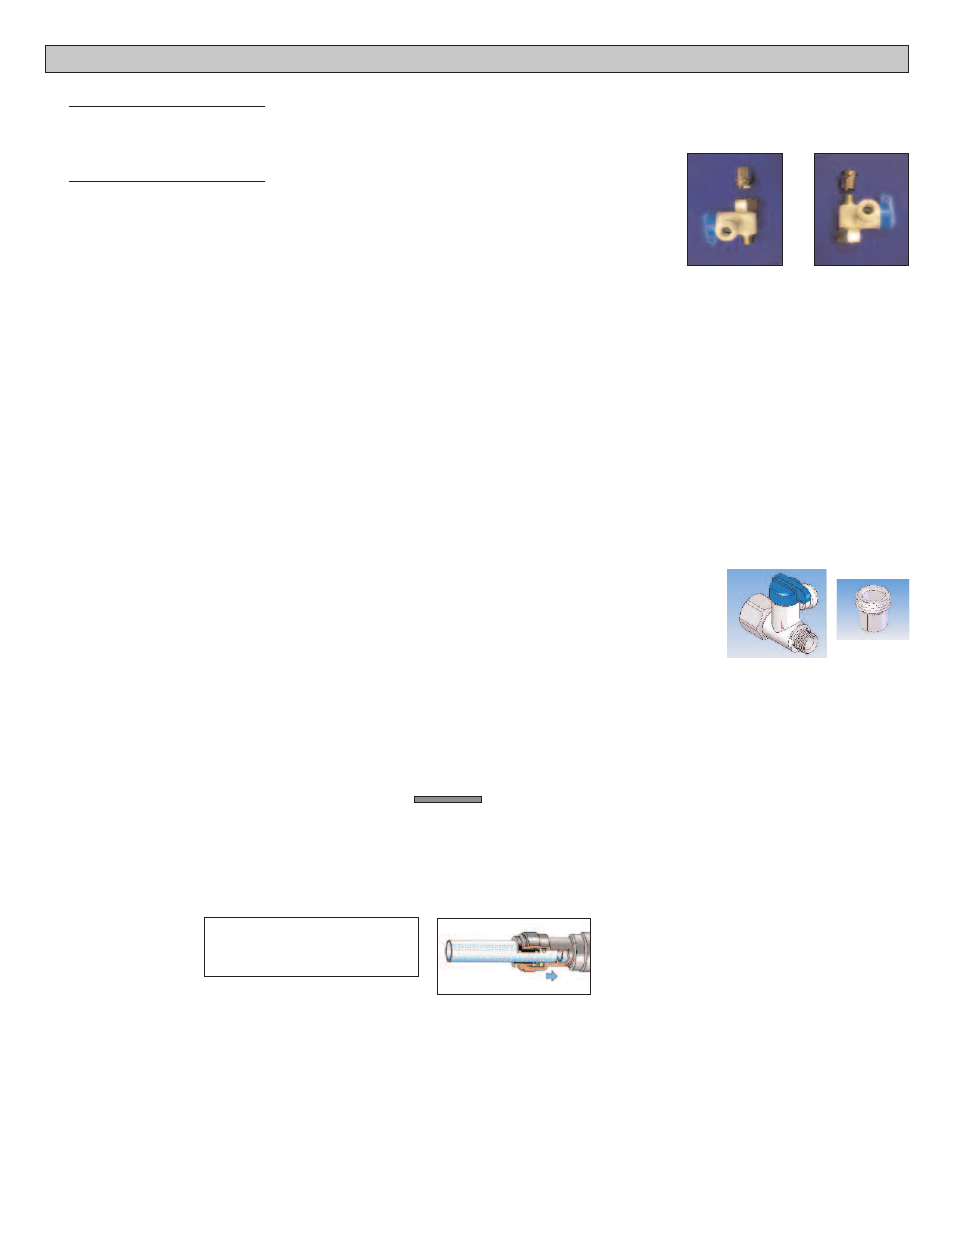
1. using the 3/8” configuration:
a. The 3/8” configuration is used on a water supply line with a 3/8” slip joint.
b. The 3/8” configuration is typically installed at the bottom of the riser at the angle stop valve.
2. using the 1/2" configuration:
a. The 1/2" configuration can be used at either the top of the riser at the faucet pipe
or at the bottom of the riser at the angle stop valve.
b. Install the 1/2" configuration at the top of the riser on a water supply line that does
not have a slip joint nut at the angle stop valve.
c. Install the 1/2" configuration at the angle stop valve if there is a 1/2" slip joint nut
there.
3/8”
configuration
1/2”
configuration