Installation instructions – Longevity STICKWELD 140 User Manual
Page 12
11 |
P a g e
INSTALLATION INSTRUCTIONS
The machine is equipped with power voltage compensation equipment. When the power voltage
fluctuation is between ±15% of rated voltage, it will operate normally.
If you are planning on increasing the length of your power cable, please insure you use an adequate
gauge cable such as a 4 or 6 gauge to insure there is enough power for the machine.
1. Make sure the fan is not blocked in the rear to avoid damage and over heating.
2. There is a grounding lug on the back of the machine if you are using a grounding cable that is longer than six (6)
meters. Use the grounding lug in that situation.
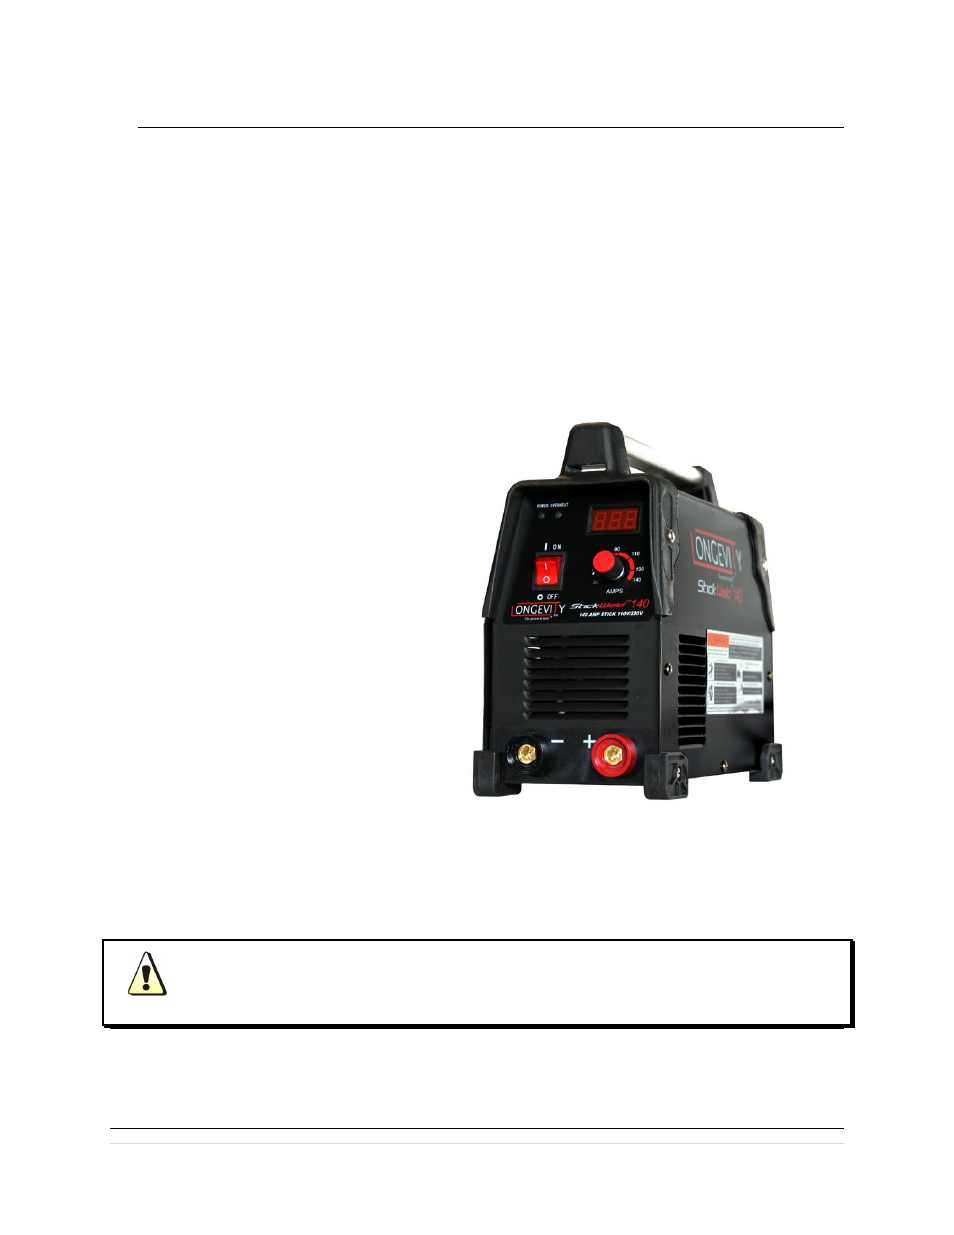
3. Correctly connect the Stick Holder to the
machine on the positive (+) end for straight
polarity and turn clockwise to lock in the
DIN connector. You can also reverse
polarity by switching the Stick Holder to
negative.
4. Connect the Ground Clamp to Negative (-)
for straight polarity. You can also reverse
the polarity depending on the welding
situation.
5. With Arc or Stick Welding, you are able
to reverse polarity when DC Stick
Welding. By using the wrong polarity
you may have an unstable arc. Please
make sure that you firstly try welding
with the Stick Holder in the Positive (+)
position and the Ground Clamp in the
Negative (-) position.
6. Please check your input voltage and connect the machine using the supplier 220v to 110v converter if
you are connecting to 110v power or connect straight to a 220v power supply. Please make sure your
plug is within the allowed parameters of the allowed voltage.
If the distance of the work cable and ground cable is 50-100ft, please upgrade the
thickness of the cables to insure a good arc and connectivity. We recommend a thick gauge.