16 date and time – KOCASO M6200 User Manual
Page 42
40
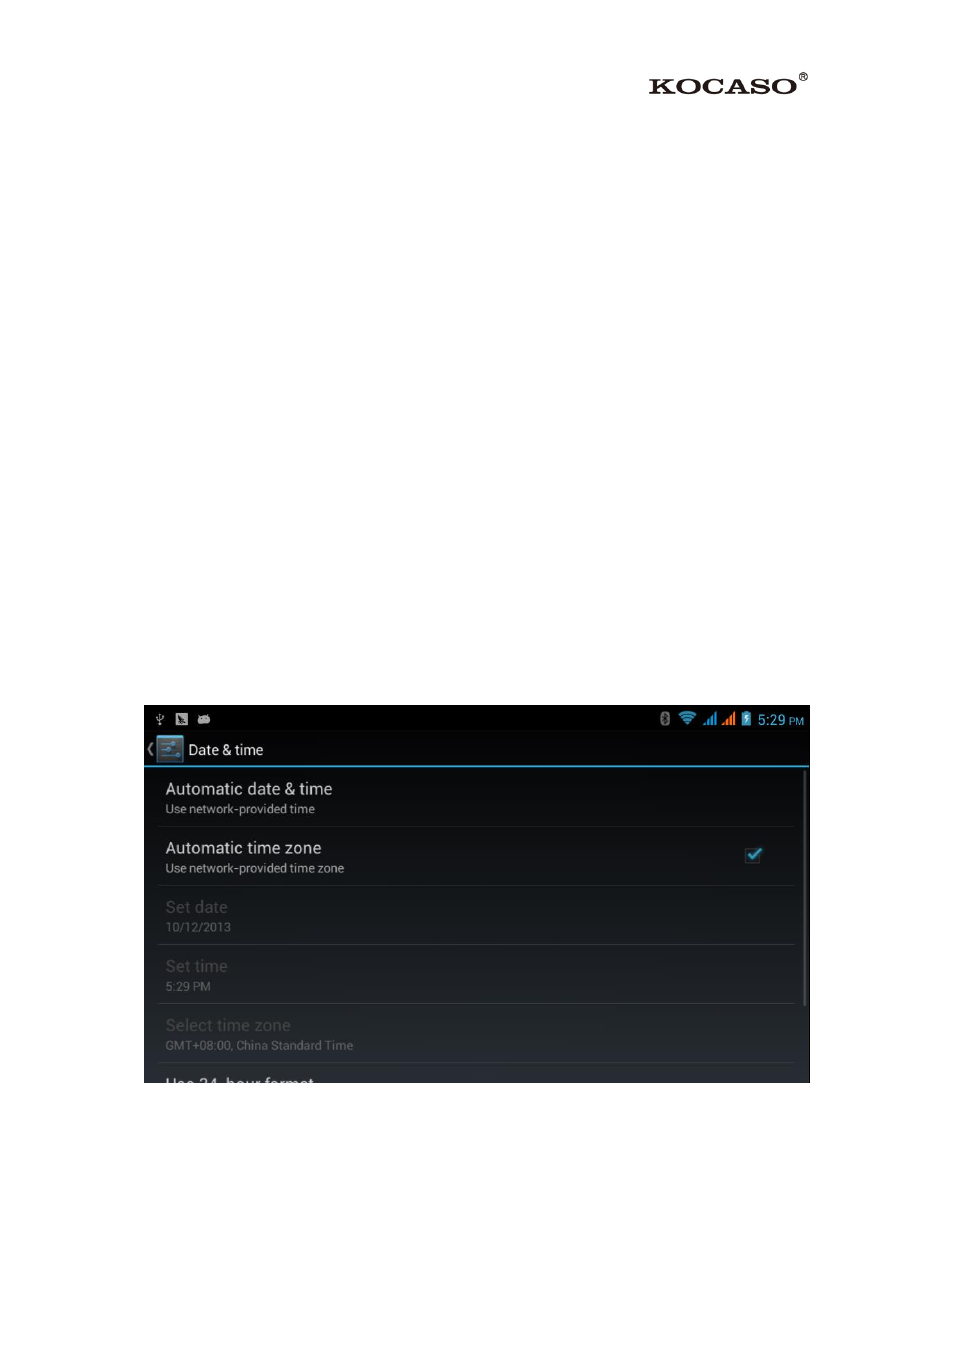
4.16 Date and Time
According to the preset, system will voluntarily apply the date, zone, and time
provided by internet.
Manual set date, time and zone
1. Click Setting application procedure.
2. Slide down the screen, then click date and time.
3. Turn off “auto setting of date and time”.
4. Turn off “auto setting zone’.
5. Click Zone Selecting, then choose the zone lists. Slide down the list to view more
zones.
6. Click Date setting, then click upper or down button to adjust date, month, and year,
click setting when you finish selection.
7. Click Time setting, then click upper or down button to adjust hour and minute,
click AM or PM to change morning or afternoon ( there is no such selection when you
see 24-hour format). Click Setting to finish.
8. Click 24-hour format, switch between 12-hour or 24-hour format, the time format
you choose will be used on the alarm clock.
9. Click date format setting, then choose the time format you want to show on M6200.
Picture 4.50
Note: If you use the time internet provided, you will not able to set the date, time and
time zone.