The mounting bracket, Mounting brackets for the x series, 5 the mounting bracket – GeoDesy Giga Pico Next TP User Manual
Page 13: 1 mounting brackets for the x series
GeoDesy Kft.
Telefon: 06-1-481-2050
Fax.: 06-1-481-2049
E-mail: [email protected]
http://www.geodesy-fso.com
13
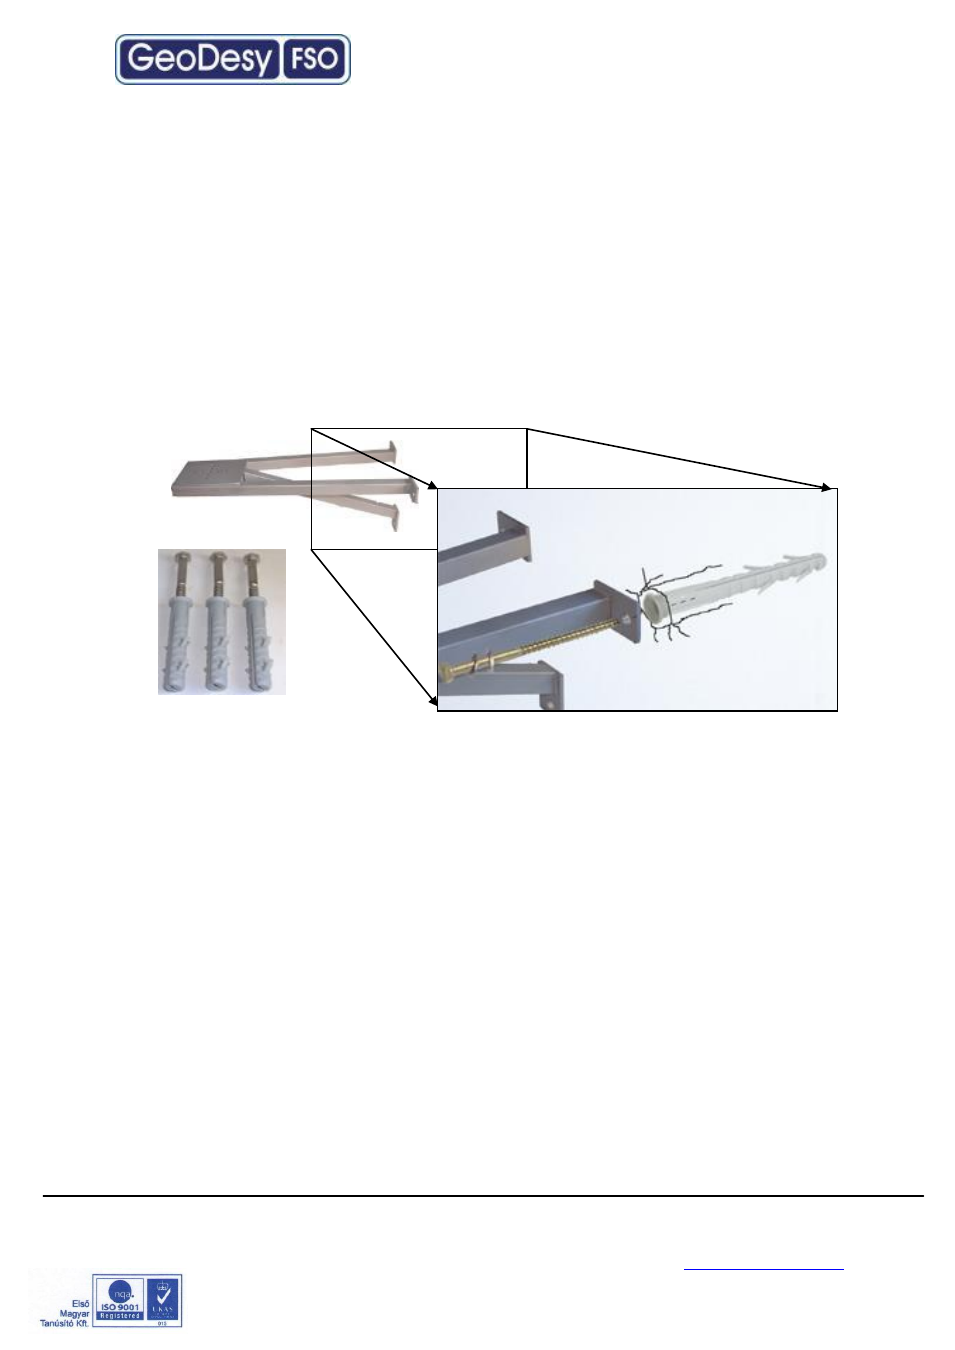
5 The mounting bracket
In the following chapter you will find detailed description of the bracket fastenings.
5.1 Mounting brackets for the X Series
GeoDesy FSO
provides the mounting bracket and all the necessary components
for
X
series units. A simple fixing technique of this bracket can be seen on the
following figure, required tools are as follows:
- drilling machine
- 10 mm wrench
Bracket sizes:
Length:
463mm
Leg Width:
263mm
Head Width: 130mm
Drill size:
10mm wall drilling
Installation steps:
Place the bracket on the wall
Mark the wall with a permanent marker
Use your 10mm wall drill to drill all of the holes into the wall
Clean the holes
Place the wall-plugs into the holes (please note that some times you need to
use hammer to put the wall-plugs into the hole, if you have to please be
careful not to break the wall-plug
)
Place the bracket to the wall an line it up to the holes
Put the screws into the wall-plug through the hole on the leg of the bracket
(please see the figure above)
Tighten up the screws