Assembly & installation – Danuser LM40 Hammer User Manual
Page 8
8
Prepare the Vehicle
Read and understand the manual for your vehicle before assembling or installing the
Hammer. The vehicle must be equipped with a universal quick attach hitch and auxiliary
hydraulics. The use of the Hammer may require the addition of counterweights to ensure
the attachment does not exceed the rated capacity of the vehicle.
Because of the weight
of some components,
and because some
components are difficult
to balance, two people are
required for safe
assembly and installation
of this equipment.
Do not exceed the vehicle's rated operating load. If
necessary, use sufficient counterweights.
Make sure the Hammer is securely latched to the vehicle.
Failure to do so could result in separation of the attachment
from the vehicle.
Personal protection
equipment including hard
hat, safety glasses, safety
shoes, gloves, and ear
plugs are recommended
during assembly,
installation, operation,
maintenance, service,
removal, or movement of
the attachment.
Install the Hammer by following your vehicle operator's manual for installing an
attachment.
STEP 1:
Assembly &
Installation
Add Additional Weight
For tough driving conditions or large posts, additional weight can be added up to 500
lbs. total hammer weight by purchasing a weight kit or by adding weight. Add weight in
a variety of ways: logging chain, metal punch slugs, lead tire weights, etc. Do not use
concrete or sand, as damage may result.
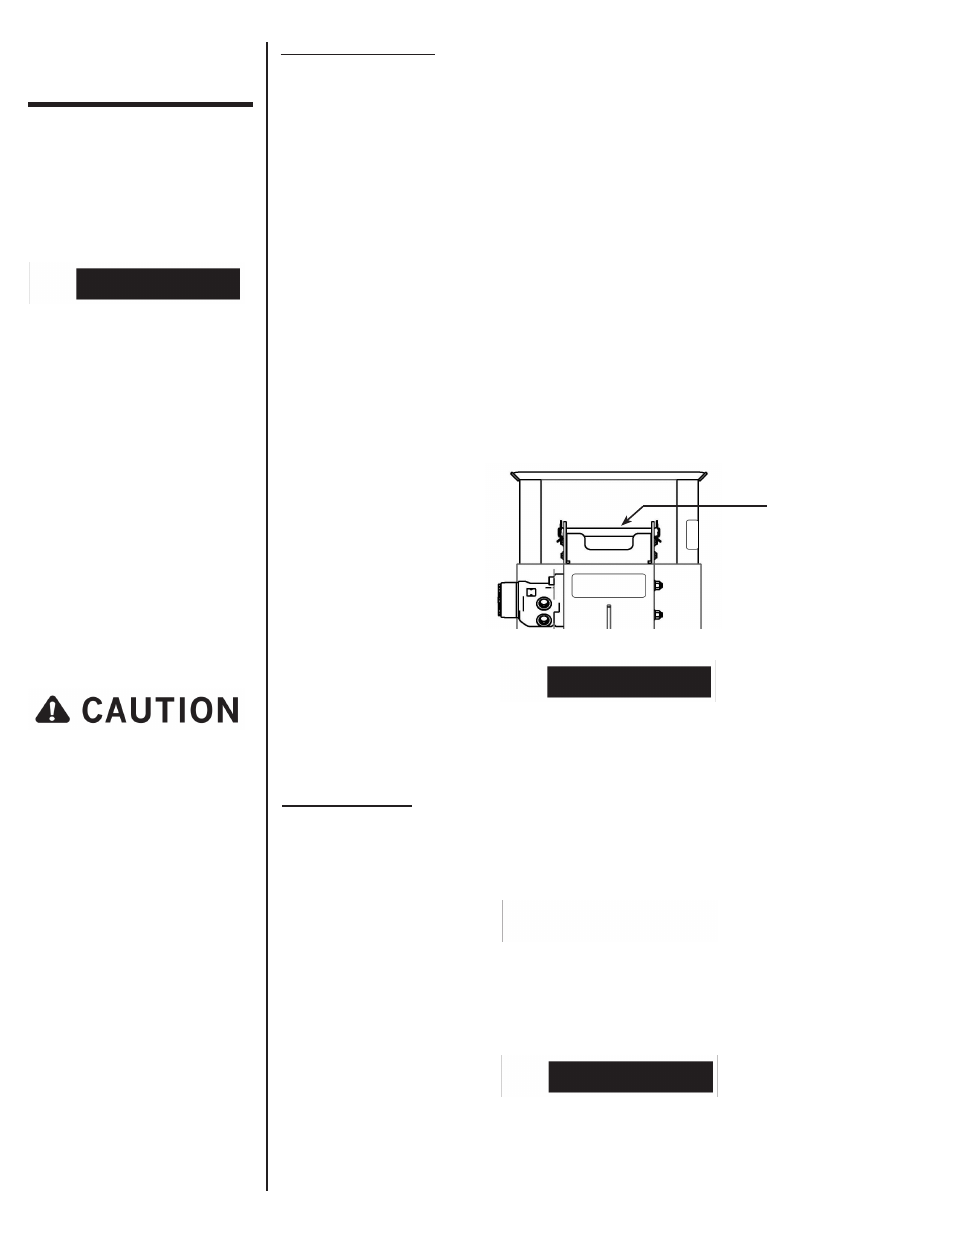
Make sure the hammer weight catch is visible through the viewing slots on the
back of the case.
Remove the retention pin from the top of the case. Insert a hook into the lifting
eye located on the top of the weight. Lift the weight out of the Hammer with a
hoist, forklift, or another vehicle. Set the weight on the ground.
Remove the weight cover by loosening the two lock nuts. It may be necessary to
use a hammer and punch in order to break the weight cover loose.
Place the additional weight into the cavity of the hammer weight until full.
Reinstall the weight cover using the two washers and lock nuts, making sure to
seal the cover with silicone sealant.
Lower the weight back into the Hammer and reinstall the retention pin.
STEP 1:
STEP 2:
STEP 3:
STEP 4:
STEP 5:
STEP 6:
Do not tilt or operate the Hammer without the retention pin
in place. The hammer weight could slide out of the Hammer
and cause serious injury or death.
Retention
Pin