CalDigit VR mini User Manual
Page 15
15
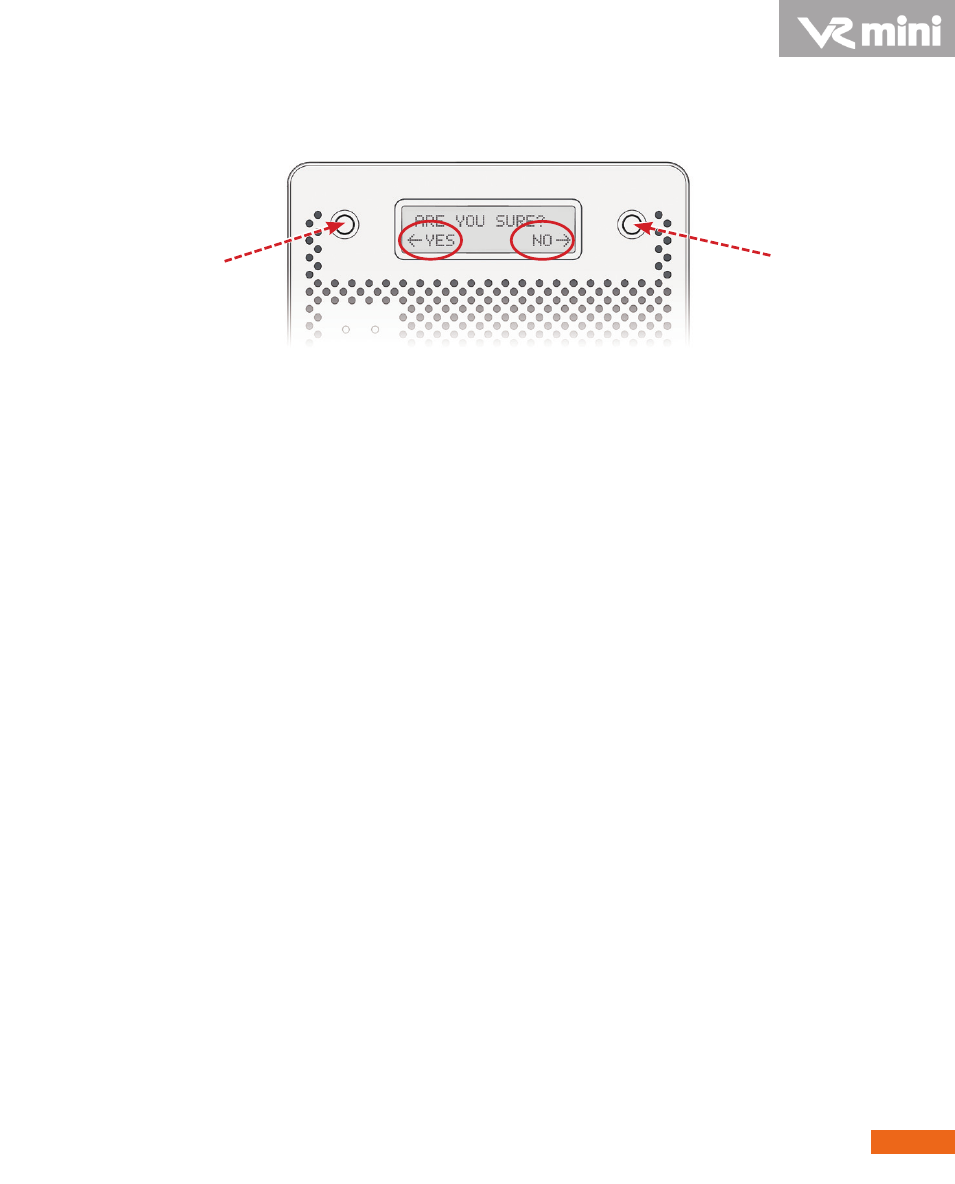
3. Press the left button when you see "Erase all data". Or press
the right button to cancel and return to the previous menu.
4. Press the left button when you see "Final Confirm". This
will erase all data on the RAID. Or press the right button to
cancel and return to the previous menu.
Note: This will erase all data on the RAID.
5. Please wait a moment while the CalDigit VR mini creates
the RAID.
6. The CalDigit VR mini will restart twice automatically.
7. Please restart your computer.
8. The CalDigit VR mini will display the new RAID setting. It
can be verified via RAID Tool or the LCD panel.
*Do Not remove power cable / firewire cable during RAID change.