4 running the gel, 5 removing the gel – C.B.S. Scientific MGU-202T-FL User Manual
Page 10
10
Flip-Lid Horizontal Mini-Gel Instructions
9-12-13
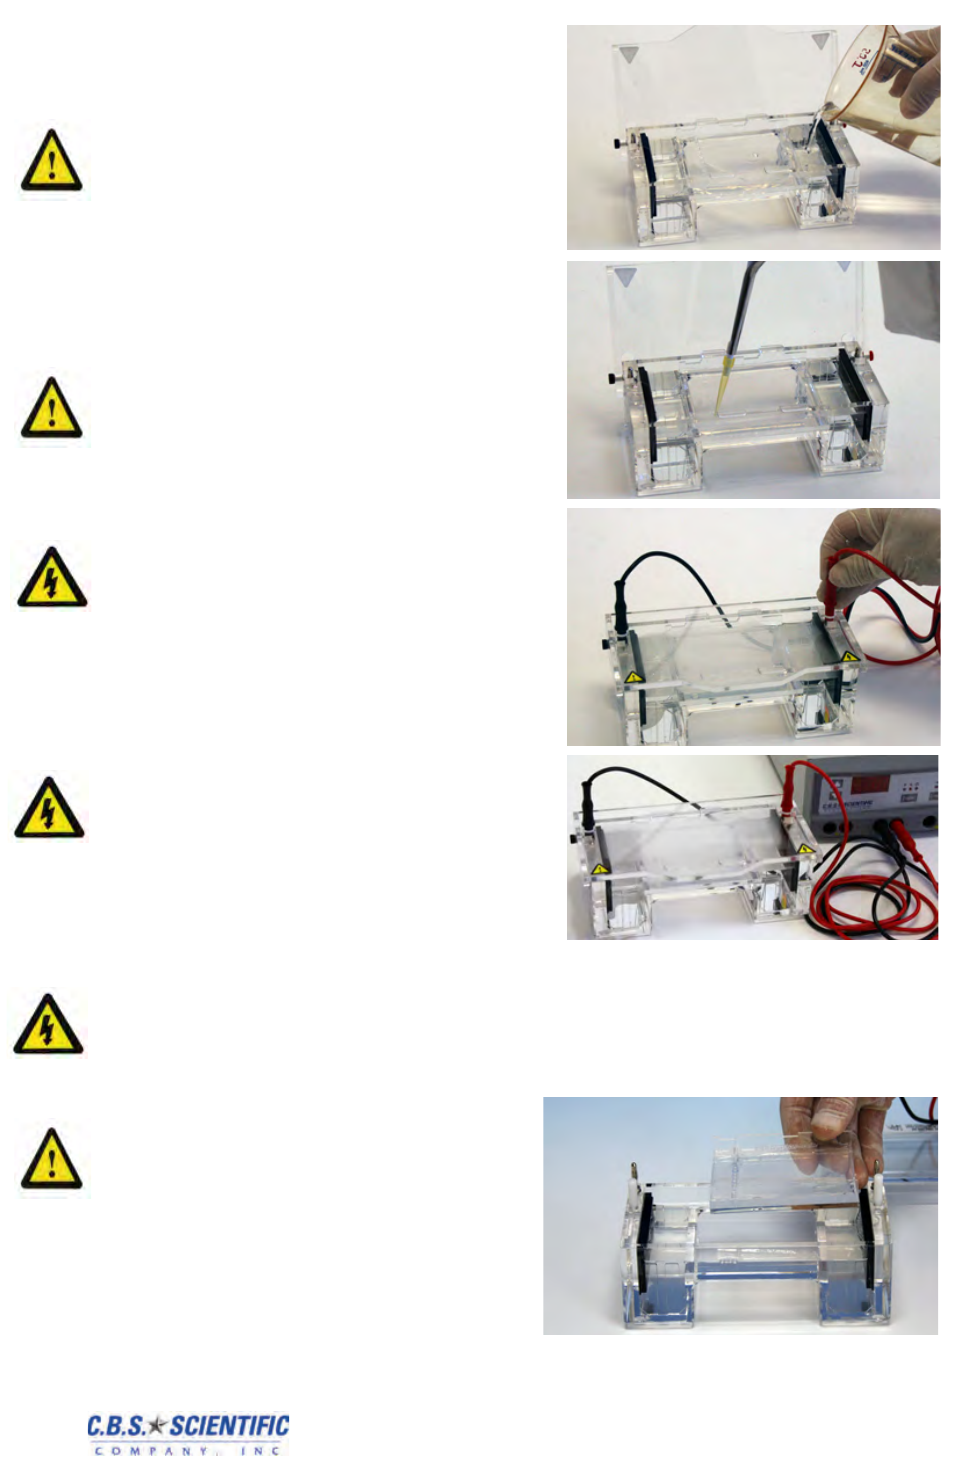
3.4 Running the Gel
1. Add enough running buffer to fill both reser-
voirs and overflow the surface of the gel to a
depth of 2-3mm. Flush out any air bubbles
in the wells. Stains may be added during
this step. Use according to manufacturer’s
recommendations.
2. Load the samples into sample wells. Do not
forget to load DNA size standard ladders. For
best visibility load samples on contrasting
background color such as red or black.
Safe stains may be added during this step.
Use according to manufacturer’s recommen-
dations.
3. Lower lid and secure power leads to elec-
trodes matching the color-coded red to red
and black to black.
4. Connect other end of power leads to power
supply also matching the color-coded red to
red and black to black, .
See Section 4.1 for
recommended power conditions. Begin
separation by electrophoresis.
3.5 Removing the Gel
1.
Turn power supply off and disconnect the leads
from the power supply and electrodes. Place
Flip-Lid in up position.
2. Gently lift the gel tray from the unit.
Al-
ways wear gloves, eye protection and
protective clothing if buffer and /or gel
contain Ethidium Bromide. Ethidium Bro-
mide is a powerful mutatgen; gloves, eye
protection and protective clothing should
always be worn when handling the gel or
buffer solutions. View separated fragments
under UV light, using proper protection for
eyes and skin (see manufacturer’s instruc-
tions). Alternatively, Safe Stains may be used
and viewed using blue light or UV excitation.