Service (cont.) – Bunn POWDER AUTO FILL User Manual
Page 25
25
SERVICE (cont.)
If continuity is present as described, the lamp is oper-
ating properly.
If continuity is not present as described, replace the
lamp.
Removal and Replacement:
1. Disconnect the lamp cord assembly from the lamp
cord connector assembly in the top of the dis-
penser.
2. Remove the display graphic from the dispenser
door.
3. Open the dispenser door.
4. Remove the five #6-32 screws securing the rear door
cover to the door.
5. Carefully lower the rear door cover and disconnect
the lamp holder/socket assembly from the lamp
cord terminals.
6. Remove the lamp.
7. Remove #2-56 screw and elastic lock nut securing
the lamp holder/socket assembly to the mounting
bracket. Remove the lamp holder/socket assembly
and discard.
8. Install new lamp holder/socket assembly on mount-
ing bracket using the #2-56 screw and lock nut.
9. Reinstall lamp.
10. Connect the new lamp holder/socket assembly to
the lamp cord terminals.
11. Reinstall the rear door cover to the dispenser door.
Make sure wires are located in notch in door flange.
12. Close the dispenser door.
13. Plug-in the lamp cord assembly to the lamp cord
connector assembly on top of the dispenser.
14. Refer to Fig. 22 when reconnecting the wires.
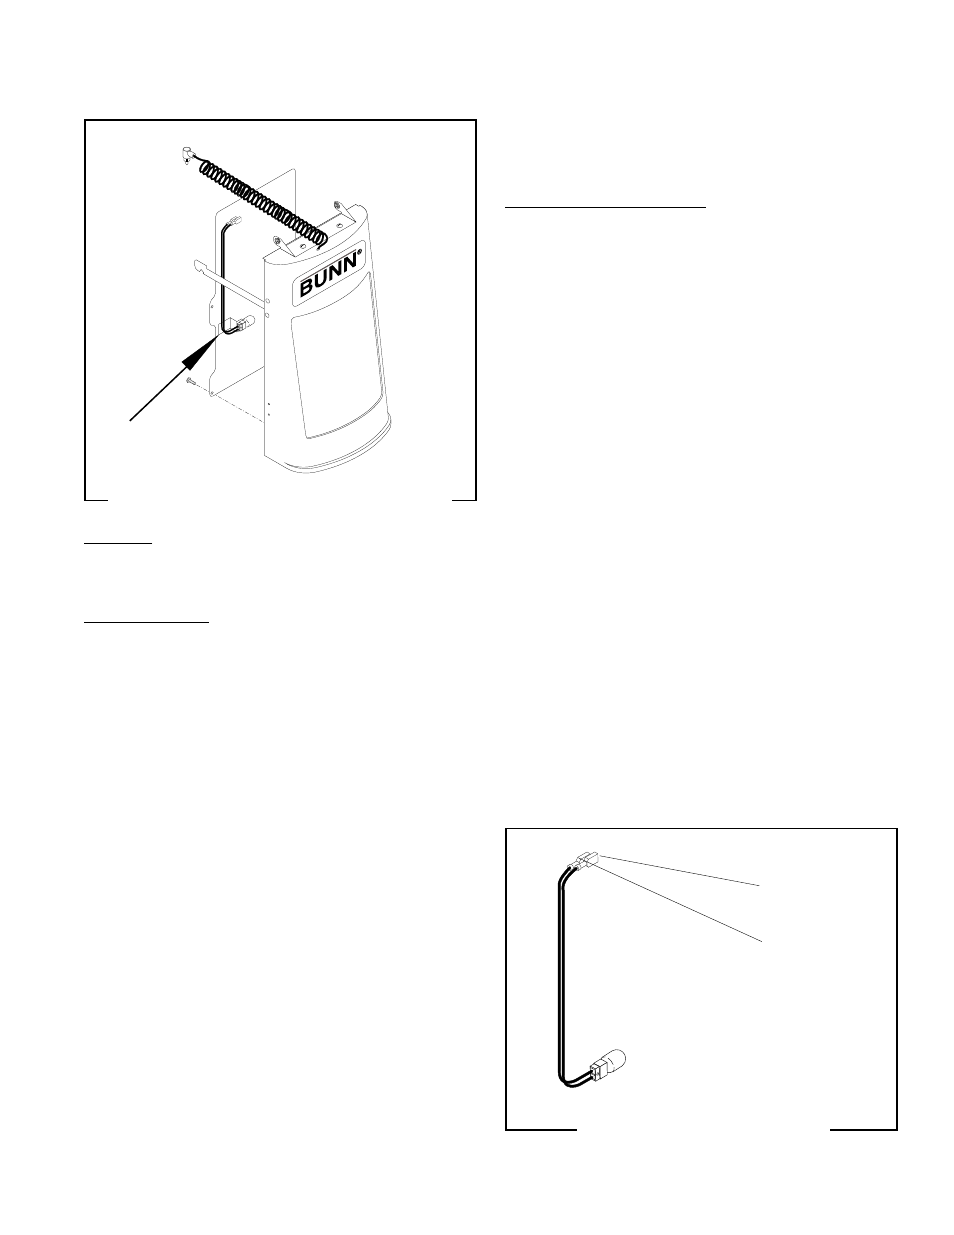
FIG. 22 LAMP HOLDER/SOCKET
ASSEMBLY WIRES
P1929
LAMP HOLDER/SOCKET ASSEMBLY
FIG. 21 LAMP HOLDER/SOCKET ASSEMBLY
P1927
Location:
The lamp holder/socket assembly is located inside
the dispenser door.
Test Procedures:
1. Disconnect the lamp cord from the lamp cord
connector.
2. Remove the lamp from the lamp holder/socket
assembly.
3. Check the voltage across the two pin holes on the
lamp holder/socket assembly with a voltmeter and
Day/Night switch in the "DAY" position and the ON/
OFF switch in the "ON" position. Verify that the
dispenser hopper is full and in place, the dispenser
probe contact is making contact with the CDS liquid
level probe, and the dispenser door is closed.
Reconnect the lamp cord to the lamp cord connec-
tor. The indication must be approximately 12.6
volts ac.
4. Disconnect the lamp cord from the lamp cord
connector.
If voltage is present as described, the lamp holder/
socket assembly is operating properly.
If voltage is not present as described, replace the lamp
holder/socket assembly
5. Check for continuity across the terminals on the
lamps.
WHI to BLK
at Lamp Cord
BLK to BLK
at Lamp Cord
29793 061599