Setup, Galleries – Artograph LED 200 Owners Manual User Manual
Page 8
Remove Projector from Box
In the box, you’ll find the projector well-wrapped. Take it out and take off the wrapping.
Remove the protective sheet from the top surface.
Take the two power cords out of their plastic bags, take off the twist ties, and connect
the cords to each other.
Plug the DC end of the power cord into the projector. Plug the other end into a (properly
grounded!) three-prong wall outlet.
Please note: When mounting the LED 200 to a tripod, attach the (included) Spacer Pad
to the bottom of the projector around the threaded collar to ensure a non-slip fit.
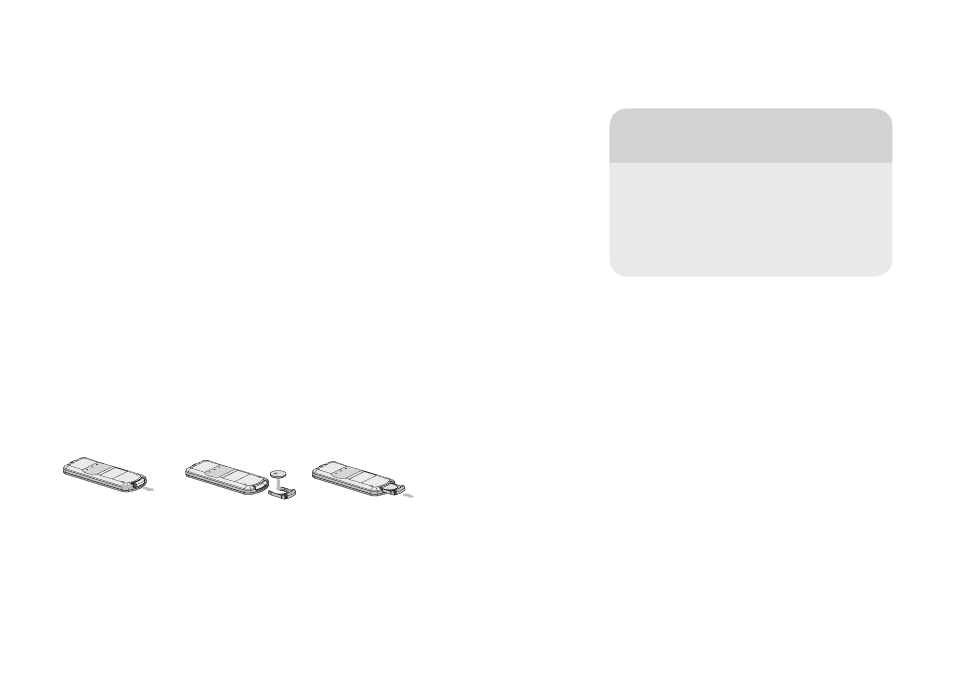
Install the Battery
To install the battery
(3V lithium battery CR2032)
into the remote control:
1. Open the battery compartment
2. Push tab 1 inward
3. Pull tab 2 out
4. Put the battery in with the + side up
5. Push the battery holder back in
Artograph Digital Art Projector LED200 Operation Guide
8
Setup
Galleries…
Project art works onto your display window
with frosted plastic or velum mounted in a
frame for a continuous, vivid and unique,
after-hours sales display. The LED light lasts
for 30,000 hours.