Connecting to a computer, Connecting to the scanner via wifi, Enable the wifi function – I.R.I.S. IRIScan Anywhere 3 Wi-Fi User Manual
Page 8
Quick User Guide - English
11
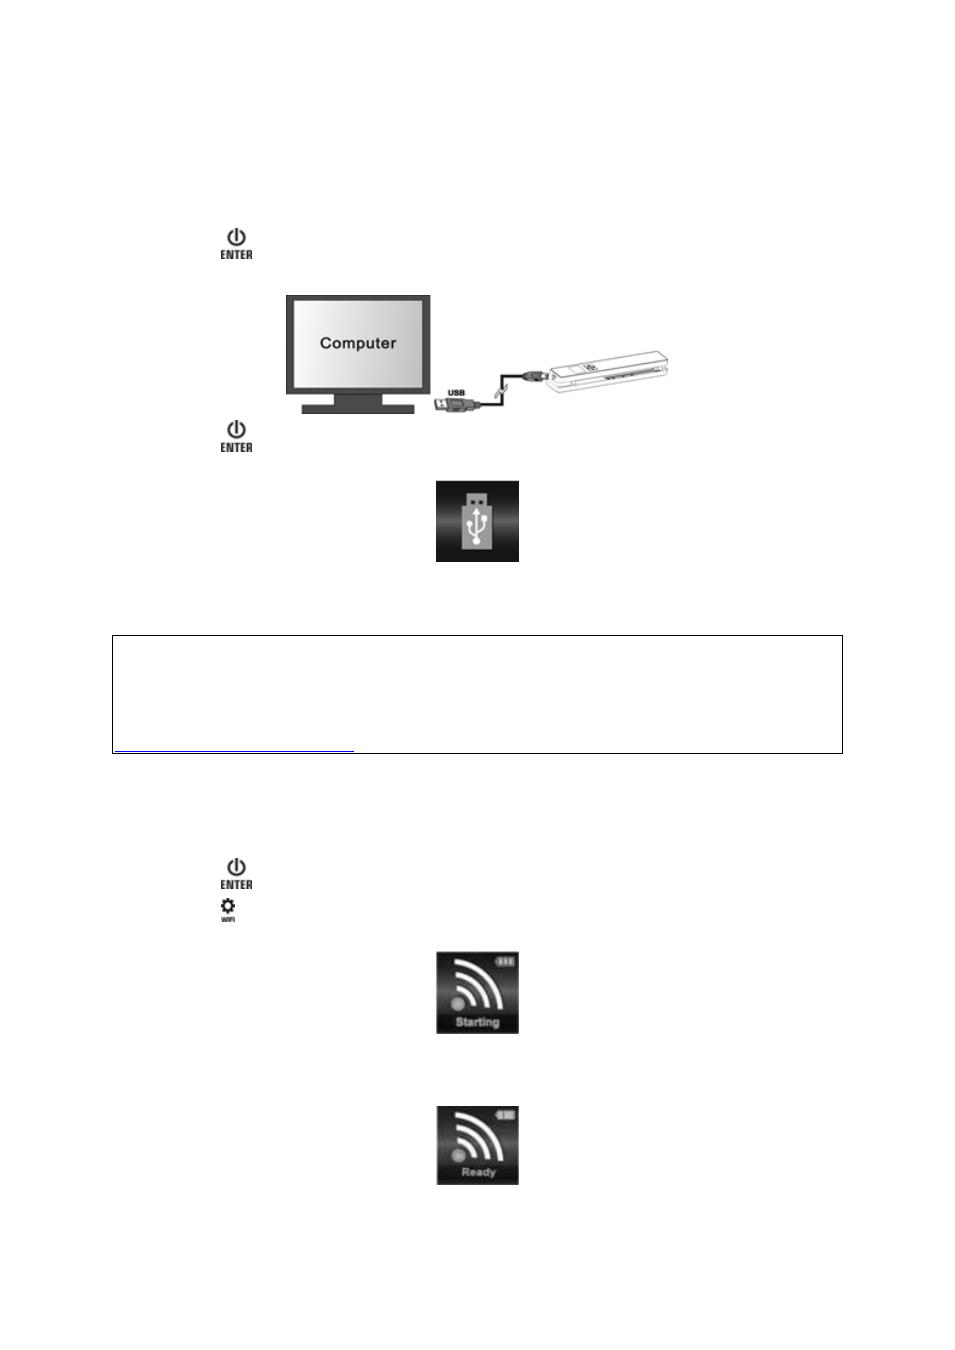
6. Connecting to a Computer
You can connect your scanner to your computer and view the scans on the computer
screen.
1. Press
for 3 seconds to power on the scanner.
2. Connect the scanner to your computer using the USB cable.
3. Press
briefly to enter USB mode. The USB icon is displayed on the scanner
screen, and the scanner is now recognized as removable disk.
4. Browse to Computer > Removable disk > DCIM\100Media to view, import,
copy, move or delete scans.
Note: on Mac OS the Removable disk icon is displayed on the Desktop.
Tip: you can use Readiris
TM
and Cardiris
TM
to load the scans from the removable disk
and convert them into compressed and text-searchable output formats.
For information on how to process your documents with Readiris™ and Cardiris
TM
see
their Quick User Guides on the installation DVD-ROM and their complete User Guides on
7. Connecting to the Scanner via Wifi
Enable the Wifi Function
1. Press
for 3 seconds to power on the scanner.
2. Press for 3 seconds.
"Starting" appears on-screen.
3. Wait 30-40 seconds for the Wifi to initialize.
"Ready" appears on-screen once the Wifi mode is enabled and ready for
connection.