Installing readiris, Starting readiris, Activation + registration – I.R.I.S. Readiris 14 for Windows for Mac Quick Start User Manual
Page 2
English
English
This Quick User Guide is to help you install and get started with Readiris™ 14.
For detailed information about Readiris™’ full range of features, consult the help file provided
with the software, or the latest User Guides on www.irislink.com/support/userguides.
Table of Contents
1. Installing Readiris™
2. Starting Readiris™
3. Activation + Registration
4. Scanner Configuration
5. Basic Processing Steps
6. FAQ and Technical Support
1. Installing Readiris™
•
Insert the Readiris™ CD-ROM in the CD-ROM drive, then click the CD-ROM icon on
the Desktop.
•
Run the Readiris™ installer package and follow the on-screen instructions.
•
Then click Install to start the actual installation.
You might be asked to enter an Administrator Username and
Password to install Readiris™.
•
You are prompted to enter the serial number.
The serial number can be found inside the product box and
contains 15 digits.
•
When the installation is finished, click Close.
The Readiris™ folder is added to the Applications folder by the installation program.
2. Starting Readiris™
•
To start Readiris™, go to Finder > Applications > Readiris™ Pro/Corp 14.
•
Then double-click the Readiris™ icon.
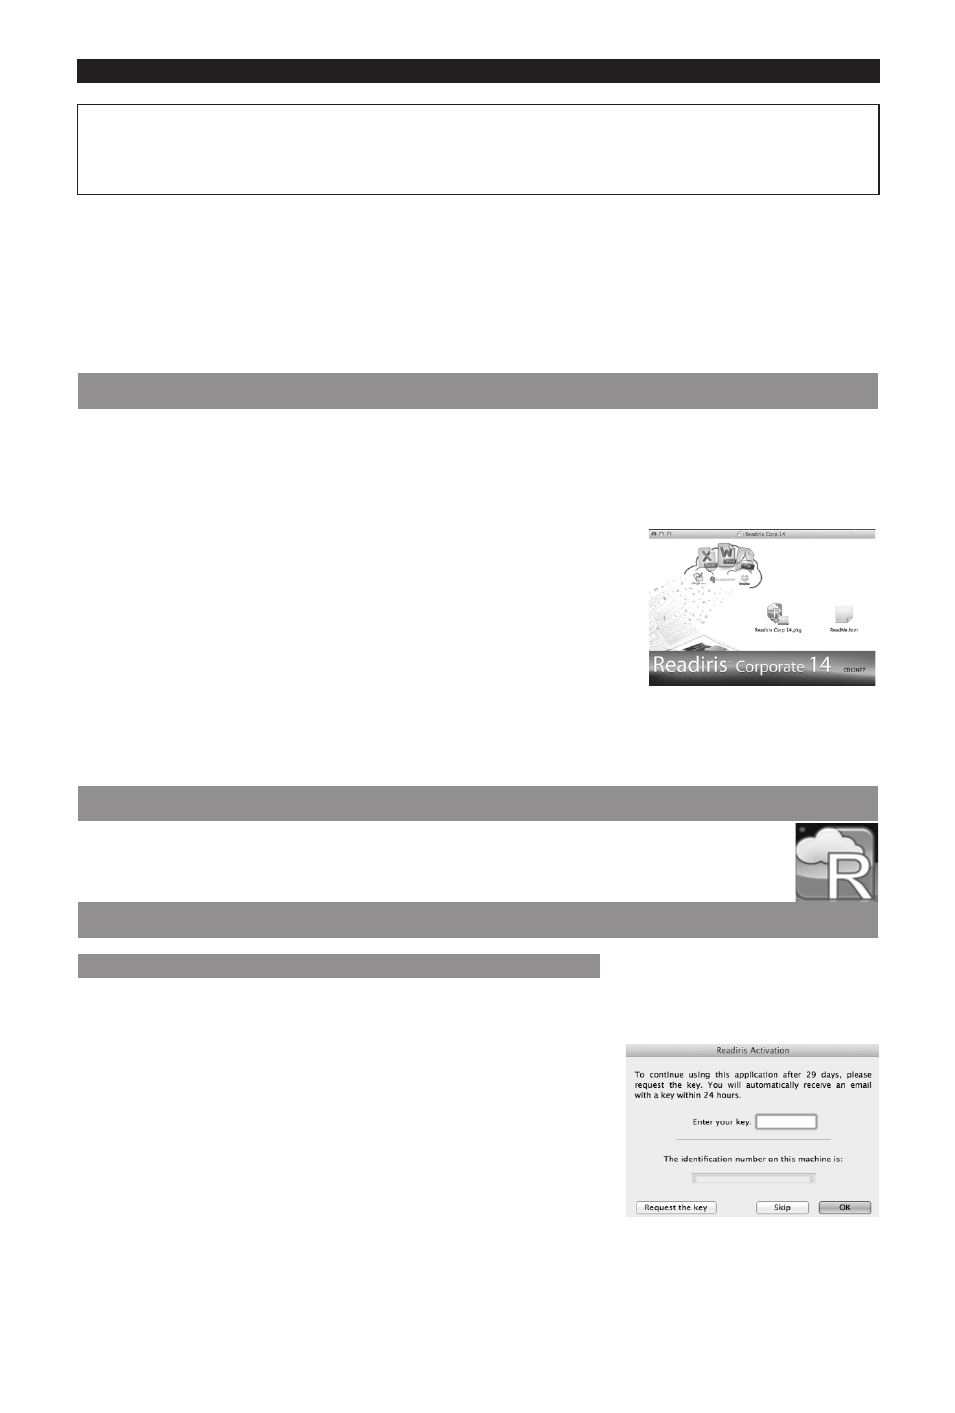
3. Activation + Registration
Activation (Readiris™ ESD version and Readiris™ Corporate)
When you run Readiris™, you are asked to activate it. Unactivated versions can only be
used for 30 days.
•
Click Request the key to obtain your software key.
You are redirected to the Activation web page.
•
Fill in your data and click Submit.
You will receive the software key by e-mail within
24 hours.
•
Once you’ve received the key from I.R.I.S. insert it in the
corresponding field, and then click OK.
Note that an internet connection is required to complete the activation.