Aries Automotive 25630BK User Manual
Installation instructions
Page 1 of 2
(Fig 1, 2 & 3)
as seen in .
(Fig 8)
(Figs 7)
(Fig 6)
(Fig 5)
(Fig 4)
as seen in next remove the (8) 8mm bolts holding the tire carrier to the door.
(Fig 2 & 3)
Unplug wire & slide the wire through the the door you will need to push the rubber plug out as well
plastic panel on the the door this will expose the third brake light wire as seen in
Also remove the plastic cover on the door which was behind the tire carrier.
into the brace bracket Snug but do not tighten at this time as seen in
the plastic cover removed in step 2 attach the tire carrier back onto door with the factory bolts
with help place the tire carrier back into place and begin to place the brace brackets in through
Next slide the clip nuts onto either side of the brace brackets as seen in
on the nut remove nut from bolt and proceed to remove the remaing 7 nuts
Select the 8mm x 60mm bolt from the kit and thread it a few turns into one of the 8mm nut
which held the tire carrier inplace, bend the bolt up,down and side to side to break the spot welds
Seen in .
(Fig 1)
Start by removing the factory tire, with the tire removed open the rear door and remove the
8mm x 60mm Hex Bolts
2
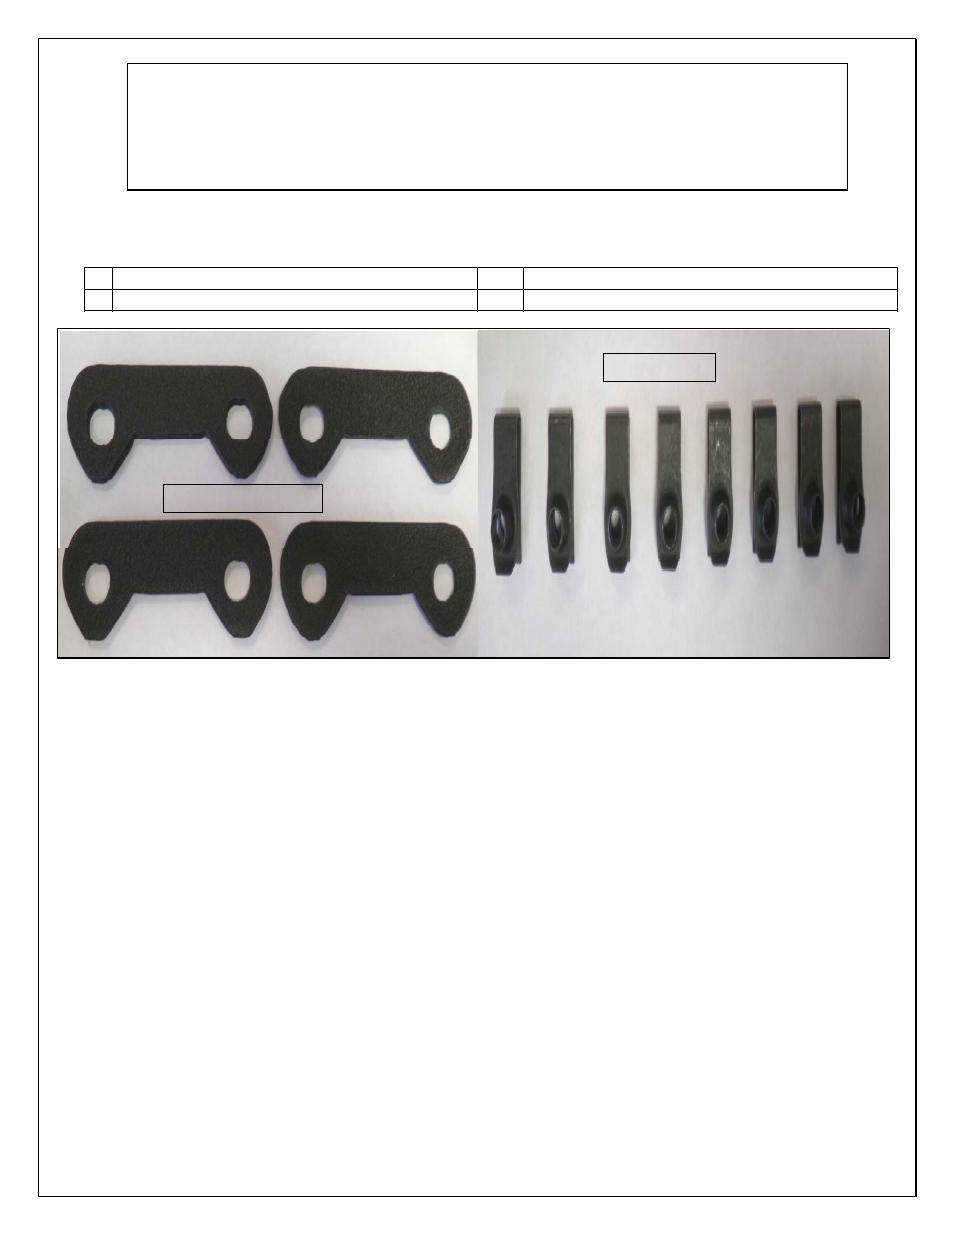
8mm Clip nuts
8
4 Brace Brackets
PARTS LIST:
INSTALLATION INSTRUCTIONS
2007 -12 J K TIRE CARRIER RE-INF ORCEMENT
PART # 25 6 30B K
PROCEDURE:
1. REMOVE CONTENTS FROM BOX. VERIFY ALL PARTS ARE PRESENT. READ
INSTRUCTIONS CAREFULLY BEFORE
STARTING INSTALLATION.
2.
.
3.
.
.
NOTE: The kit comes with 2 8mm x 60mm bolt incase one breaks.
4.
the brake light to the wire harness and place the plastic cover back onto the door
place the brake light wire back into the hole of the door and push in the rubber plug, plug in
With the the tire carrier re-attached place the plastic cover back into the door.
5.
.
Brace Brackets
8mm Clip Nuts