Aries Automotive 204016 User Manual
Installation instructions
Page 1 of 3
3/31/09 REV 2(DP)
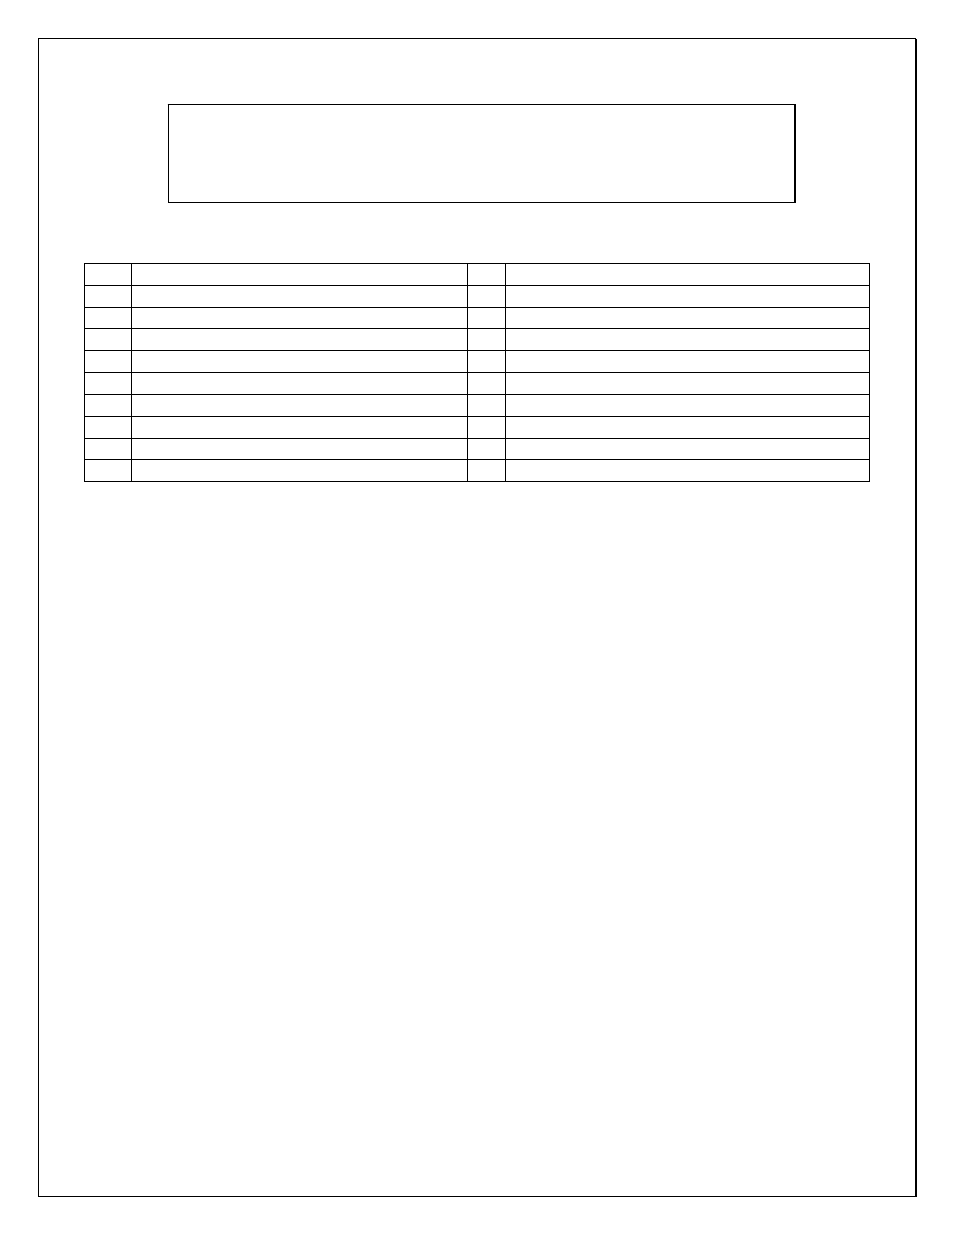
PARTS LIST:
1
Driver/Left Sidebar
4 12mm x 50mm Hex Head Bolts
1
Passenger/Right Sidebar
6 12mm Lock Washers
1
Driver/Left Front Mounting Bracket
6 12mm x 50 mm OD Flat Washers
1
Passenger/Right Front Mounting Bracket
2 12mm Nut Plates
1
Driver/Left Rear Mounting Bracket
2 12mm x 30mm Hex Head Bolts
1
Passenger/Right Rear Mounting Bracket
2 12mm Hex Nuts
1
Driver/Left Rear Support Bracket
1
Passenger/Right Rear Support Bracket
PROCEDURE:
1. REMOVE CONTENTS FROM BOX. VERIFY ALL PARTS ARE PRESENT. READ
INSTRUCTIONS CAREFULLY BEFORE STARTING INSTALLATION.
2. Starting on the driver side, remove the factory front body mount bolt from the underside of the
cab, (Figure 1). NOTE: The factory body mount bolts need to be driven out of and back into
the steel washer molded into the rubber bushing. Take precautions to avoid damage to the
threads or the washer and bushing, (Figure 2).
3. Locate the driver side front Mounting Bracket and bolt it to the vehicle using the factory body
mount bolt, NOTE: Brackets mount over bushings.
4. Locate the driver side rear Mounting Bracket and bolt it to the vehicle using the factory body
mount bolts. NOTE: Brackets mount over bushings.
5. Insert one of the 12mm Nut Plates through the bottom of the front face of the leaf spring
mounting bracket and align it to the factory oval hole.
6. With the 90-degree bend towards the side of the vehicle and facing up, partially attach the
driver side Support Bracket to the already inserted Nut Plate using the included (1) 12mm x
30mm Hex Head Bolt, (1) 12mm Lock Washer and (1) 12mm Flat Washer NOTE: The 90-
degree bent end of the Support Bracket should line up with the hole in the rear Mounting
Bracket. Snug but do not tighten hardware at this time.
7. Carefully position the driver Sidebar up to the Mounting Brackets. Line up the mounting hole in
the Front Support Bracket with the hole in the Front Mounting Bracket, (Figure 9). Use the
included (2) 12mm x 50 Hex Head Bolts, (2) 12mm Lock Washers, and (2) 12mm Flat
Washers to attach the Sidebar to the Mounting Brackets
8. Adjust the Sidebar properly and then tighten all hardware.
9. Repeat steps 2 – 9 for passenger Sidebar installation.
10. Do periodic inspections of the installation to make sure that all hardware is secure and tight.
INSTALLATION INSTRUCTIONS
204016/204016-2
3” SIDEBAR WITH BENT END
04-10 CHEVY COLORADO/ GMC CANYON CREW CAB