Aries Automotive TB45-4012 User Manual
Page 2
Page 2 of 5
2/18/14 (DP)
through the top edge of the panel. NOTE: The plastic panel is held in place with several
small screws. The screws at the top corners are difficult to impossible to reach and remove
without damaging the cover with the bumper in place. If you prefer to remove the panel to
cut out the openings, it may be necessary to remove the plastic grille then the bumper
assembly with the plastic panel attached to access all of the small screws and clips.
c. Reattach the bumper and/or bumper insert, (if removed), and grille once openings have
been cut out and checked for clearance, (Figure 5). Tighten all hardware at this time.
3. Select the driver side Mounting Bracket. Insert the Bracket through the opening in the plastic
bumper. Line up the Bracket with the holes in the end of the frame channel, (Figure 5).
4. Select (1) 12mm Double Bolt Plate, (Figure 6A). Insert the Bolt Plate into the end of the frame
channel, through the (2) holes in the side of the frame and out through the Bracket. Secure the
Bolt Plate to the Bracket with (2) 12mm Flat Washers, (2) 12mm Lock Washers and (2) 12mm
Hex Nuts, (Figure 6B). Snug but do not fully tighten hardware at this time. Repeat this Step to
install the 12mm x 35mm Single Bolt Plate, (Figure 7A), into the remaining hole in the other side
of the frame channel and Bracket, (Figures 7B, 8A & 8B).
5. Repeat Steps 3—4 for passenger side Mounting Bracket installation, (Figure 7B).
6. With assistance, hold the Bull Bar up in position on the outside of the Mounting Brackets. Bolt the
Bull Bar to the Brackets with (4) 10mm x 30mm Hex Bolts, (8) 10mm Flat Washers, (4) 10mm
Lock Washers and (4) 10mm Hex Nuts, (Figure 9). Do not tighten hardware at this time.
7. Level and adjust the Bull Bar and fully tighten all hardware including bumper, bumper bracket and
all Bull Bar Bracket hardware.
8. Do periodic inspections to the installation to make sure that all hardware is secure and tight.
To protect your investment, wax this product after installing. Regular waxing is recommended to add a
protective layer over the finish. Do not use any type of polish or wax that may contain abrasives that could
damage the finish.
For stainless steel: Aluminum polish may be used to polish small scratches and scuffs on the finish. Mild soap
may be used also to clean the Bull Bar.
For gloss black finishes: Mild soap may be used to clean the Bull Bar.
(Fig 1) Opening for tow hook pictured
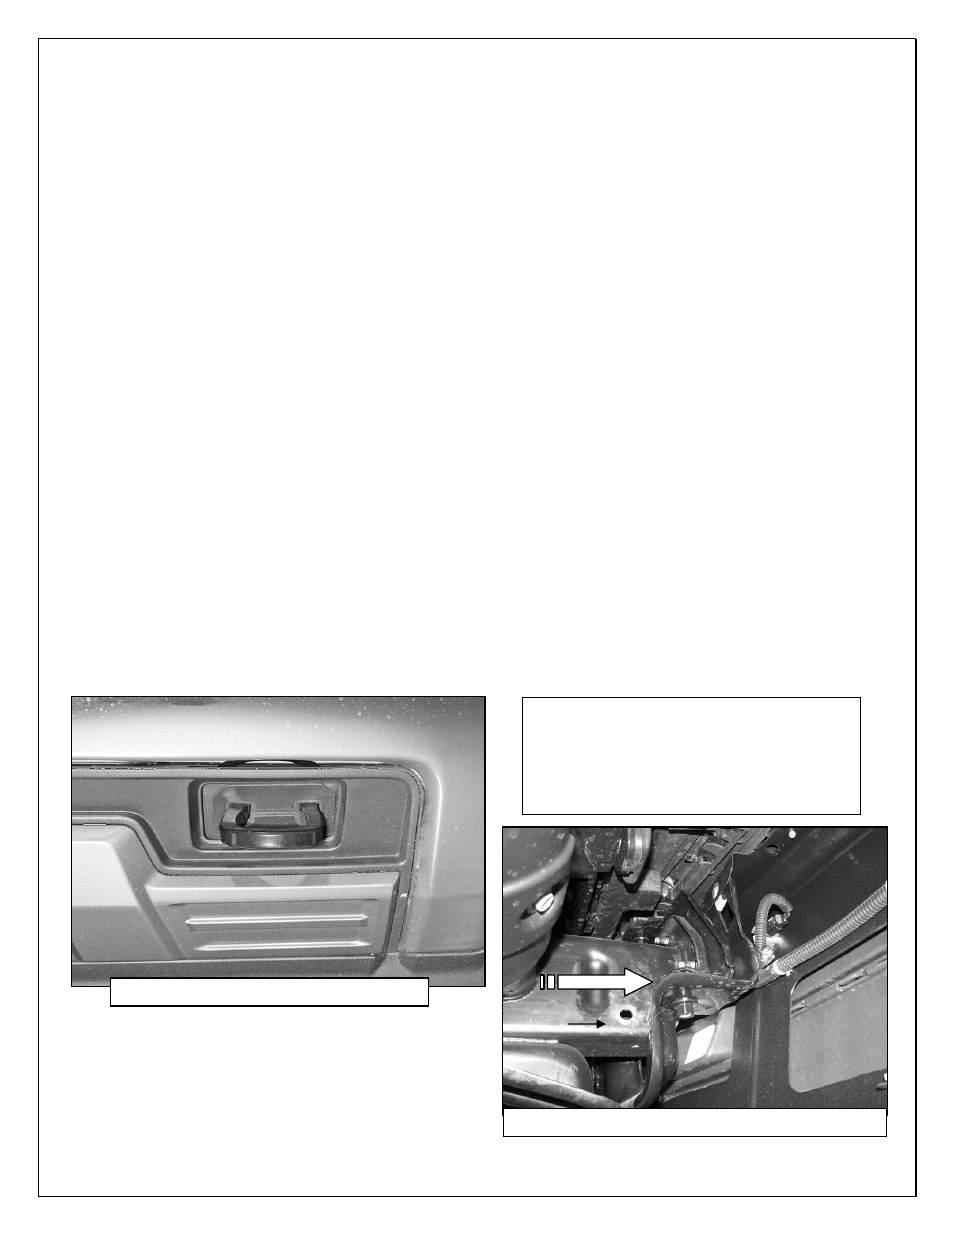
(Fig 2A) Driver side pictured from behind bumper
Remove the bolts securing the driver side
of the bumper to the bumper bracket. Use a
large screwdriver or pry bar to move the
mounting tab (see arrow) up enough to get
the long bolt through the tow hook out of
the end of the frame
Front