Aries Automotive 2065 User Manual
Page 2
GRILLE GUARD
06-13 TOYOTA RAV4
Page 1 of 5 5-10-13 (DP)
PARTS LIST:
Qty Description
Qty
Description
1
Grille Guard
12
12mm x 32mm OD x 3mm Flat Washers
1
Driver/Left Frame Mounting Bracket
6
12mm Lock Washers
1
Passenger/Right Frame Mounting Bracket
6
12mm Hex Nuts
2
Bent Top Support Brackets (06-12 only)
2
6-1.0mm x 30mm Hex Bolts
1
Driver/Left Flat Top Support Bracket (2013
only)
2
6-1.0mm x 25mm Button Head Screws
1
Passenger/Right Flat Top Support Bracket
(2013 only)
2
6mm x 22mm OD x 2mm STD Flat Washers
2
6mm Nut Plates
2
6mm x 12mm OD x 1.6mm Small Flat Washers
6
12-1.75mm x 35mm Hex Bolts
4
6mm Lock Washers
PROCEDURE:
1. REMOVE CONTENTS FROM BOX. VERIFY ALL PARTS ARE PRESENT. READ INSTRUCTIONS
CAREFULLY BEFORE STARTING INSTALLATION. CUTTING IS REQUIRED. ASSISTANCE IS
RECOMMENDED.
2. Starting under the front of the vehicle, remove the plastic splash guard and place it on a clean, stable
work area. IMPORTANT: Pay close attention to the location of all of the two-piece plastic clips and
screws to make reinstallation easier. Use a small flat blade screwdriver to gently pry up the plastic
center pin to release the clips and remove the center pin and the plastic housing.
3. Locate the (4) factory hex bolts securing each end of the crossmember to the frame, (Figure 1). NOTE:
Only install one Mounting Bracket at a time and only remove the (3) factory hex bolts required for
Bracket installation, (Figure 1). Select the driver side Frame Mounting Bracket, (Figure 2A). Bolt the
Bracket in position using the factory hex bolts, (Figure 2B). Snug the hardware but do not tighten at
this time. Repeat this Step for the passenger side Mounting Bracket installation.
4. Open the front hood. Select the correct procedure for model year.
06 – 12 Models:
Move to the top of the grille and remove the plastic panel covering the opening between the
grille and the radiator, (Figure 3). NOTE: See Figure 4A & 4B to determine the correct
procedure to release the retaining clips on the plastic panel.
2006 – 08 Models: Use a small flat blade screwdriver to gently pry up the center pin to release,
(Figure 4A).
2009 – 12 Models: Press the center button down to release, (Figure 4B).
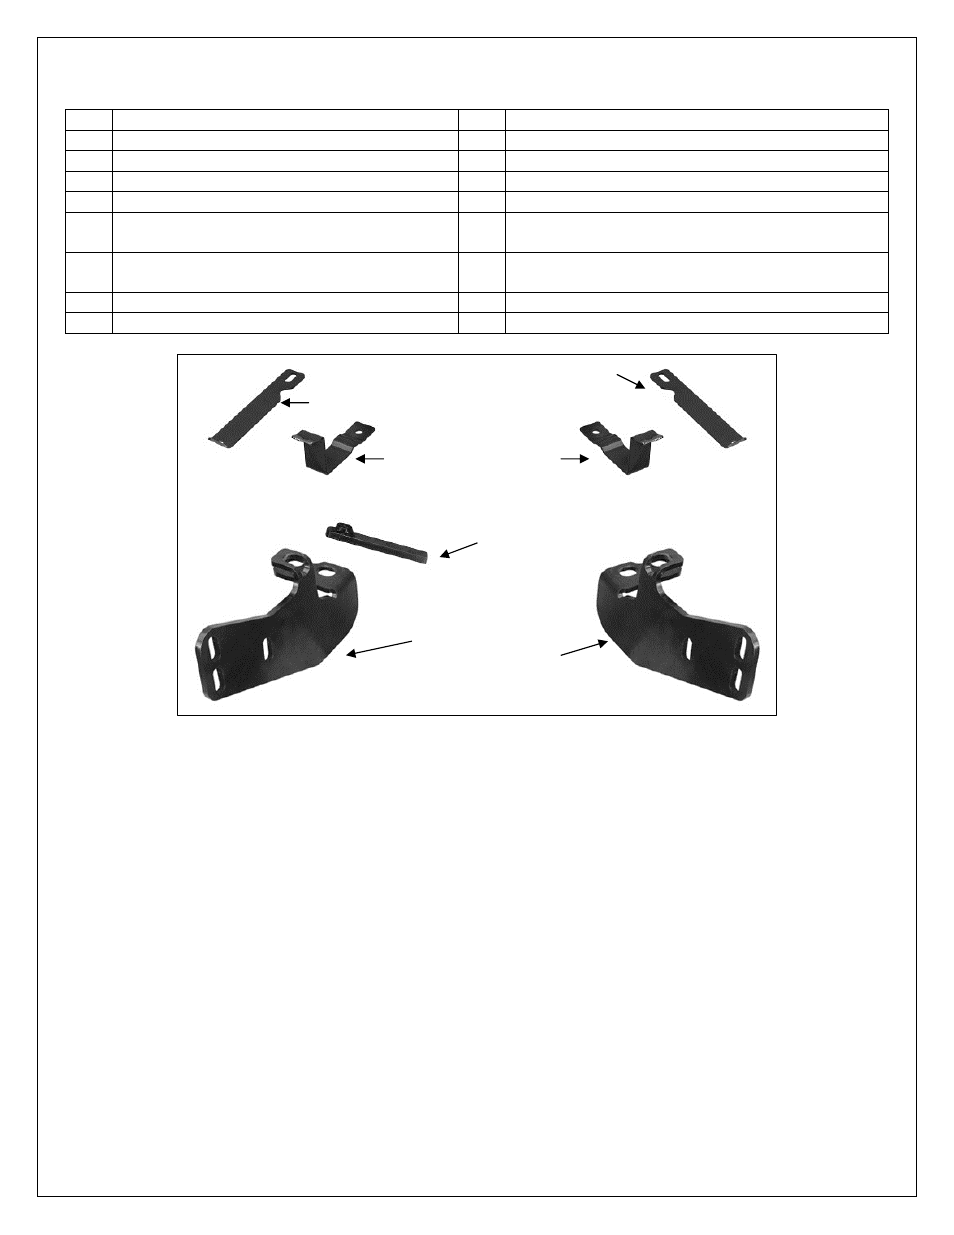
Passenger side
Frame Bracket
Driver side
Frame Bracket
(2) 6mm Nut Plates
(2) 06-12 Top Brackets
2013 Driver side Top Bracket
2013 Passenger side Top Bracket