Warning – Snorkel A38E-sn004509+ User Manual
Page 41
Chapter 9 – Operation
A38E – 8210052
37
When the machine is in the stowed position, with the
booms centered between the rear wheels, the direction
of drive and steer control movement corresponds with
the direction of chassis movement.
When the turntable is rotated from the stowed position,
with the booms to either side of or in front of the chassis,
the direction of control movement does not correspond
with the direction of chassis movement.
To avoid confusion, always drive to the work area
or move between work areas with the turntable and
booms in the stowed position.
After arriving at the work area, the booms may be
positioned to the side or the front of the chassis for
final positioning.
Always look in the direction of movement as indicated
by the directional arrows.
Use the following procedure to operate the drive and
steer functions.
1. Press the drive/steer button.
3. Squeeze and hold the interlock switch against the
joystick. Push the drive joystick forward to move the
chassis forward, the direction of the red arrow. Pull
the joystick backward to move the chassis backward,
the direction of the yellow arrow. The drive speed is
proportional to the joystick position.
4. To stop drive motion, return the joystick to neutral.
5. The steer switch is a momentary contact, rocker
switch on top of the drive joystick. The switch con-
trols the two front wheels to steer the aerial platform.
Squeeze and hold the interlock switch against the
joystick.
To steer to the right, hold down the right side of
the steer switch.
To steer to the left, hold down the left side of the
steer switch.
Note
The steering wheels are not self-centering. Set the steer-
ing wheels straight ahead after completing a turn.
6. After driving to the desired location, release the in-
terlock switch, or push the emergency stop button to
apply the parking brakes.
Drive Speeds
The drive speed is proportional to the joystick position.
The farther the joystick is moved, the faster the travel
speed.
Always slow down before traveling over any sloped
surface.
•
•
•
•
•
Drive speed range is interlocked through a limit switch
that sense the main and riser boom position.
When either boom is elevated, only the slowest drive
speed will work regardless of the joystick position.
To avoid a sudden speed change from high to low
elevated boom speed, always bring the machine
to a stop before raising the booms from the stowed
position.
Warning
The potential for an accident increases when safety
devices do not function properly. Death or serious
injury could result from such accidents. Do not alter,
disable, or override any safety device.
Do not use the aerial platform if it drives faster than 0.75
miles per hour (33 feet in 30 seconds) when any of the
booms are out of the stowed position.
All Motion Alarm
The optional all motion alarm sounds loud intermittent
beeps anytime the machine functions are being oper-
ated.
Electrical Power Outlet
The electrical outlet at the platform has two, 3-prong, 110
volt AC electrical connectors. Their combined output is
limited by a 15 amp circuit breaker.
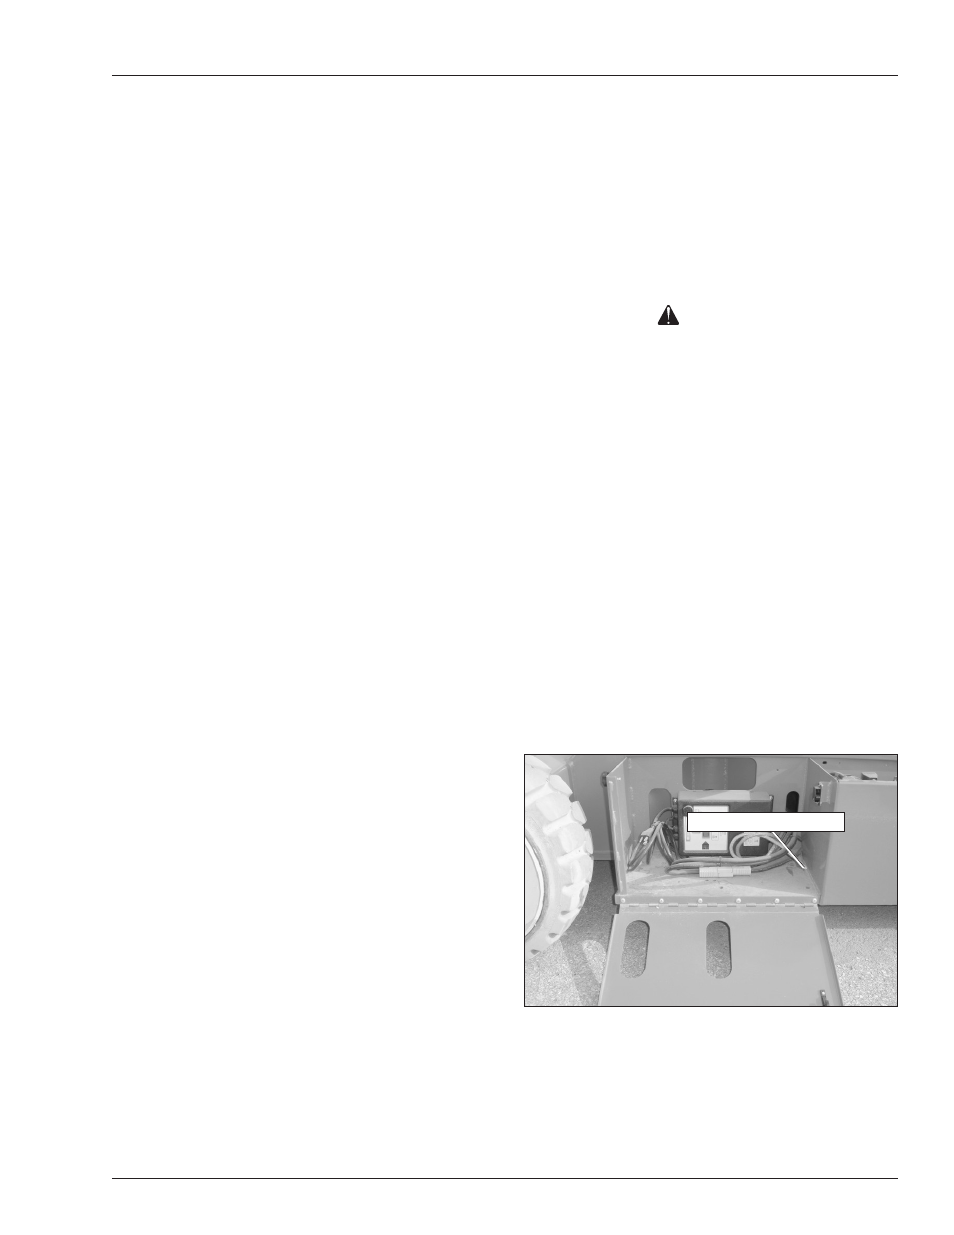
To use the outlet, plug a source of power into the power-
input connector on the right side of the chassis (refer to
Figure 9.3). Unplug the source of power before moving
the aerial platform.
Figure 9.3 – Power-Input Connector
•
•
Power-Input Connector