Step 1, Step 2 – Road Armor 2007-2011 Toyota FJ Rear Bumper User Manual
Page 2
STEP 1 :
Make sure you have all necessary tools and hard-
ware.
Hardware Kit Includes : ( all Grade 8 )
• ( 8 ) 1/2” Hex Nuts
• ( 4 ) 1/2” Bolt Plates
• ( 2 ) 1/2” Flange Nuts
• ( 8 ) 1/2” Wide Washers
• ( 12 ) 1/2” Lock Washers
• ( 8 ) 1/2” Retainer Washers
• ( 6 ) 1/2 x 1” Carriage Bolts
• ( 6 ) 5/16 x 1” Allen Head Screws
• ( 2 ) 5/16 x .75” Allen Head Screws
• ( 14 ) 5/16” Flat Washers
• ( 6 ) 5/16 Nuts
• ( 2 ) 5/16 Corner Pod Bolt Pads
• ( 4 ) 12mm x 1.5” Bolts
• ( 4 ) 12mm Big Flat Washers
• ( 8 ) 3/4” Hole Covers
• ( 4 ) #10 x 1” Allen Head Screws, Lock Washer, and
Nuts
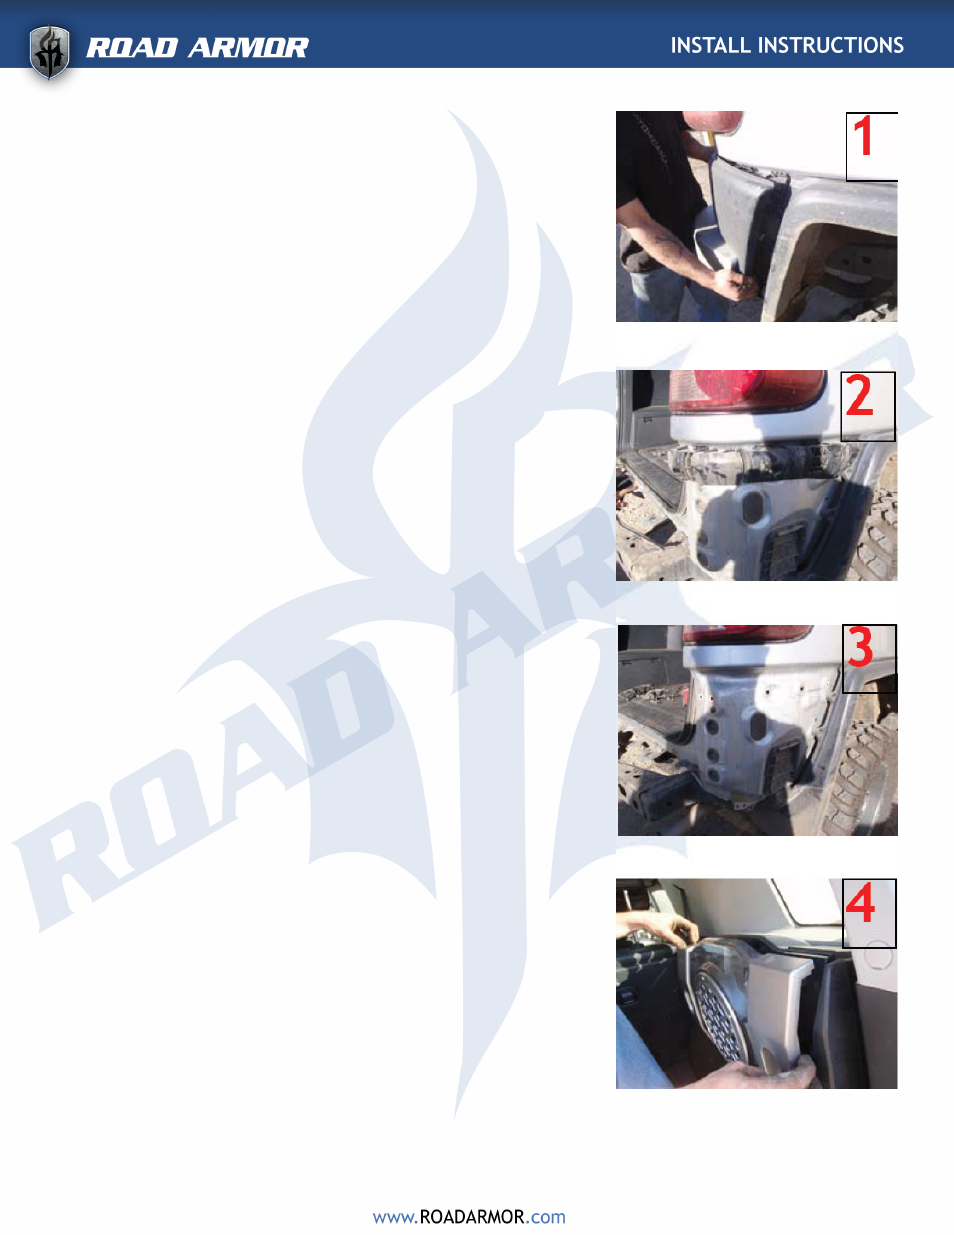
STEP 2:
• Park on level surface and Disconnect Positive Battery
Terminal.
• Disconnect backup sensor/bumper lights.
• Remove all the bolts from the OEM plastic bumper.
• Pop the bumper corners off.
• Pull off corner guard mounts from body as illustrated
in picture 3
• Pop out the panels inside the cab (spare jack panel,
both tail light panels, AC power outlet panel, and
panel below the subwoofer).
• Take out the two 10mm socket head screw on either
side of the plug (below the subwoofer). Unplug white
plug to the subwoofer at this point.
• Remove the face of the woofer, pulling gently from
the top, separate the face from the main body. Clips
are used to hold this on, leave the screws on the face
alone for now. Picture 4
• Now you can see the subwoofer and the two other
10mm screws on either side of the woofer, in the
round recesses. Remove these along with subwoofer.
Picture 5
• Unbolt the 3 nuts per side that hold the tail lights in
and pull tail lights out.
• Unbolt the rear tow hooks and body mount nut on both
sides.