Step 5 – Road Armor 2010+ Dodge 2500,3500 Front Bumper User Manual
Page 4
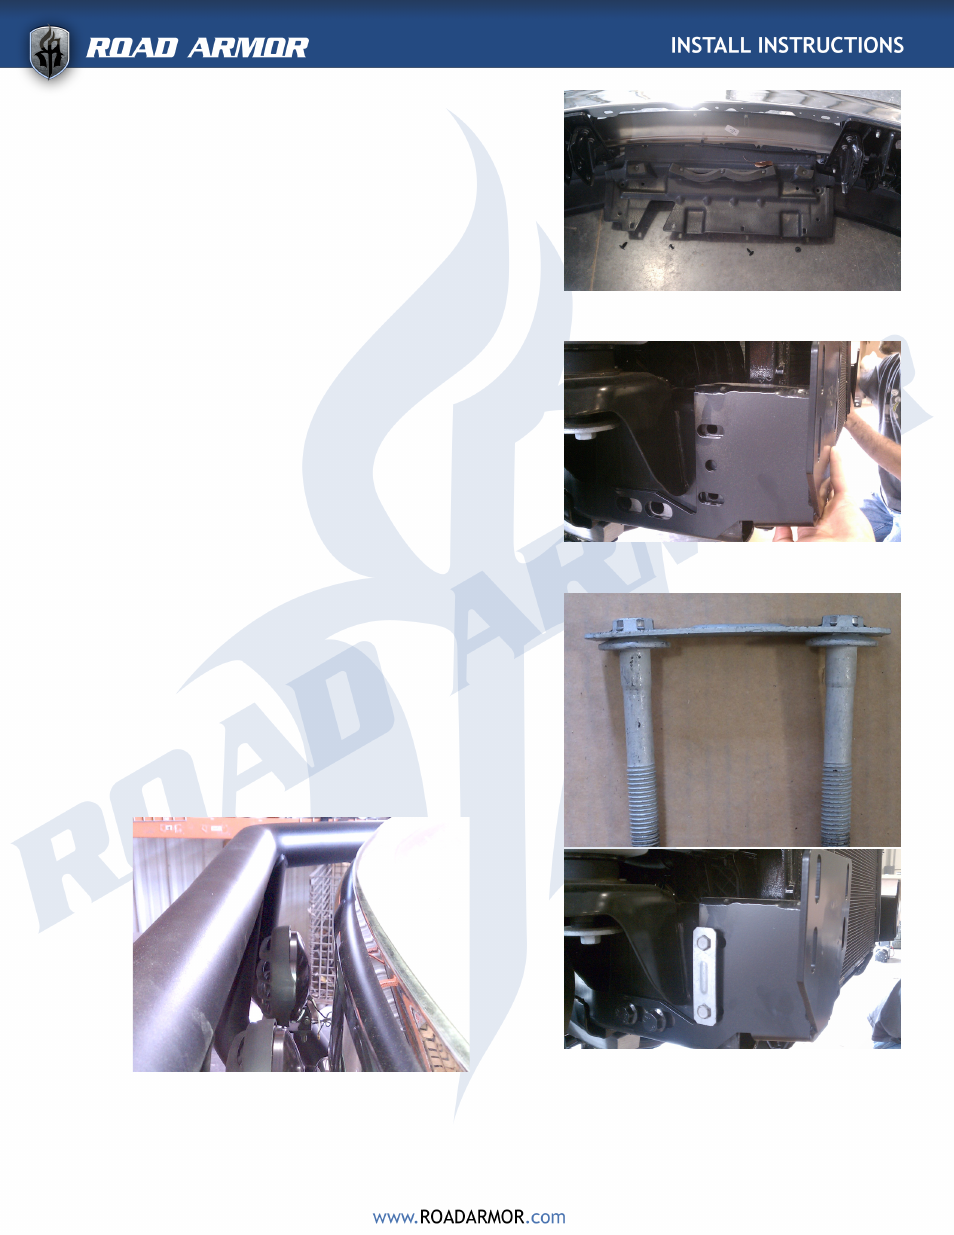
11
12
10
9
8
Repeat this step for the other side of the bumper.
Hand tighten all hardware to allow for adjustment
at a later step.
• Insert the four other bolt plates into the inner slots
of the brackets fasten with one ½” flat washer, ½”
lock washer, and one ½” nut on each bolt in each
bolt plate. Hand tighten all hardware.
Picture 10
• Make final adjustment to bumper and tighten all
hardware. Once bumper is fully adjusted attach
stainless steel road armor logo to bumper with sup-
plied hardware
Picture 11
STEP 5:
•
Once bumper is fully adjusted the plastic liner in
the wheel well needs to be cut back to fit inside road
armor bumper. Draw with a crayon or marker where it
needs to be cut. Use a utility knife to cut plastic liner.
NOTE: If you are unsure how much to cut away from liner
cut a small portion and try to fit liner behind bumper. If it
will not fit trim more off until it fits to your liking. When
you are done the plastic should look like the picture 12.
Repeat for other side of the bumper.