Recording a real instrument – Apple GarageBand Tutorial: Lesson 2 User Manual
Page 4
4
Lesson 2: Working With Real Instruments
Recording a Real Instrument
Now you’re ready to record your Real Instrument. You can record one Real Instrument track at a
time.
To record a Real Instrument:
1
Click the header of the Real Instrument track you want to record in to select the track.
2
Move the playhead to the point in the timeline where you want to start recording.
3
Choose Control > Count In to have the metronome play a one-measure count-in before
recording starts. You can also set the playhead a few beats before the point where you want the
music to come in to make it easier to start playing on the beat.
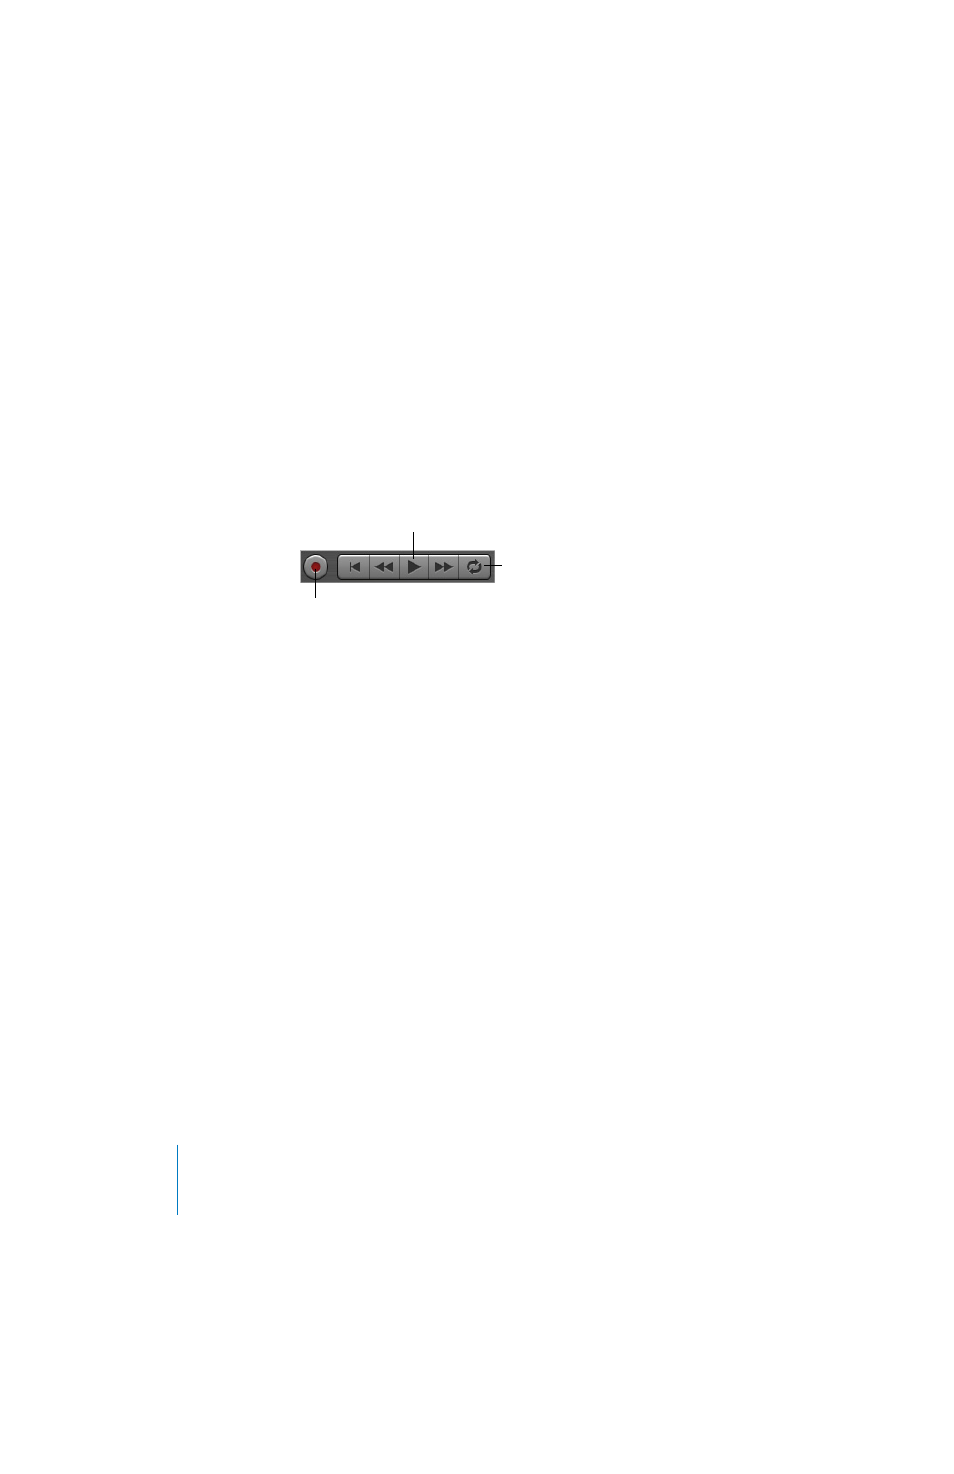
4
Click the Record button, then click the Play button.
5
Start playing your instrument, or singing into your microphone. As you record, a new region
appears in the selected Real Instrument track with the music you record.
6
When you are finished, click the Record button again to stop recording. Click the Play button to
stop the song playing.
An audio waveform appears in the newly recorded region.
After you record, you can listen to your new recorded part to see how you like it.
To hear the new recording:
1
Move the playhead to the point in the timeline where the new region starts (align it with the left
edge of the region). You can also move the playhead to an earlier point in the song, or to the
beginning of the song, to hear the new recording in the context of the song.
2
Click the Play button, or press the Spacebar.
Play button
Cycle button
Record button