Apple AppleShare (AppleShare IP) Client 3.8 User Manual
Page 4
4
Updating Your AppleShare Client Software Over a Network
After you have upgraded to Mac OS 8.1 or later, you can update your AppleShare Client
software by installing AppleShare Client. If your AppleShare IP administrator has made the
software available to you on the network, you can perform the update by logging on to the file
server.
Note: To determine what version of AppleShare your computer is using, select the
AppleShare icon in the Extensions folder inside your System Folder. Then choose Get Info
from the Finder’s File menu.
To log on to a file server to install AppleShare Client, follow these steps:
1
Choose the Chooser from the Apple (K) menu.
2
Select the AppleShare icon in the upper-left box of the window.
3
If your network is divided into zones, click the zone in which the file server is located in the
AppleTalk Zones list.
Your network administrator should tell you the name of the zone (if any) to select. After you
choose a zone or if there are no zones, AppleShare file servers appear in the upper-right
corner of the window.
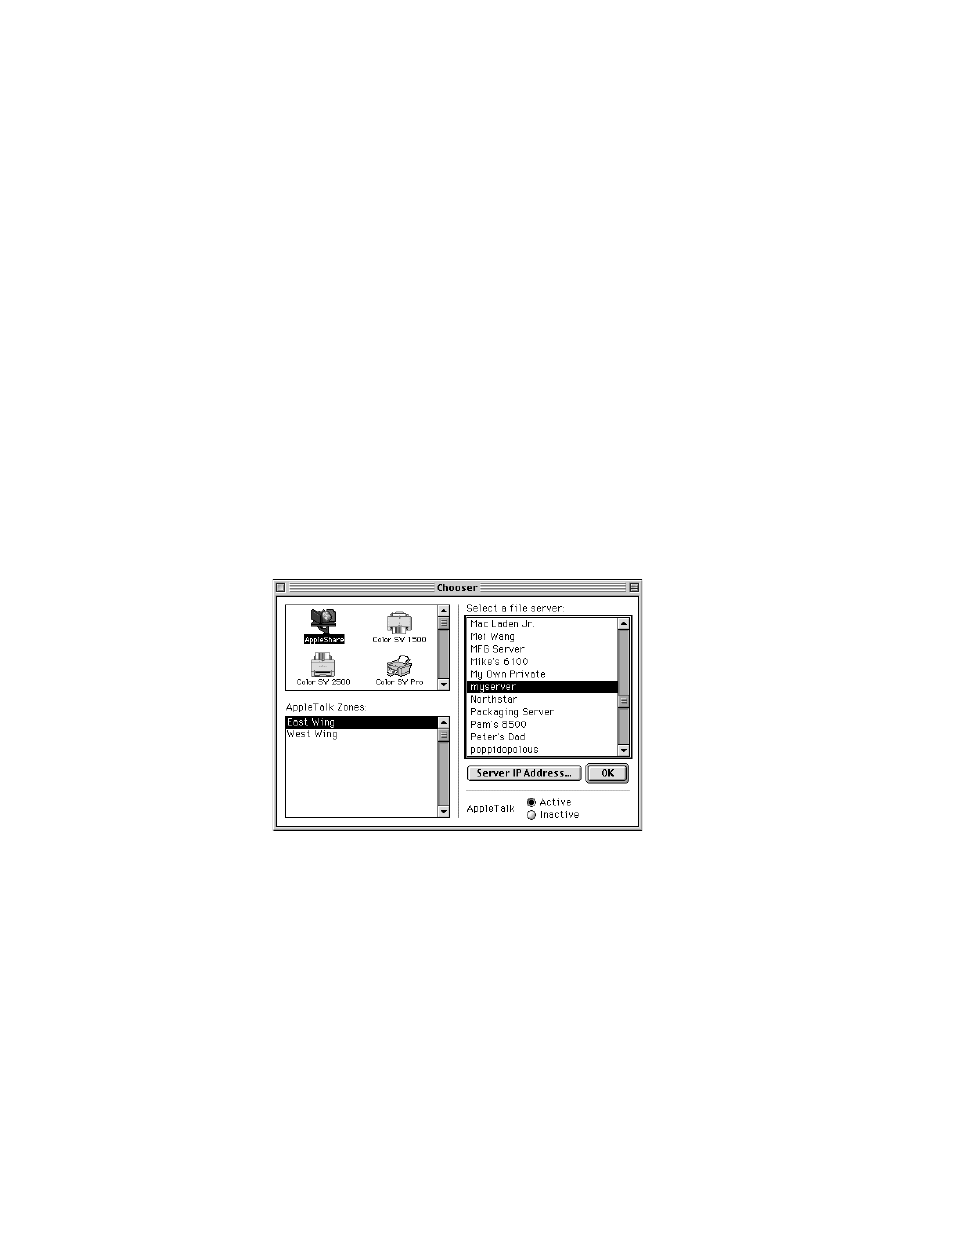
Note: Depending on the version of system software that your computer is using, the Chooser
window may look slightly different.
4
Click the name of the file server that is sharing the AppleShare Client software in the “Select a
file server” list.
Your network administrator should tell you the name of the file server to select.