Step seven: make adjustments to clips – Apple iMovie HD 6 User Manual
Page 24
24
Chapter 2
iMovie HD Tutorial
To change the color of a black clip:
1
Select the black clip and choose File > Show Info.
2
Click the Color box.
3
Choose the color you want in the Colors window.
4
Click Set.
Once you add a title to your movie, you can always make changes to it. Just select the
title clip in your movie, make the changes you want, and click Update. To remove a title,
select the title clip and press the Delete key once. If you need to make the same
change to more than one clip with text, select them all, and make the change once.
Step Seven: Make Adjustments to Clips
Now that you have a movie with video, photos, and a title, you may want to make
some adjustments to your video clips. Most of the editing you do in iMovie occurs in
the timeline viewer. In this step, you’ll learn how to make small or large changes to your
video clips by trimming them in the timeline viewer.
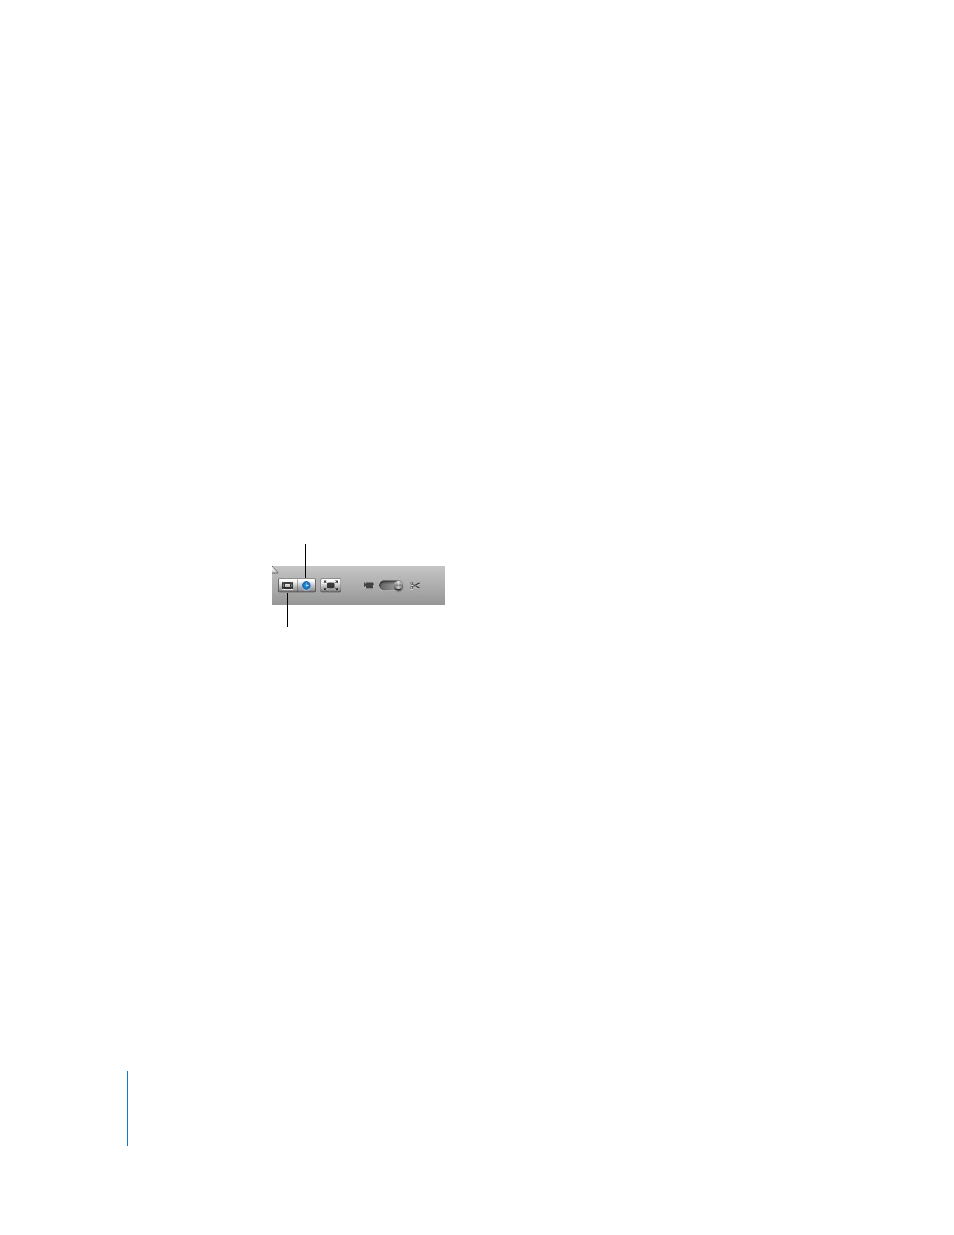
To switch to the timeline viewer:
m
Click the timeline viewer button below the iMovie monitor. The timeline viewer button
has a clock on it.
Video clips appear in the top track in the timeline viewer. You can drag the slider in the
bottom-left corner of the window to make clips appear larger or smaller in the timeline
viewer. You may want to make the clips smaller to see more of them in the window, or
make them larger for more precise editing.
To quickly trim a clip:
m
Drag from the end of the clip toward the center of the clip. (The pointer changes shape
to show where you can drag.)
Timeline viewer button
Clip viewer button