Installing the replacement rear id button – Apple Xserve Intel (Late 2006) DIY Procedure for Rear ID Button User Manual
Page 4
Xserve (Late 2006) Rear ID Button Replacement Instructions
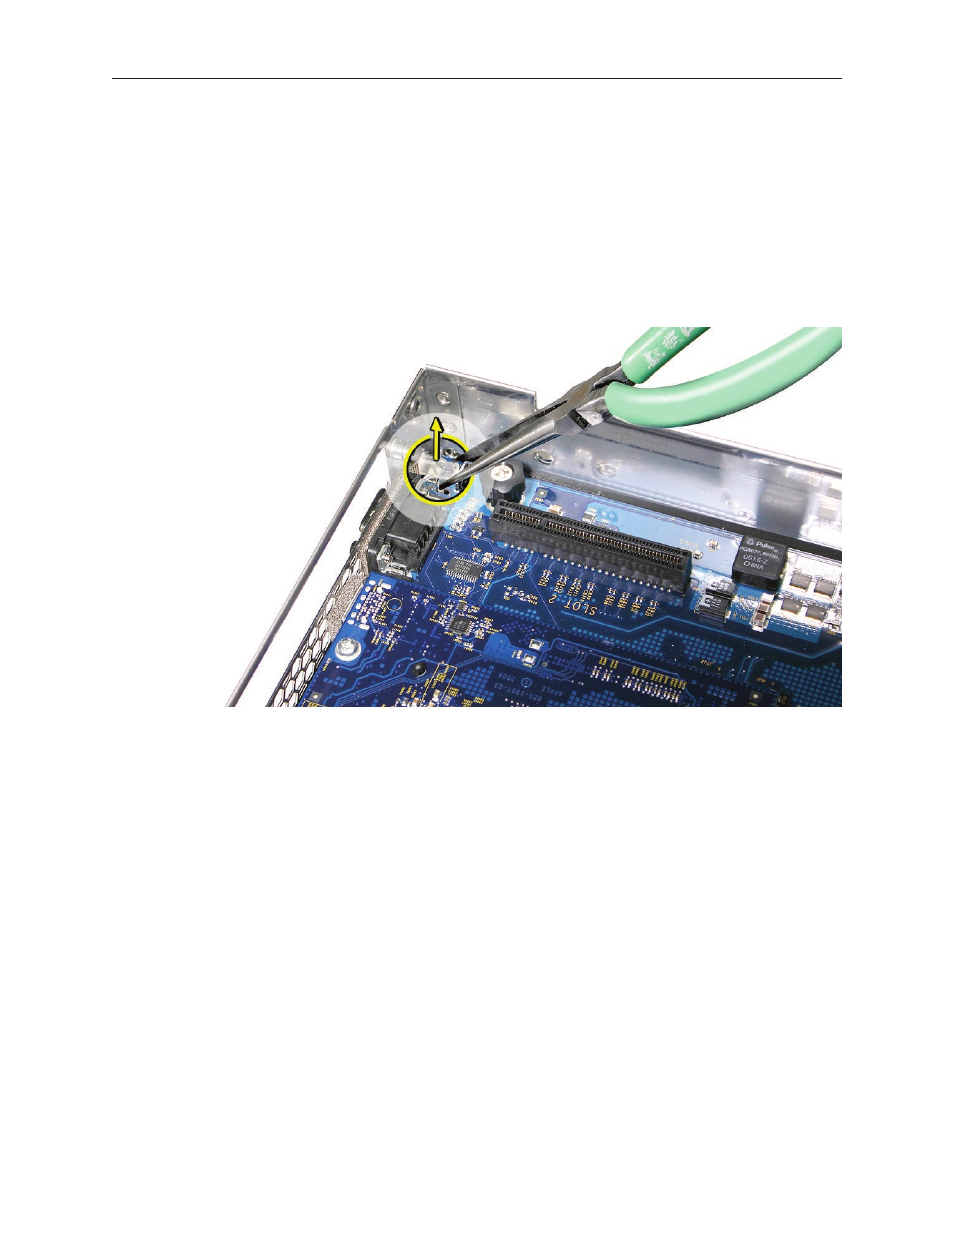
Using needlenose pliers, gently squeeze together the two clear plastic prongs that are part
of the ID button to release them from the their holes in the logic board.
Gently grasp the body of the button with the needlenose pliers, and pull up and toward the
front of the Xserve to carefully disengage the button’s additional two prongs from the logic
board.
Continue to pull up and toward the front of the Xserve to disengage the button from the
opening in the rear panel.
Remove the button from the enclosure.
Installing the Replacement Rear ID Button
Note: When installing the rear ID button, take care not to bend or break the four small plastic
prongs as you work the button back through the opening in the rear panel.
Using needlenose pliers, position the replacement rear ID button in its opening in the rear
panel.
Carefully press down so that all four prongs on the button are properly seated in their
respective holes in the logic board.
Replacing the Right PCI Riser Card
Align the right riser card with its slot on the logic board and press to seat the riser.
Tighten the captive screws that secure the riser bracket to the back panel.
2.
3.
4.
5.
1.
2.
1.
2.