Warning, Important – Burley Nomad User Manual
Page 7
B U R L E Y T R A I L E R O W N E R ’ S I N S T R U C T I O N A N D S A F E T Y M A N UA L
Flatbed
™
: Remove the thumb nut from the quick-release
lever. Insert the quick-release lever through the hollow
axle of the wheel, making sure the lever is on the flat
side of the wheel and the springs are mounted on each
side as shown in the illustration. With the quick-release
lever in the unlocked position, place the wheel into the
dropouts, making certain that the axle goes all the way
into the slots. Once the wheel is fully seated, replace
and tighten the thumb nut. You should feel resistance
halfway through closing the lever. Position the quick-
release lever so that it is aimed to the rear of the trail-
er in the “CLOSED” position (the lever is marked for
OPEN or CLOSED positions). Repeat for the other wheel.
Note: Wheels are not centered on the axle.
Make sure the wheels are held securely; you should not be able to rock or
shift them. Do not operate with tires inflated above 5 P.S.I. Improperly
installed wheels or over-inflated tires can cause an accident or serious
WARNING
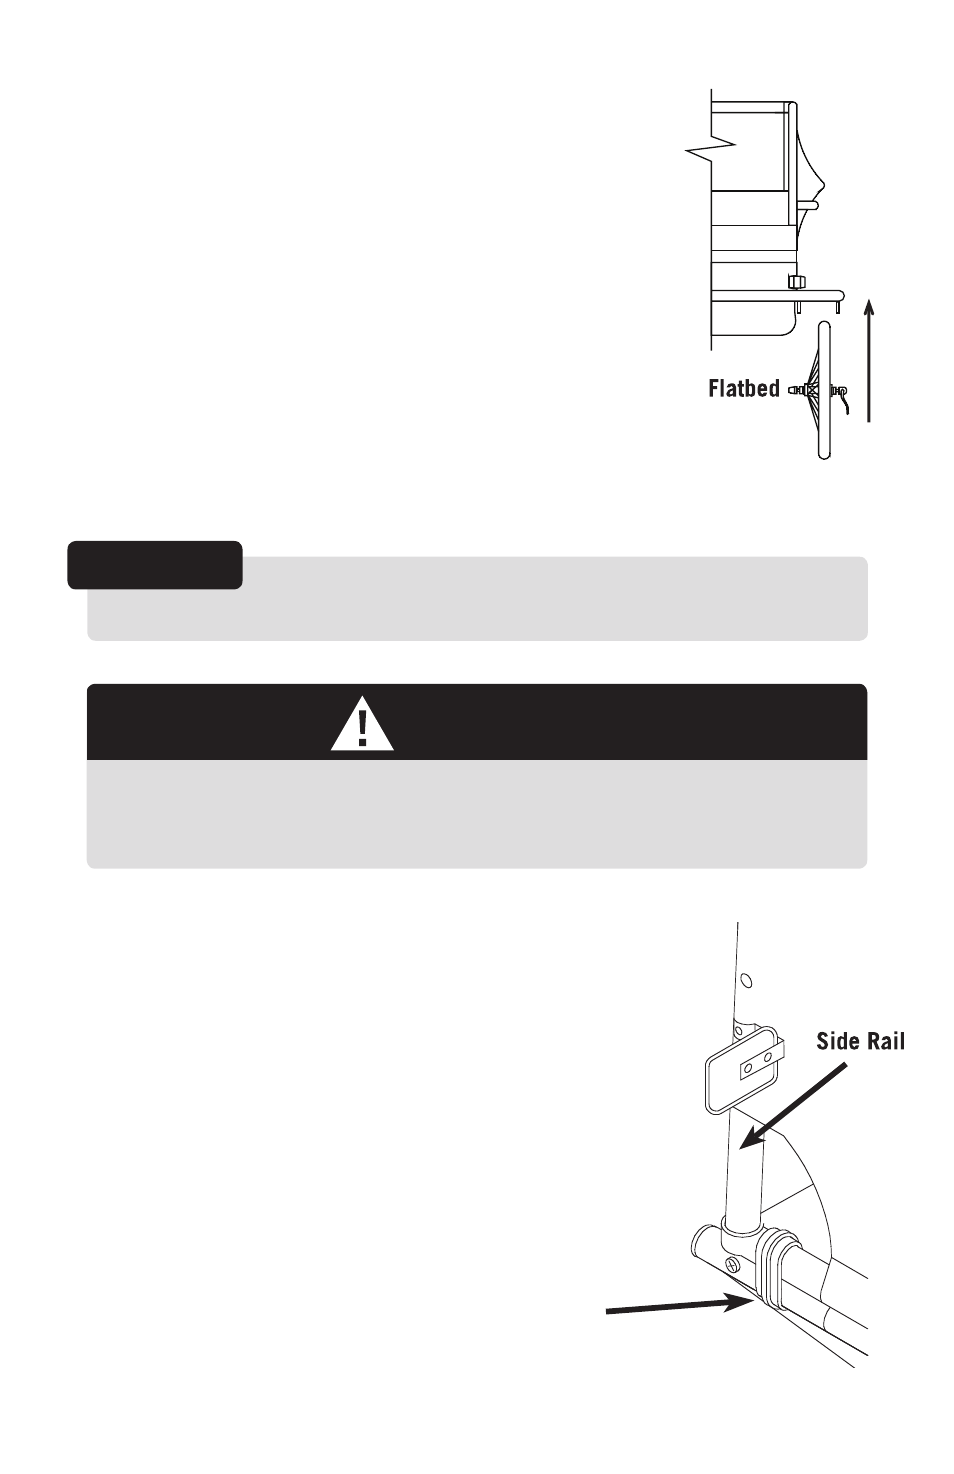
Installing the Side Rails
Nomad
™
: Flip the four plastic (C-shaped) side
panel hold-downs to the outside. Slide each
side rail down over the side rail guides at the
front and rear of each side of the main frame.
The narrower end of each side panel goes to
the rear, with the “Burley” logo facing outward.
Snap the plastic side panel hold-downs over the
side panel tubing at the front and rear of each
side as shown.
Wheels are dished off-center and must be installed so
that tires are offset away from side rails, closest to outer frame.
IMPORTANT:
Side
Panel
Hold-down
(snapped
in place)