Black & Decker BLC18750DMB User Manual
Page 5
8
7
4. Press
START/STOP button and blender will begin running. Display will show
countdown in 1-second increments and blender will automatically stop once
time has run down.
5. If longer blending is required, simply press
/
buttons to select additional
time desired. Then
START/STOP button again.
Note: To run blender longer than 60 seconds or if mixture needs more blending
once blender has stopped, press
button to select additional time desired and
press
START/STOP button to resume blending.
Important: If SPEED is selected first and then TIME is selected, visual display will
show the time countdown as blender runs. Otherwise, countdown will not be
shown.
TO USE PULSE (K)
This is useful for blending tasks such as grinding coffee
beans or nuts, or when blending thick mixtures.
1. Press
/
buttons to select the speed that best
suits your task. Digital display will show the number
of the speed selected.
2. Press and release
MODE button to select PULSE. The
red indicator light will be illuminated above
PULSE.
3. Press and hold
START/STOP button for no more than 5 seconds. Release and
press again until food has desired consistency. Releasing
START/STOP button
automatically turns blender off.
4. Allow several seconds between pulses.
Note: Use PULSE button to begin blending process when preparing beverages that
include ice cubes; this helps to produce smoother texture.
5. Once mixture is ready for continuous blending, press and release
MODE
button to select
TIMER. Press
/
buttons to select desired amount of
running time.
6. Press
START/STOP button and blender will begin running. Display will show
countdown in 1-second increments and blender will automatically stop when
time has run down.
TO USE CRUSH (L)
Use to crush up to 1½ cups ice cubes to a fine crush in
just 10 seconds.
1. Press
/
buttons to select speed that best suits
your task. Crush up to 1 cup from speed 12-18. Crush
1½ cups from speed 15-18. Digital display will show
number of speed selected.
2. Press and release
MODE button to select CRUSH. The
red indicator light will be illuminated below
CRUSH.
3. Press
START/STOP button. Two ice cubes will flash on digital display while
blender is running on this function.
4. Blender will continue to run until
START/STOP button is depressed again.
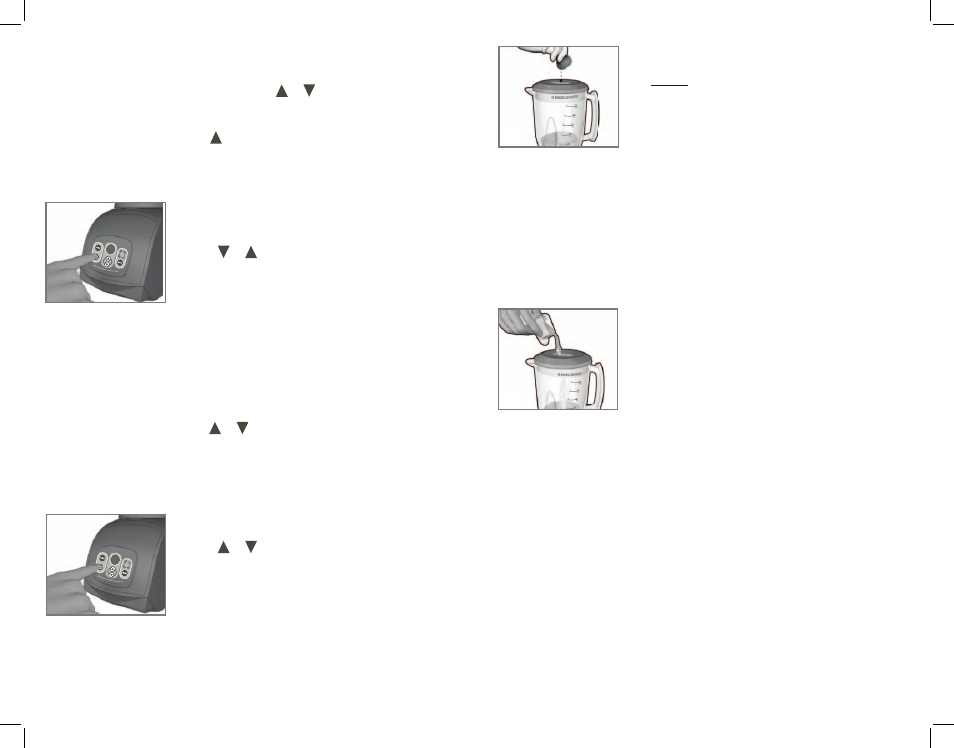
TO ADD FOODS WHILE THE BLENDER IS RUNNING
Open lid cap to add ingredients while blender is running.
Drop or pour ingredients through opening.
(M)
Important: Do not remove lid while blender is running.
BLENDING TIPS AND TECHNIQUES
• Cut food into pieces no larger than ¾-inch for use in blender.
• When preparing foods that have several different kinds of ingredients, always
add liquid ingredients first.
• When ingredients splatter onto sides of jar or mixture is very thick, press
START/STOP button to turn appliance off. Remove lid and use a rubber spatula
to scrape down sides of the jar and to redistribute food, pushing food toward
blades. Replace lid and continue blending.
Important: Appliance should always have cover in place when in use.
Caution: Do not place blender jar on base when motor is running.
• Lid cap holds up to 2 oz. of liquid and can be used
as a measure when adding ingredients such as juices,
milk, cream and liquor
(N).
• When making bread crumbs, chopping nuts or
grinding coffee beans, make sure blender jar is
completely dry.
• When using
PULSE function, use short bursts. Allow
blades to stop rotating between pulses. Do not use
pulse for more than 2 minutes.
• Use
PULSE function to begin blending process when preparing beverages that
include ice cubes; this helps to produce a smoother texture. Once mixture
begins to come together:
o Set
MODE to SPEED; select desired speed.
o Change
MODE to TIMER; select desired running time.
o Press
START/STOP and let blender run.
•
PULSE function is helpful when short bursts of power are needed, such as when
preparing thick smoothies or milkshakes, chopping nuts or grinding coffee
beans.
• It is helpful to begin blending process on lowest speed and then increase to
higher speeds, if necessary.
• To stop blending at any time, press
START/STOP.
CUPS
OZS
M
CUPS
OZS
N
9
K
11
L