18 english, Display setting – Toshiba BDX1250 User Manual
Page 18
18
English
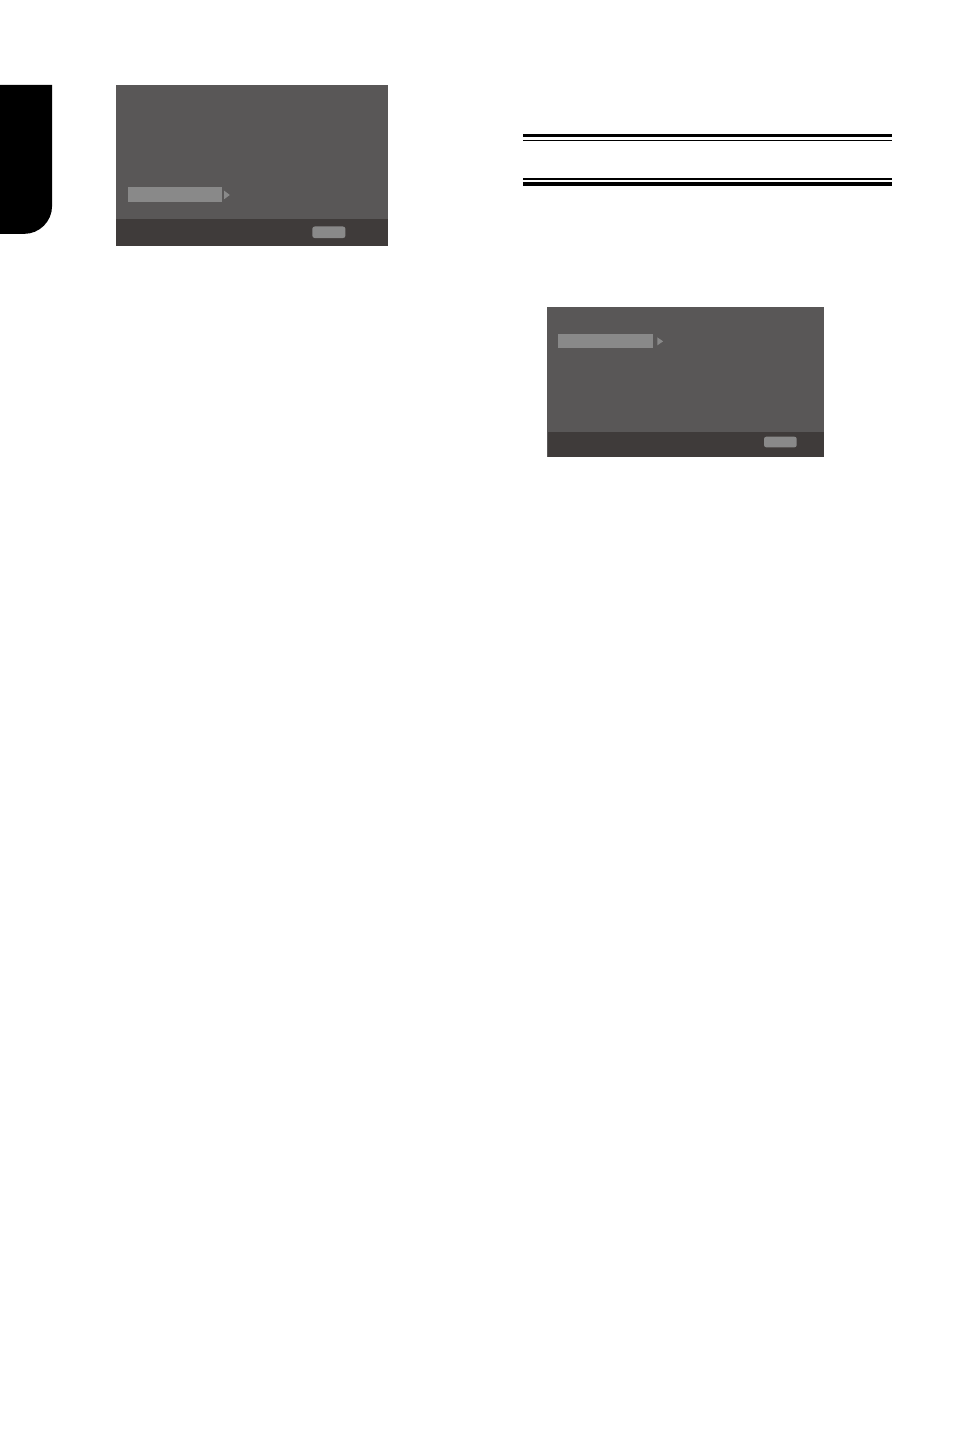
[Network]
System
Language
Information
Playback
Connection Test
Security
IP Setting
Network
BD-Live Connecti...
General Setting
SETUP Exit
Move cursor key to select menu option
then use “OK ” key to select
To enjoy BD-Live™ bonus contents, set
up the network connection.
Note:
- Ensure that the network cable is properly
connected and the router is switched on.
1. Connect the Blu-ray Disc™ player to
the broadband modem or router.
2. In the Setup menu, select [Network],
then press .
3. Select [IP Setting] in the menu, then
press OK to select [Auto]. An IP address
is obtained automatically.
If no IP address is obtained, select
[Manual] to input IP Address, Subnet
Mask, Default Gateway, DNS1/DNS2
and press OK to re-connect again to the
network. It will try to obtain the IP
address again.
4. Press RETURN or press OK to exit.
Notes:
- During [Manual] mode, if the number is entered
incorrectly, press to erase the number.
- A contract with the provider is needed to connect to
the Internet.
- This player does not support automatic detection of
cross-cables. Use the straight (standard) LAN cable.
- Loading BD-Live™ content from the internet may
take some time, depending on the file size and the
speed of the internet connection.
• [IP Setting]
{Auto} – Auto obtain network information.
{Manual} – Manual setup network
information.
• [Connection Test]
Display Network connection status
information.
• [BD-Live Connection]
{Permitted} – During playback of
BD-Live™ disc, the disc may
automatically download all information
from appointed network.
{Partial Permitted} – During
playback of BD-Live™ disc, the disc may
automatically download partial of the
information from appointed network.
{Prohibited} – Disable downloading
information from network.
• [Information]
Display all Network Information.
Display Setting
1. Press SETUP, [General Setting] menu
is displayed.
2. Press to select [Display Setting],
then press .
3. Select an option, press to access.
TV Screen
16:9 Full
Auto
Off
Video Process
Resolution
Color Space YCbCr422
HDMI Deep Color
Display Setting
SETUP Exit
TV
HDMI 1080/24p
Move cursor key to select menu option
then use “OK ” key to select
On
4. Press / to select a setup option and
press .
5. Select the setting you wish to change
and press OK to confirm.
- Press to return to the previous
menu.
- Press SETUP to exit the menu.
[TV]
• [TV Screen]
Select the screen format according to
how you want the picture to appear on
the TV.
{16:9 Full} – For a disc with the aspect
ratio of 4:3, the output video is
stretched into 16:9 full screen.
{16:9 Normal} – For a disc with the
aspect ratio of 4:3, the output video is
resized vertically to match what will be
seen on the display.
{4:3 Pan&Scan} – For standard TV, it
displays a wide picture on the entire
screen and cuts off the redundant
portions.
{4:3 Letterbox} – For standard TV, it
displays a wide picture with two black
borders on the top and bottom of 4:3
screen.
• [Resolution]
Select a video output resolution that is
compatible with your TV display
capability.
{Auto} – Select the most suitable
resolution according to the TV.
{480i/576i}, {480p/576p}, {720p},
{1080i}, {1080p}
– Select a video resolution setting that
is best supported by the TV
. See TV