Toshiba RDXV49 User Manual
Page 44
44
EN
6
Repeat step 5 until you register all the titles to
be dubbed, then press [DUBBING].
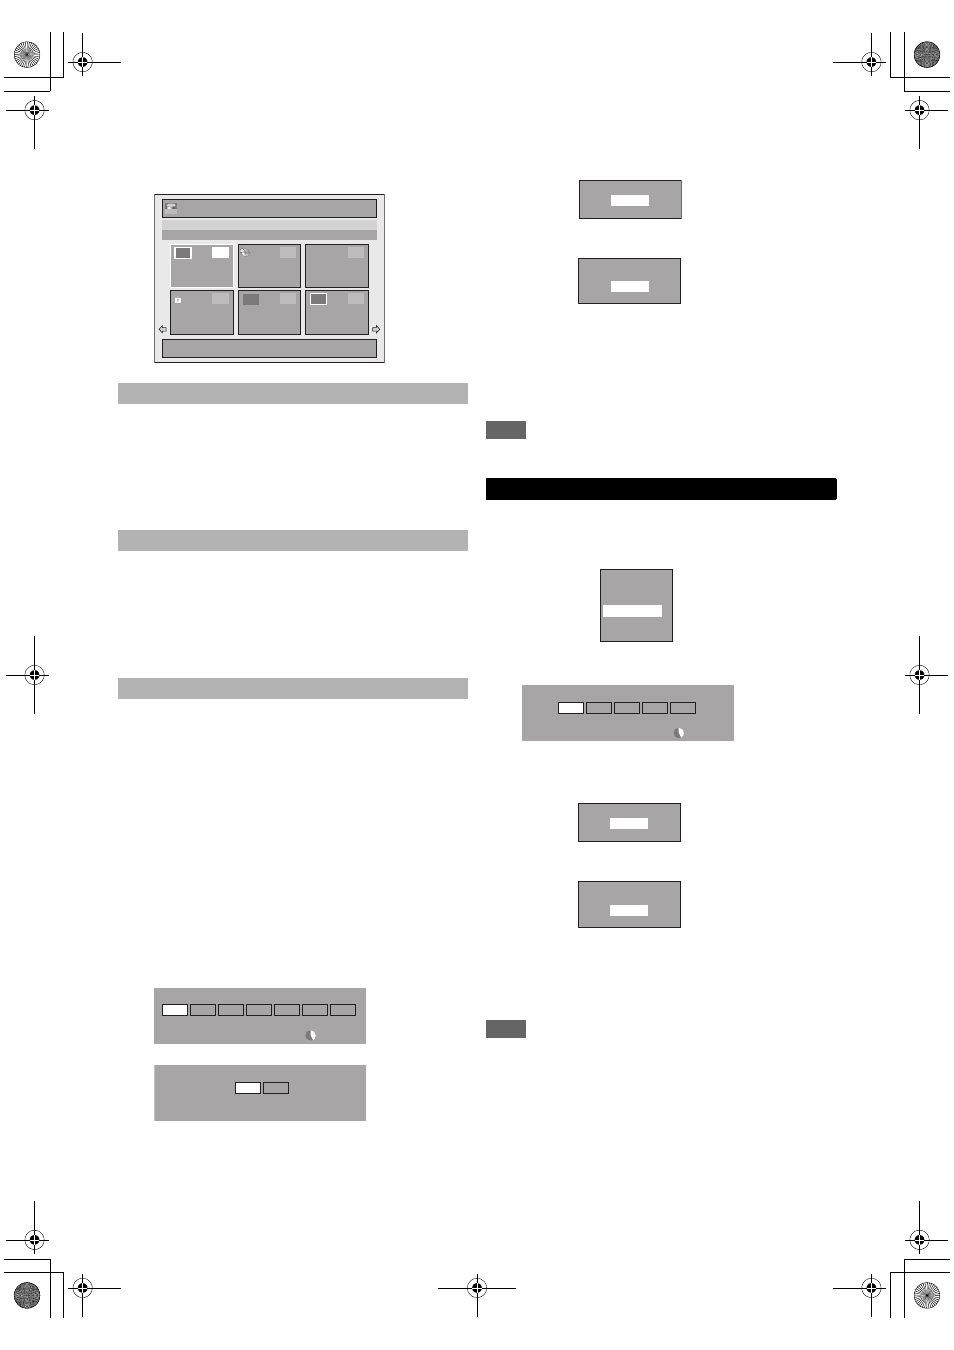
e.g.) HDD
1) Go to the dubbing list, then select a title using
[K
\ L]. Then press [ENTER\OK].
2) Select “Delete” using [K
\ L], then press
[ENTER
\OK].
3) Select “Yes” using [K
\ L], then press
[ENTER
\OK].
1) Go to the dubbing list, then select a title using
[K
\ L]. Then press [ENTER\OK].
2) Select “Move” using [K
\ L], then press
[ENTER
\OK].
3) Select a desired insert point using [K
\ L], then
press [ENTER
\OK].
1) Select “Delete All” in the dubbing menu using
[K
\ L], then press [ENTER\OK].
2) Select “Yes” using [K
\ L], then press
[ENTER
\OK]. Final confirmation message will
appear.
3) Select “Yes” using [K
\ L], then press
[ENTER
\OK].
• To go back and forth between dubbing menu and dubbing
list, use [{
\ B].
7
After adding all the titles you want, select
“Dubbing Start” in the dubbing menu using
[K
\ L], then press [ENTER\OK].
8
Select a desired recording mode using [{
\ B],
then press [ENTER
\OK].
e.g.) HDD
A DVD
e.g.) HDD
A VHS
Confirmation message will appear.
• Depending on the dubbing direction, the available
recording mode varies.
• When dubbing from HDD to DVD, you can select “High”
to perform the high speed dubbing (refer to “Recording
Mode for Dubbing” on page 41 for more details).
9
Select “Yes” using [K
\ L], then press
[ENTER
\OK].
If dubbing continues when timer recording starts, the next
display will appear.
Dubbing will start.
• It may take awhile to prepare for the dubbing.
To stop the dubbing in progress:
Press [STOP C] on the front panel.
Press [STOP C] for 2 seconds on the remote control.
For “HDD to VHS” or “DVD to VHS”, press
[EJECT
\STOP A \ C] on the front panel.
Note
• Dubbing will be cancelled 2 minutes before starting timer
recording.
3
Select “VCR
A HDD” / “VCR A DVD” using
[K
\ L], then press [ENTER\OK].
e.g.) VHS
A HDD
4
Select a desired recording mode using [{
\ B],
then press [ENTER
\OK].
Confirmation message will appear.
5
Select “Yes” using [K
\ L], then press
[ENTER
\OK].
If dubbing continues when timer recording starts, the next
display will appear.
Dubbing will start.
• It may take awhile to prepare for the dubbing.
To stop the dubbing in progress:
Press [STOP C] on the front panel.
Press [STOP C] for 2 seconds on the remote control.
Note
• Dubbing will start where the tape is stopped.
• After starting dubbing, the picture may be distorted because
of the digital tracking function. This is not a malfunction. Be
advised to play back the videotape until the picture is
stabilised, then set the starting point at which you want to
start recording, and start dubbing.
• Dubbing will be cancelled 2 minutes before starting timer
recording.
• The device mode change is available only between HDD
and DVD during the videotape to the HDD / DVD dubbing.
To delete a title:
To move a title:
To erase all the titles in the dubbing title list:
1 / 6
21/ 01/ 09 07:00 22 SP
07:00 (00:30:00)
21/01/09
22 SP
1
2
4
5
6
2
3
ORG
1
Press ‘DUBBING’ to confirm.
1
New
Title List
XP
SP
LP
EP
SLP
500 MB
3000 MB
Please select REC MODE.
High
Auto
Dubbing Titles
SP
LP
Please select REC MODE.
VHS to HDD / DVD
Start Dubbing?
Yes
No
Timer Recording is in standby.
Start Dubbing?
Yes
No
HDD
A DVD
DVD
A HDD
HDD
A VCR
VCR
A HDD
DVD
A VCR
VCR
A DVD
XP
SP
LP
EP
SLP
3000 MB
Please select REC MODE.
Start Dubbing?
Yes
No
Yes
No
Timer Recording is in standby.
Start Dubbing?
E3TK0FD_EN.book Page 44 Monday, March 9, 2009 10:00 AM