13 en setting the date, time and time zone, Changing the display language – Olympus FE-5035 User Manual
Page 13
13
EN
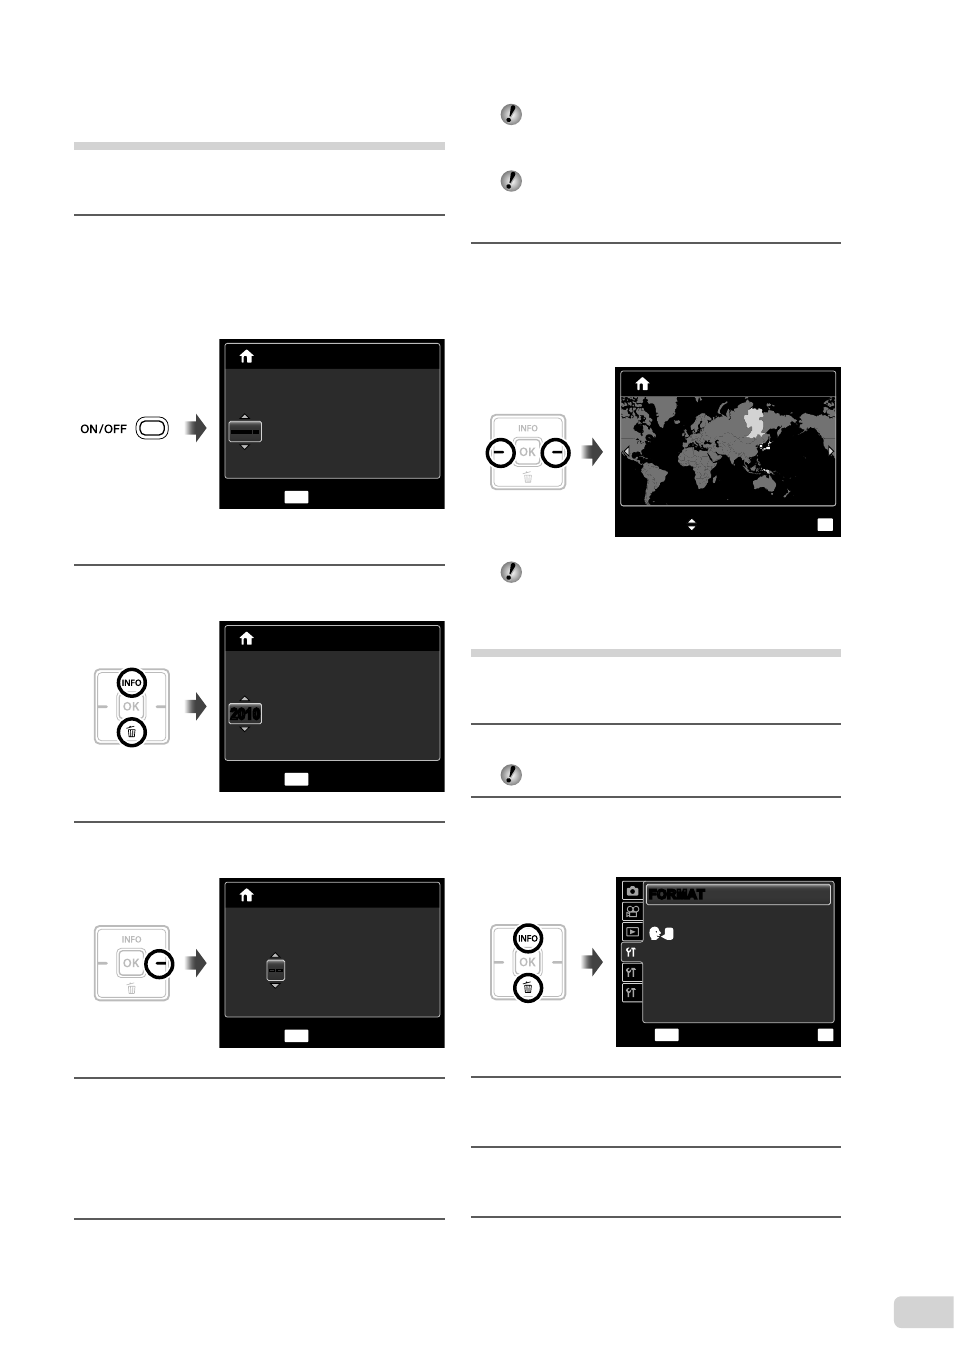
Setting the date, time and
time zone
The date and time set here are saved to image
fi le names, date prints, and other data.
1
Press the n button to turn on
the camera.
The date and time setting screen is displayed
when the date and time are not set.
X
-- -- -- --
:
.
.
Y/M/D
MENU
Y
M D
TIME
CANCEL
----
----
Date and time setting screen
2
Use
FG to select the year for [Y].
X
:
.
.
Y/M/D
MENU
Y
M D
TIME
CANCEL
2010
2010
-- -- -- --
3
Press
I to save the setting for [Y].
:
.
.
2010
X
Y/M/D
MENU
Y
M D
TIME
CANCEL
-- -- --
--
--
4
As in Steps 2 and 3, use
FGHI
and the
H button to set [M]
(month), [D] (day), [TIME] (hours
and minutes), and [Y/M/D] (date
order).
●
For a more accurate setting, press the
H button when the time signal hits
00 seconds while setting the minutes.
To change the date and time, adjust the
setting from the menu. [
X] (Date/time)
(p. 34)
5
Use
HI to select your home time
zone and press the
H button.
Use
FG to turn daylight saving time ([SUMMER])
on or off.
’10.02.26.12:30
SUMMER
OK
SET
Seoul
Tokyo
Seoul
Tokyo
The menus can be used to change the
selected time zone. [WORLD TIME] (p. 35)
Changing the display language
The language for the menu and error messages
displayed on the monitor is adjustable.
1
Display the [SETUP] menu.
“Using the Menu” (p. 4)
2
Use
FG to select the r (Settings
1) tab and then press
I.
1
2
3
MENU
OK
SET
EXIT
SAVE SETTINGS
NO
BACKUP
ENGLISH
RESET
USB CONNECTION
STORAGE
q POWER ON
NO
FORMAT
FORMAT
3
Use
FG to select [W] and press
the
H button.
4
Use
FGHI to select your
language and press the
H button.
5
Press the
m button.
●