Erasing images, Saving print settings to the image data, 1 en – Olympus µ 1040 User Manual
Page 31: Erasing images [ d erase
1
EN
Make the settings for the functions while referring to “Using the Menu” (p. 3).
Erasing images [
D ERASE]
D ERASE
Before erasing, check that no important data
will be erased.
Submenu 1
Application
SEL. IMAGE
Images are individually selected
and erased.
ALL ERASE
All images in the internal memory
or card are erased.
To individually select and erase
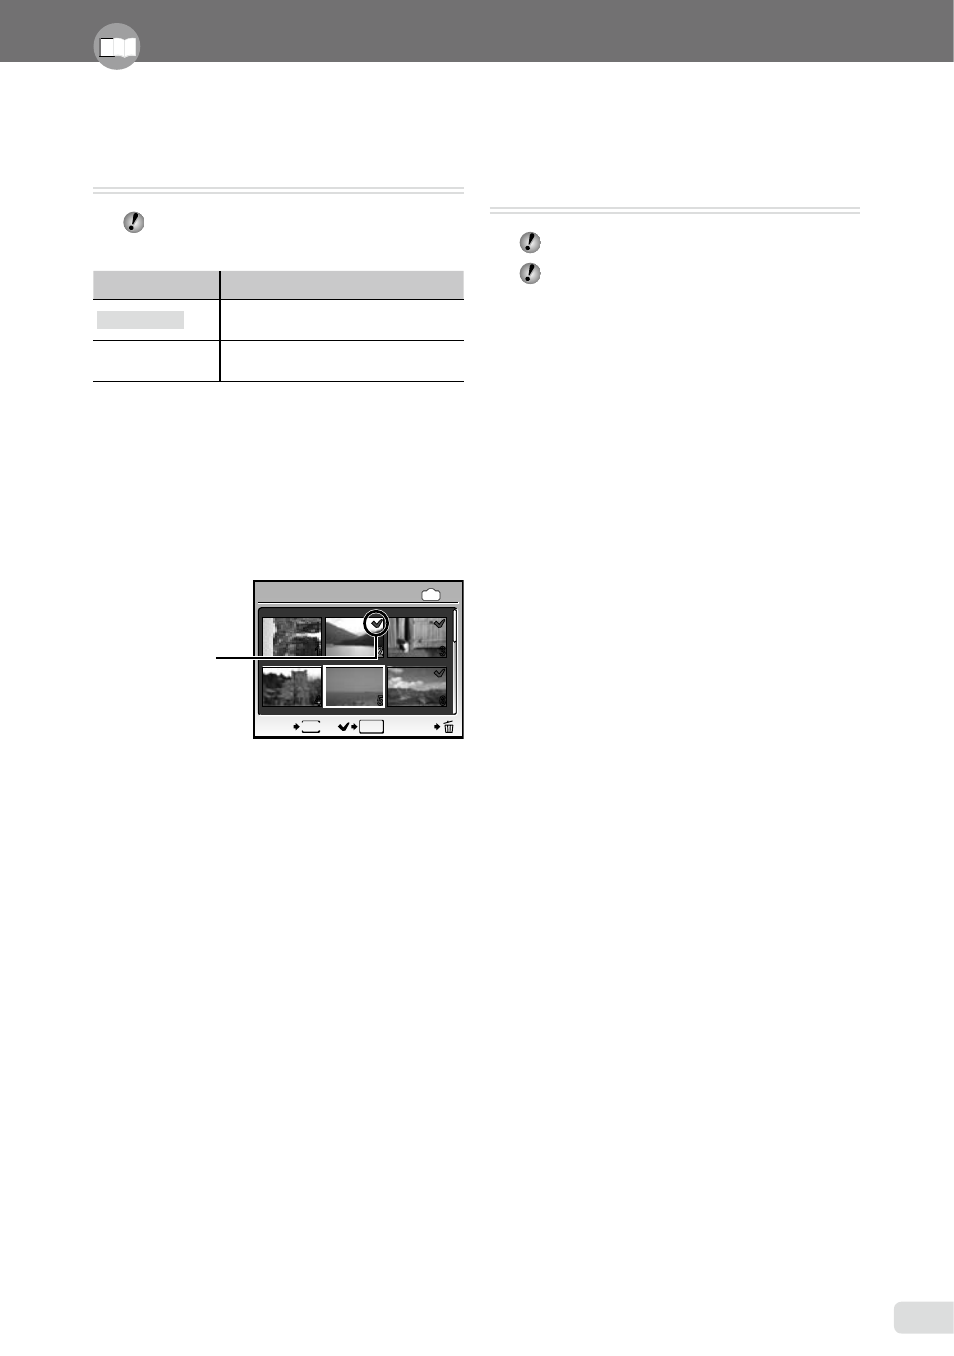
images [SEL. IMAGE]
1
Use
CE
to select [SEL. IMAGE], and
press the x button.
2
Use
CEFD
to select the image to be
erased, and press the x button to add a
R
mark to the image.
3
Repeat Step 2 to select the images to be
erased, and then press the J button to
erase the selected images.
4
Use
CE
to select [YES], and press the
x
button.
The images with a R mark are erased.
To erase all images [ALL ERASE]
1
Use
CE
to select [ALL ERASE], and
press the x button.
2
Use
CE
to select [YES], and press the
x
button.
●
Saving print settings to the image data
[
< PRINT ORDER]
<
PRINT ORDER
“Print reservations (DPOF)” (p. 40)
Print reservation can be set only for still
images that are recorded to the card.
1
4
2
5
3
6
IN
OK
MENU
BACK
GO
SEL. IMAGE
R
mark