48 en – Olympus SP-820UZ User Manual
Page 48
48 EN
To make the detailed printer settings
To make the detailed printer settings
1
Use
FGHI to select the setting, and press the
A button.
Submenu 5
Submenu 6
Application
0 to 10 This selects the number Date With/ Selecting [With] prints the File Name With/ Selecting [With] prints the P (Proceeds to This selects a portion of the To crop an image [ To crop an image [ P P]] 1 Use the zoom lever to select the size of the cropping FGHI to move the frame, and then press the A button. Cropping frame MENU Back 2 Use FG to select [OK], and press the A button. 9 If necessary, repeat Steps 7 and 8 to select 10 Press the A button. Print Cancel MENU Print Back 11 Use FG to select [Print], and press the A button. ● Printing starts. ● When [Option Set] is selected in [All Print] mode, ● When printing is fi nished, the [Print Mode Select] Multi Print Print Order All Index All Print Print Print MENU Print Mode Select Back To cancel printing To cancel printing 1 Press the button while [Do Not Remove USB Cable] is displayed. 2 Select [Cancel] using FG and then press the A button. 12 Press the button. 13 When the message [Remove USB Cable] is
of prints.
Without
images with the date.
Selecting [Without] prints
the images without the
date.
Without
fi le name on the image.
Selecting [Without] does
not print any fi le name on
the image.
the setting
screen.)
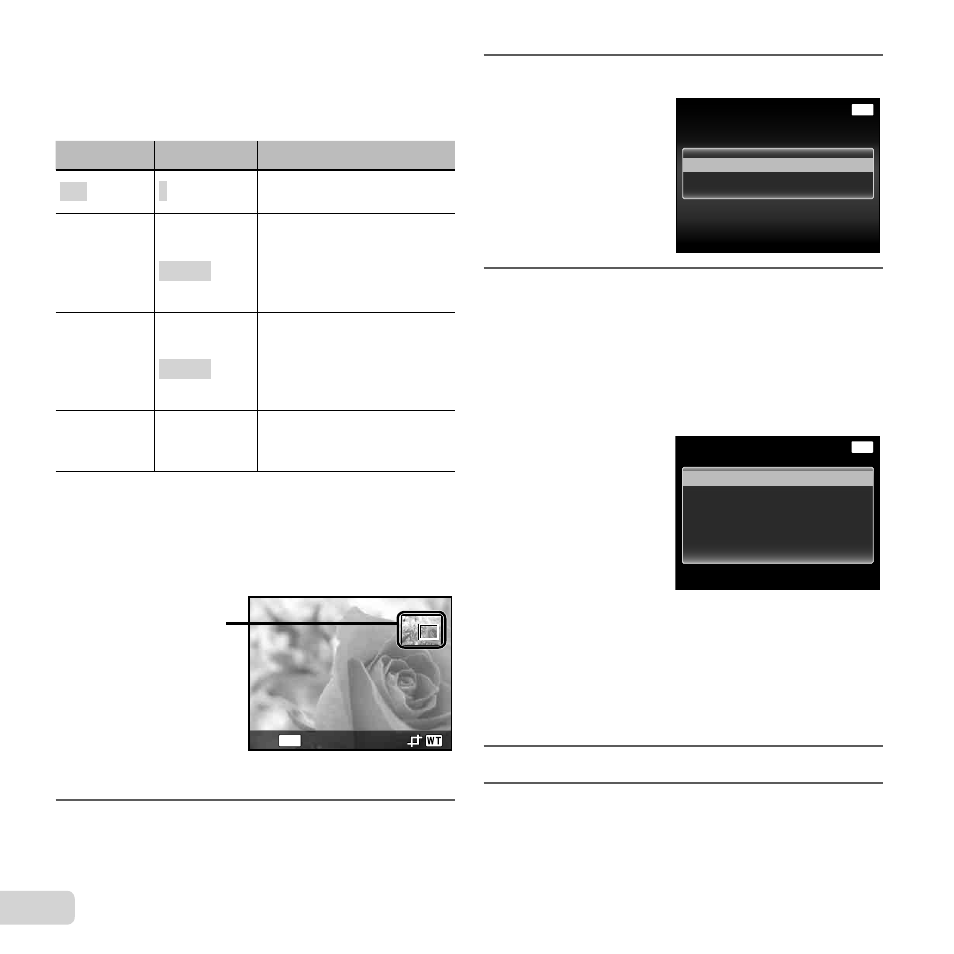
image for printing.
frame, use
the image to be printed, make the detailed
settings, and set [Single Print].
[Print Info] screen is displayed.
screen is displayed.
displayed, disconnect the USB cable from the
camera and printer.