Setting priority levels (priority) – Olympus DS-5000 User Manual
Page 45
45
3
Performing the Setting from the Menu
1
Choose the file which you would like to
set the Priority level for.
2
Select [Priority] from the [File Menu]
screen and press
OK/MENU or the 9
button.
3
Press the
+
or
–
button to choose
between [Set] and [Cancel], then press
OK/MENU button.
[Set]...High Level.
[Cancel]...Normal Level.
Setting Priority Levels (Priority)
Setting Priority Le
vels
029
/ 030
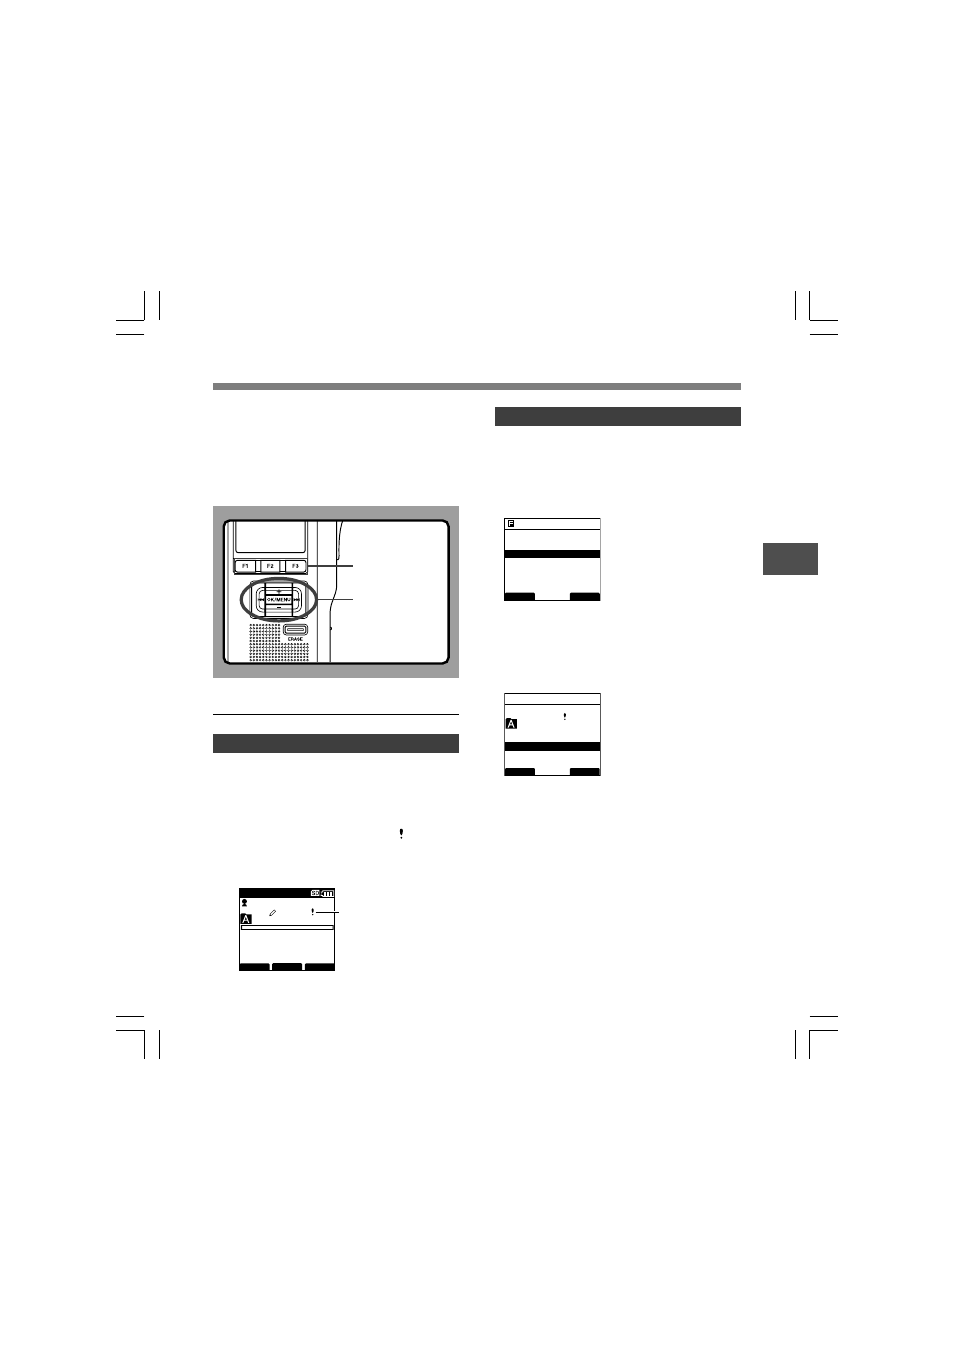
FOLDER
PRIOR
INFO
MIKE
QP DICT
0
H
00
M
00
s
15
H
22
M
40
s
a
BACK
EXIT
File Menu
Pending
Lock
Priority
Work Type
029
/ 030
BACK
EXIT
E
Priority
Set
Cancel
F2 button
a Priority indicator
By default, F2 button is programmed with
Priority function. The setting can also be
performed from the menu.
You can set a priority level on each file
recorded. You can choose between “HIGH”
and “NORMAL” The default is Normal level.
To Set a Priority Level on a File
To Set the F2 (PRIOR) Button
1
Select the file you want to perform the
setting on and press the
F2(PRIOR)
button.
Each time the F2(PRIOR) button is pressed the
Priority level will change (HIGH/NORMAL). When
the HIGH level setting is selected, will appear
on the display.
Perform the setting in the same manner after
creating a NEW file.
OK/MENU,
+
,
–
,
9 button