Creating an index of 9 frames from a movie, Extracting a clip from a movie, Protecting images – Olympus µ-7000 User Manual
Page 35: Rotating images, 35 en, Extracting a clip from a movie [edit] i, Protecting images [ 0 ] j, Rotating images [ y ] j
35
EN
Refer to “Using the Menu” (p. 3) when adjusting the settings of these functions.
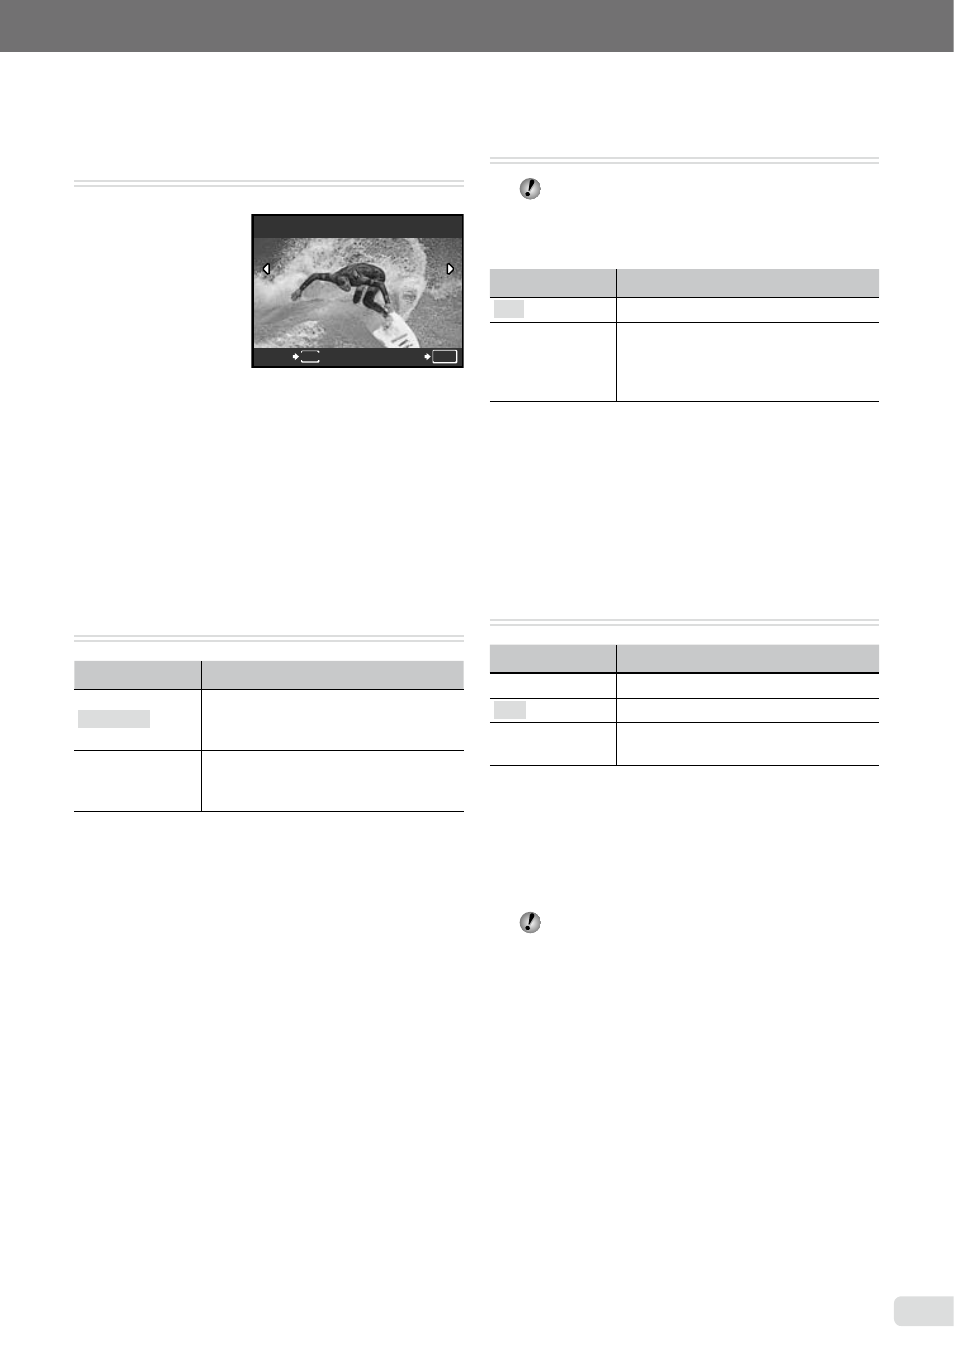
Creating an index of 9 frames from a
movie [INDEX]
I
EDIT INDEX
INDEX
SET
OK
MENU
BACK
1
Use NO to select a movie, and press the E
button.
2
Use LMNO to select the first frame, and
press the E button.
3
Use LMNO to select the last frame, and
press the E button.
Nine frames are extracted from a movie and
saved as a new still image (INDEX).
Extracting a clip from a movie [EDIT]
I
EDIT EDIT
Submenu 2
Application
NEW FILE
The original movie is left unchanged,
and a clip from the movie is saved as
a separate movie.
OVERWRITE
A portion of the original movie
overwrites and replaces the original
movie.
1
Use NO to select a movie.
2
Use LM to select either [NEW FILE] or
[OVERWRITE] and press the E button.
3
Use NO to select the first frame of the clip to
be extracted, and press the E button.
While selecting the first or last frame, pressing
LM
moves to the first/last frame of the movie.
4
Use NO to select the last frame of the clip to
be extracted, and press the E button.
The extracted movie clip is saved.
●
●
●
Protecting images [
0]
J
PLAYBACK MENU 0
Protected images cannot be erased by
[ERASE] (p. 16), [SEL. IMAGE], or [ALL
ERASE] (p. 36), but all images are erased by
[MEMORY FORMAT]/[FORMAT] (p. 37).
Submenu 2
Application
OFF
Images can be erased.
ON
Images are protected so that
they cannot be erased except by
formatting of the internal memory/
card.
1
Use NO to select an image.
2
Use LM to select [ON].
3
If necessary, repeat Steps 1 and 2 to
protect other images.
4
Press the E button.
Rotating images [y]
J
PLAYBACK MENU y
Submenu 2
Application
U
+90°
The image is rotated 90° clockwise.
V
0°
The image is not rotated.
t
–90°
The image is rotated 90°
counter-clockwise.
1
Use NO to select an image.
2
Use LM to select the rotation direction.
3
If necessary, repeat Steps 1 and 2 to
protect other images.
4
Press the E button.
The new picture orientations will be saved
even after the power is turned off.