Print in g pic tures, Select [print], and press – Olympus FE-340 User Manual
Page 34
in
g
pic
tures
34
EN
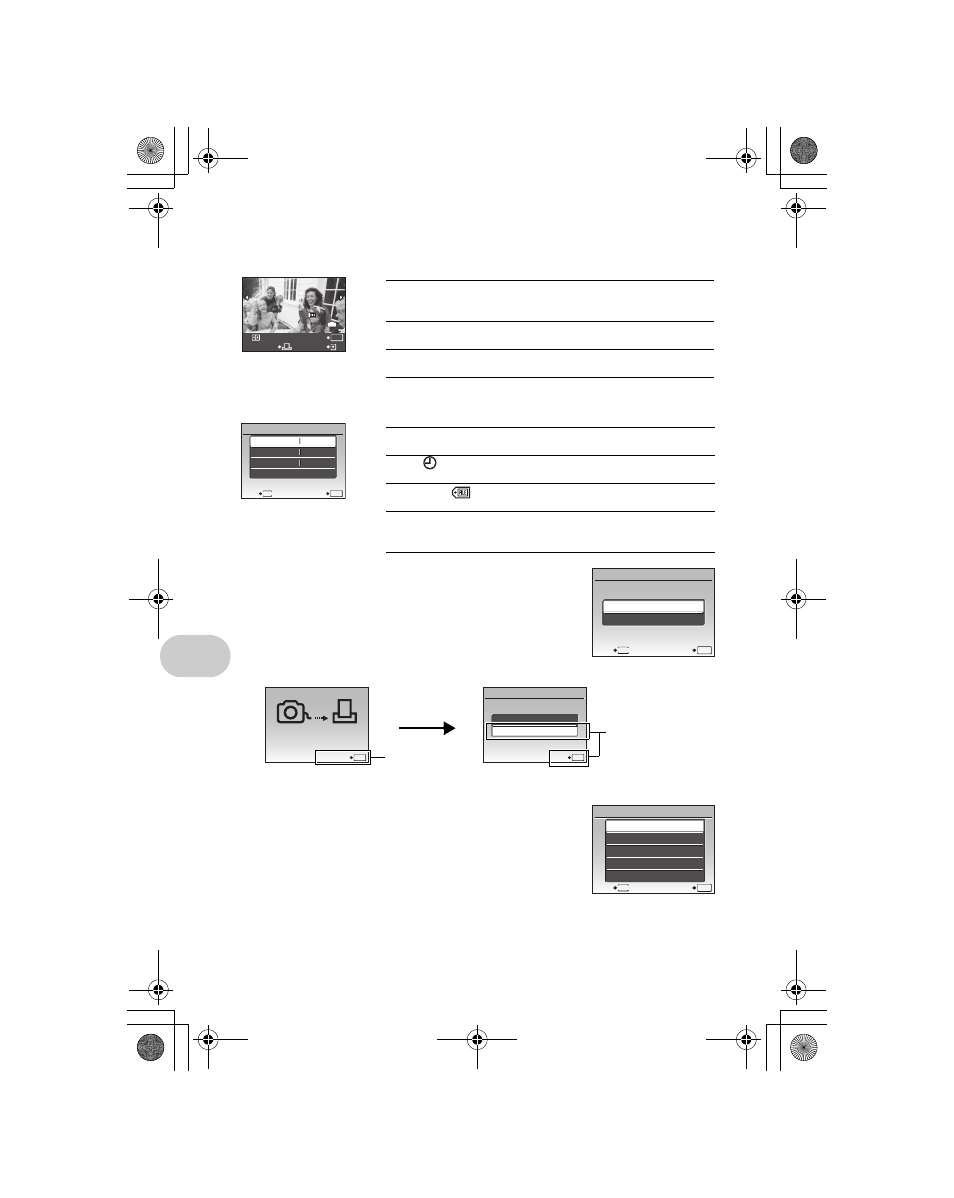
Press XY to select the picture you want to print. You can also turn the zoom lever and select a picture from
the index display.
4
Select [PRINT], and press
.
• Printing starts.
• When [OPTION SET] is selected in [ALL PRINT] mode, [PRINT
INFO] screen is displayed.
• When printing is finished, the [PRINT MODE SELECT] screen is
displayed.
To cancel printing
5
In the [PRINT MODE SELECT] screen, press
m.
• A message is displayed.
6
Disconnect the USB cable.
Selecting the picture to print
Setting the number of prints and data to be printed
Prints one copy of the displayed picture. When
[SINGLE PRINT] or [MORE] has been selected,
a single copy or multiple copies are printed.
SINGLE PRINT
Makes a print reservation for the displayed
picture.
MORE
Sets the number of prints and data to be printed
for the displayed picture.
100-0004
100-0004
MORE
OK
SINGLEPRINT
4
4
IN
<×
Sets the number of prints. You can select up
to 10 prints.
DATE (
)
If you select [WITH], pictures are printed with
the date.
FILE NAME (
)
If you select [WITH], pictures are printed with
the file name.
P
Use the arrow pad and zoom lever, adjust the
location and size of the trimming frame, then
press
to print the cropped picture.
MENU
PRINT INFO
1
WITHOUT
WITHOUT
EXIT
SET
OK
< x
DATE
FILE NAME
P
MENU
CANCEL
BACK
SET
OK
Screen during data
transfer
Press
Select [CANCEL],
and press
.
CONTINUE
CANCEL
SET
OK
CANCEL
OK
TRANSFERRING
MENU
PRINT MODE SELECT
ALL PRINT
MULTI PRINT
ALL INDEX
PRINT ORDER
EXIT
SET
OK
d4362_63_e_0000_7.book Page 34 Tuesday, November 13, 2007 8:43 PM