39 en, Protecting images [ protecting images, Rotating images [ rotating images [ y y – Olympus T-110 User Manual
Page 39
39
EN
For information on using the menus, see “Using the Menu” (p. 4).
To individually select and erase images
To individually select and erase images
[SEL. IMAGE]
[SEL. IMAGE]
1
Use
FG to select [SEL. IMAGE], and press the
H button.
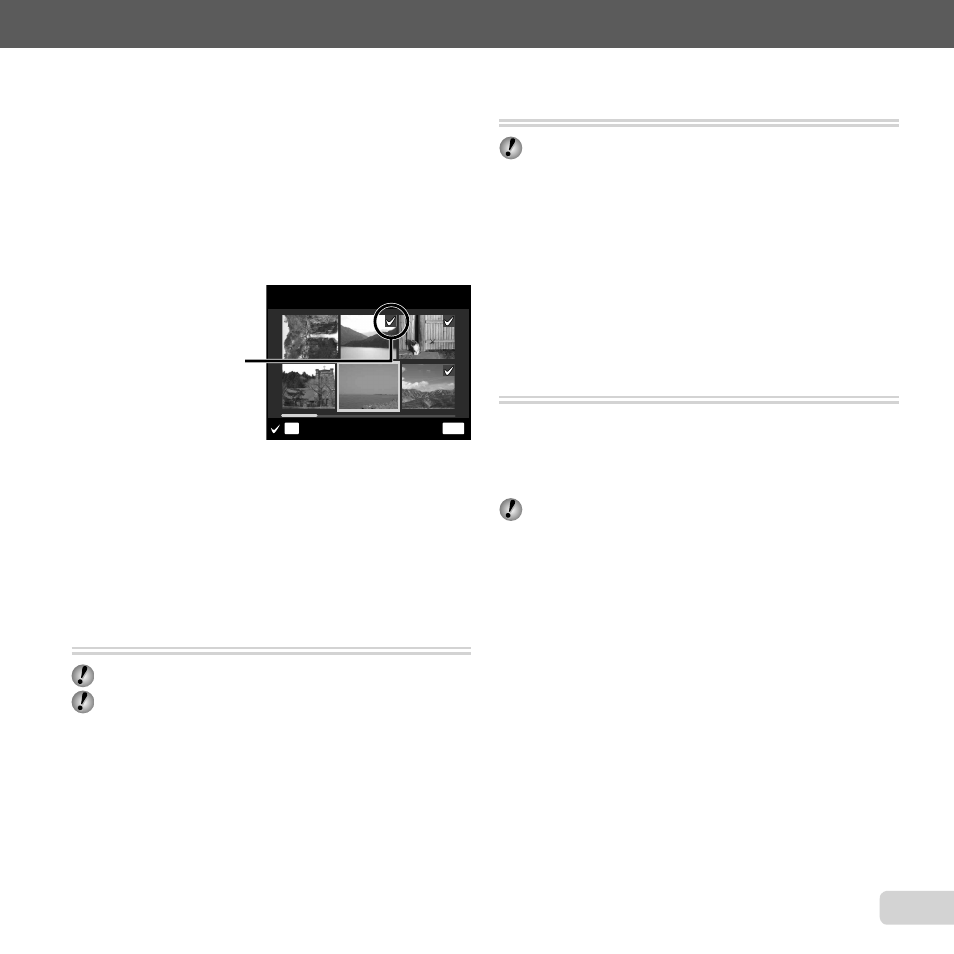
2
Use
HI to select the image to be erased, and press
the
H button to add a R mark to the image.
Press the W zoom button to display an index view.
Images can be quickly selected using
FGHI.
Press the T button to return to the single frame
display.
MENU
OK
SEL. IMAGE
ERASE/CANCEL
R mark
3
Repeat Step 2 to select the images to be erased,
and then press the
m button to erase the selected
images.
4
Use
FG to select [YES], and press the
H button.
The images with a R mark are erased.
Saving print settings to the image data
Saving print settings to the image data
[PRINT ORDER]
[PRINT ORDER]
q (Playback menu) X PRINT ORDER
“Print Reservations (DPOF)” (p. 50)
Print reservation can be set only for still images that
are recorded to the card.
●
●
Protecting images [
Protecting images [?
?]]
q (Playback menu) X ?
Protected images cannot be erased by [ERASE]
(p. 24, 38), [SEL. IMAGE], or [ALL ERASE] (p. 38),
but all images are erased by [MEMORY FORMAT]/
[FORMAT] (p. 40).
1
Use
HI to select an image.
2
Press the
H button.
Press the
H button again to cancel the settings.
3
If necessary, repeat Steps 1 and 2 to protect other
images, and press the
m button.
Rotating images [
Rotating images [y
y]]
q (Playback menu) X y
1
Use
HI to select an image.
2
Press the
H button to rotate the image.
3
If necessary, repeat Steps 1 and 2 to make settings
for other images, and press the
m button.
The new picture orientations will be saved even after
the power is turned off.
●