Built-in flash shooting – Olympus E-520 User Manual
Page 73
73
EN
7
Flash shooting
If you shoot a subject using a lens that is wider than 14 mm (equivalent to 28 mm on a 35 mm
film camera), the light emitted by the flash may produce a vignette effect. Whether or not
vignetting occurs also depends on lens type and shooting conditions (such as distance to the
subject).
1
Press the
# button to raise the built-in
flash.
• The built-in flash will pop up automatically
and fire in low light conditions under the
following modes.
AUTO/
i/&///B/U/G/J/r/g
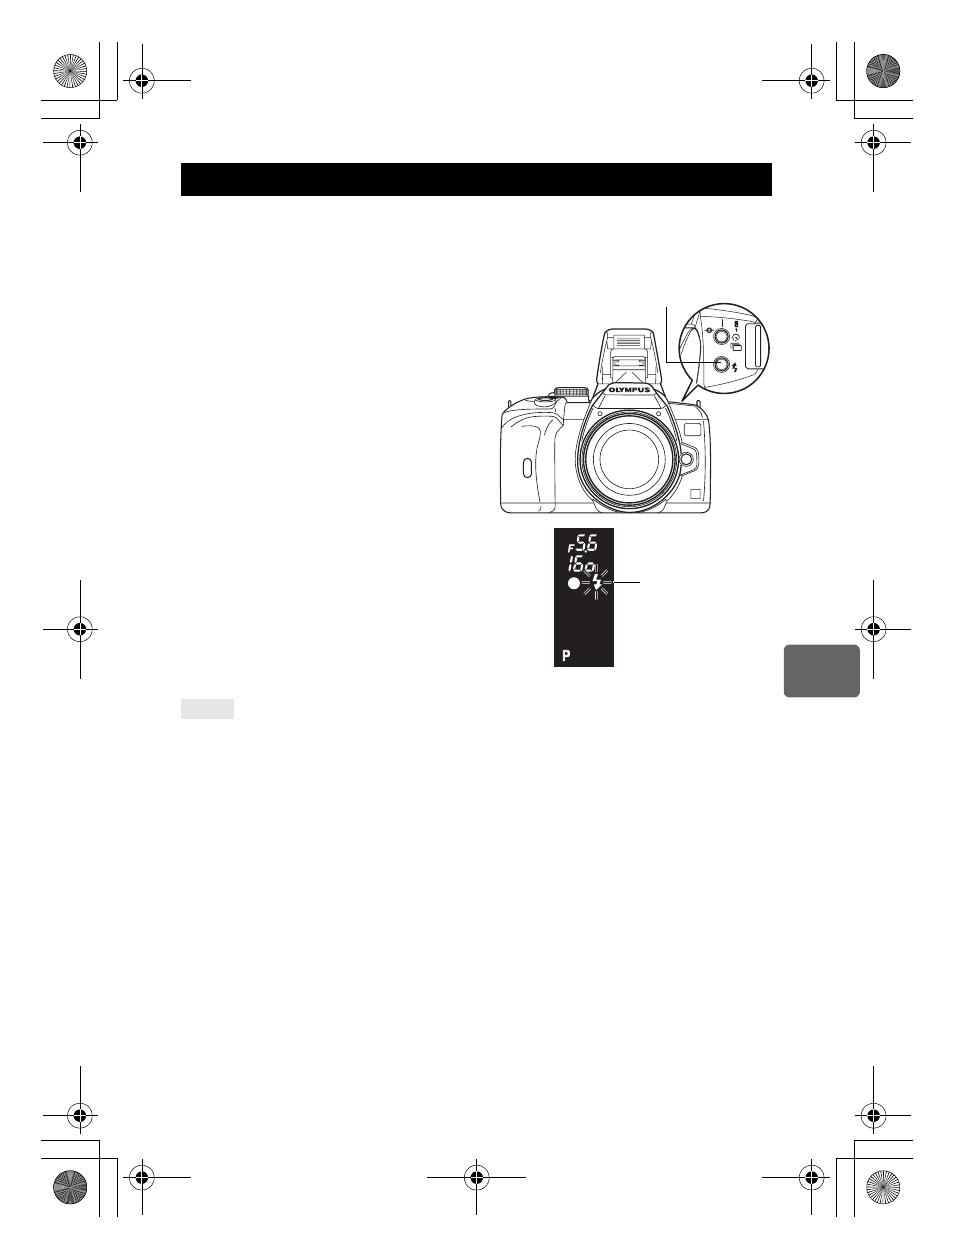
2
Press the shutter button halfway.
• The
# (flash stand-by) mark lights when the
flash is ready to fire. If the mark is blinking, the
flash is charging. Wait until charging is complete.
3
Press the shutter button all the way.
When you do not want the flash to pop up automatically:
j Set [AUTO POP UP] to [OFF]. g“AUTO POP UP” (P. 95).
To shoot without having to wait for the flash to finish charging:
j See “RLS PRIORITY S/RLS PRIORITY C” (gP. 93)
x
Notes
• When [
#RC MODE] is set to [ON], the built-in flash will fire only to communicate with the
external flash so it will not function as a flash.
g“Shooting with the Olympus wireless RC
flash system” (P. 76)
Built-in flash shooting
TIPS
# button
Viewfinder
Flash stand-by mark
s0018_e_00_0_unified.book Page 73 Tuesday, March 18, 2008 4:08 PM