4 installing the esd ceiling speaker, 1 choosing the best location, 2 the input pinout – Kramer Electronics SPK-C800-PRO User Manual
Page 8: Installing the esd ceiling speaker, Choosing the best location, The input pinout, Figure 3: esd ceiling speaker input pinout, N 4.2, 4installing the esd ceiling speaker
6
ESD Ceiling Speaker - Installing the ESD Ceiling Speaker
4
Installing the ESD Ceiling Speaker
This section explains how to install the ESD Ceiling Speaker, that is:
•
Choosing the best place to locate your speaker (see
Section 4.1
•
Connecting the wires (see
Section 4.2
•
Determining the number of speakers (see
Section 4.3
•
Preparing the speaker for operation (see
Section 4.4
•
Installing the tile size speaker (see
Section 4.5
•
Installing the half-tile size speaker (see
Section 4.6
4.1
Choosing the Best Location
Ideally, locate the speakers above the main listening area. Before doing so, be
sure that:
•
The desired location is free of obstructions, such as electrical piping,
AC ducts or water lines, and so on
•
There is enough space behind the mounting surface for the speaker
•
The rear side of the speaker is not blocked by wall studs or other objects
4.2
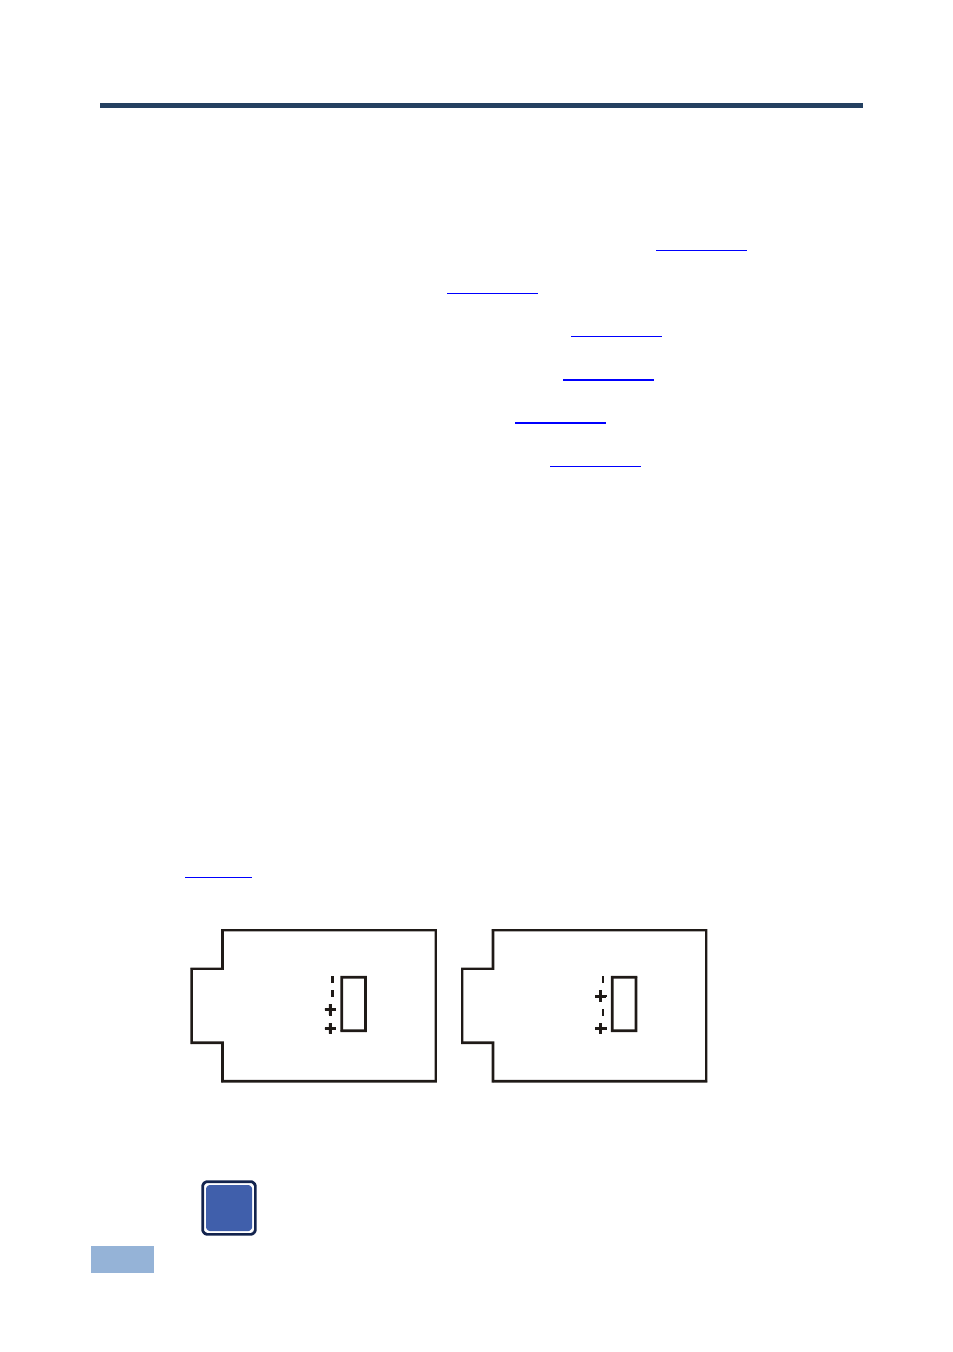
The Input Pinout
illustrates the terminal block pinout for mono and stereo models
respectively:
Figure 3: ESD Ceiling Speaker Input Pinout
The red wire connects to the + pin and the black wire connects to
the – pin.
Mono Model Pinout
Stereo Model Pinout
IN
P
U
T
R
L
IN
PU
T
i