Rugged Ridge 2-Inch Lift Kit with Shocks, 04-06 Jeep Wrangler Unlimited (LJ) User Manual
Page 4
and replace the lower links with new Rugged Ridge extended links (one side at a time). See
picture #9. Only start these bolts and nuts, do not tighten at this time. NOTE: so that the links
may be greased while on the vehicle, install them with the zirc fittings positioned as follows: front
eye of link has fitting pointing out the end, rear eye of link should have the fitting pointing down.
Once both links are installed, tighten each lower link being sure to realign the marks on the
eccentric cams. Thoroughly grease all zirc fittings.
12. Place a jack under transfer case crossmember and remove the 4 screws that mount the transfer
case pivot assembly from the body of vehicle (it will
be necessary to roll floor mat back to gain access to
bolts).
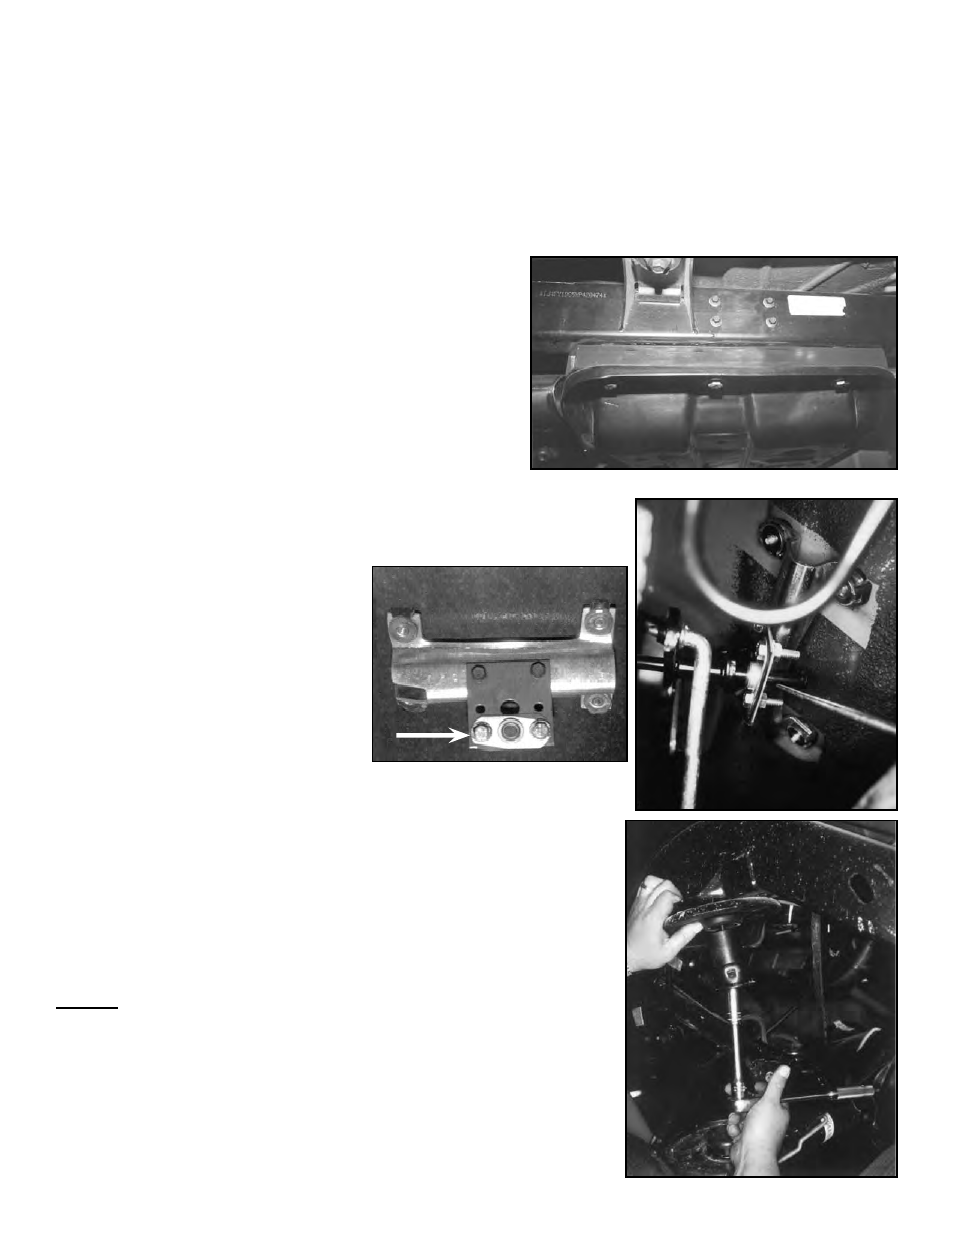
13. Remove the 3 bolts on each side of transfer case
skid plate and lower down enough to install new
square tube spacers between skid plate and frame.
1997-02 models use the flat socket head tapered
bolts supplied. (2003-06 models will use the 12mm
bolts and washers supplied). Also apply a few
drops of supplied thread lock compound on bolt threads prior to
installing. Tighten bolts to 75-80 ft.lbs. (Picture #10)
* On 2003-06 models, also remove
the 2 engine skid plate bolts.
Install the small square tube
spacers at the mounting points
on the frame rails, along with
the 12mm bolts supplied. 2.5”
kits will use the 1” square tube
spacers. 4” kits will use the
1.5” spacer.
14. Install the new transfer case linkage pivot drop bracket to stock
pivot bracket using stock screws. Using the two
1
/
4
x 1" bolts with
a flat washer and self-locking nut, bolt the ball swivel bracket
(arrow in picture #11) to new drop bracket (bracket now has 2
sets of holes: bottom holes for 4" lift as shown, or next to bottom
for 2
1
/
2
" lift). Placing pivot bracket back in location, start end of
rod through ball swivel. Now bolt bracket back into location with
original hardware (picture #12).
REAR:
1. Place a floor jack under rear axle and raise vehicle. Place jack
stands under the frame ahead of lower link bracket to support
vehicle and remove the rear tires and shock absorbers.
2. Remove rear track bar and sway bar end link bolts at axle
housing. Lower rear axle down to remove coil springs.
4
picture #11
picture #12
picture #10
picture #13
‹