Rugged Ridge 2.5-Inch Lift Kit without Shocks, 87-95 Jeep Wrangler (YJ) User Manual
Page 2
Pg 2
FroNt:
2. Open the hardware bag and apply a thin coat of lithium-based grease around the polyurethane
bushings and insert into each eye of the new front springs then apply a thin coat on the outside of
bushings. Insert the metal sleeves into the springs eyes.
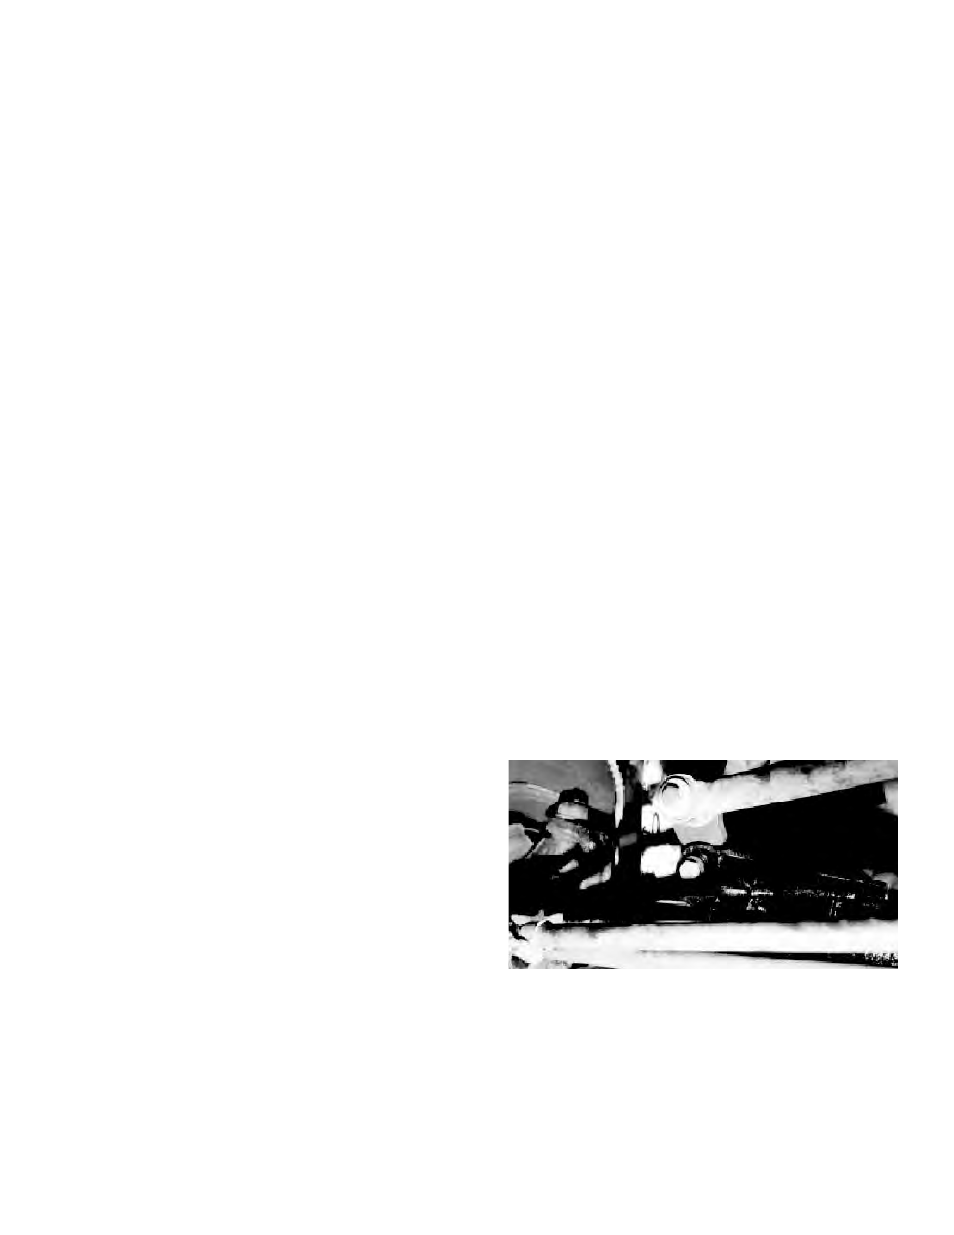
3. Raise front of vehicle and support securely with jack stands under the frame behind front springs
and block the rear wheels. Remove the tires, shocks, u-bolts (Caution: once the u-bolts are
removed, the front axle will be free to move, so support securely on a floor jack). If a drop pitman
arm was purchased (needed with 4" lifts, disconnect the tie rod from the original pitman arm, and
install new arm (refer to instructions included with drop pitman arm).
4. Unbolt each end of the original front leaf springs and remove both springs from vehicle. If new
shackle bushings were purchased, grease and install them at this time. Install the new springs
with small eye toward the front bumper . (Note: It is important to Not tighten the spring
and shackle bolts at this time. If springs are tightened, with no load being applied on the
springs, a false lift and stiff ride will result. these bolts will be tightened later once the
vehicle is on the ground.)
5. While still supporting the front axle with the floor jack, lower axle down to the leaf springs. Be
certain the tie bolt heads align and fit into the holes in the axle housing. Install the new u-bolts
included and tighten them to 90 ft.lbs. Install tires and lower vehicle to the ground.
2-2.5" Lifts, skip step 6.
6. On 4" kits, a front track bar (pan hard rod) relocation bracket is required. This bracket is packaged
separately with its own metric hardware (top of bracket is wide end with slotted hole, and offset
should bend toward the front bumper over the original mounting tab). To install bracket, unbolt
the factory track bar from the original bracket on axle (save the original nut to re-use). Place
the bottom of new bracket just behind the original bracket on axle with a washer between the
brackets, then insert the shorter metric bolt from the front going through the original bracket, then
the washer, and next through the new bracket. Now install the new nut and tighten. Hook up track
bar by first putting a washer on the new longer metric bolt and insert bolt though track bar (from
the front), then through the slotted hole on new bracket. Tighten using the original nut.
Note: Be certain vehicle is on the ground and that
vehicle weight is on the springs.
7. Tighten the track bar (pan hard rod) bolts (on 4"
kits, this was done in step #6), and also tighten the
sway bar bolts. If a polyurethane sway bar bushing
kit was purchased, install it at this time.
reAr INstALLAtIoN:
8. Raise rear, support securely with jack stands and block the front wheels. Remove the tires,
shocks and u-bolts. (Caution: the rear axle will now be free to move, so support securely on floor
jack.)