Brocks Performance Alien Head 2 Full System 14" Muffler ZX-10R (11-14) User Manual
Page 2
Document ID 993210
Page 2 of 7
Note: A slight ovaling of the tubing can occur during the manufacturing process, this is normal.
A twisting motion may be required during assembly/disassembly.
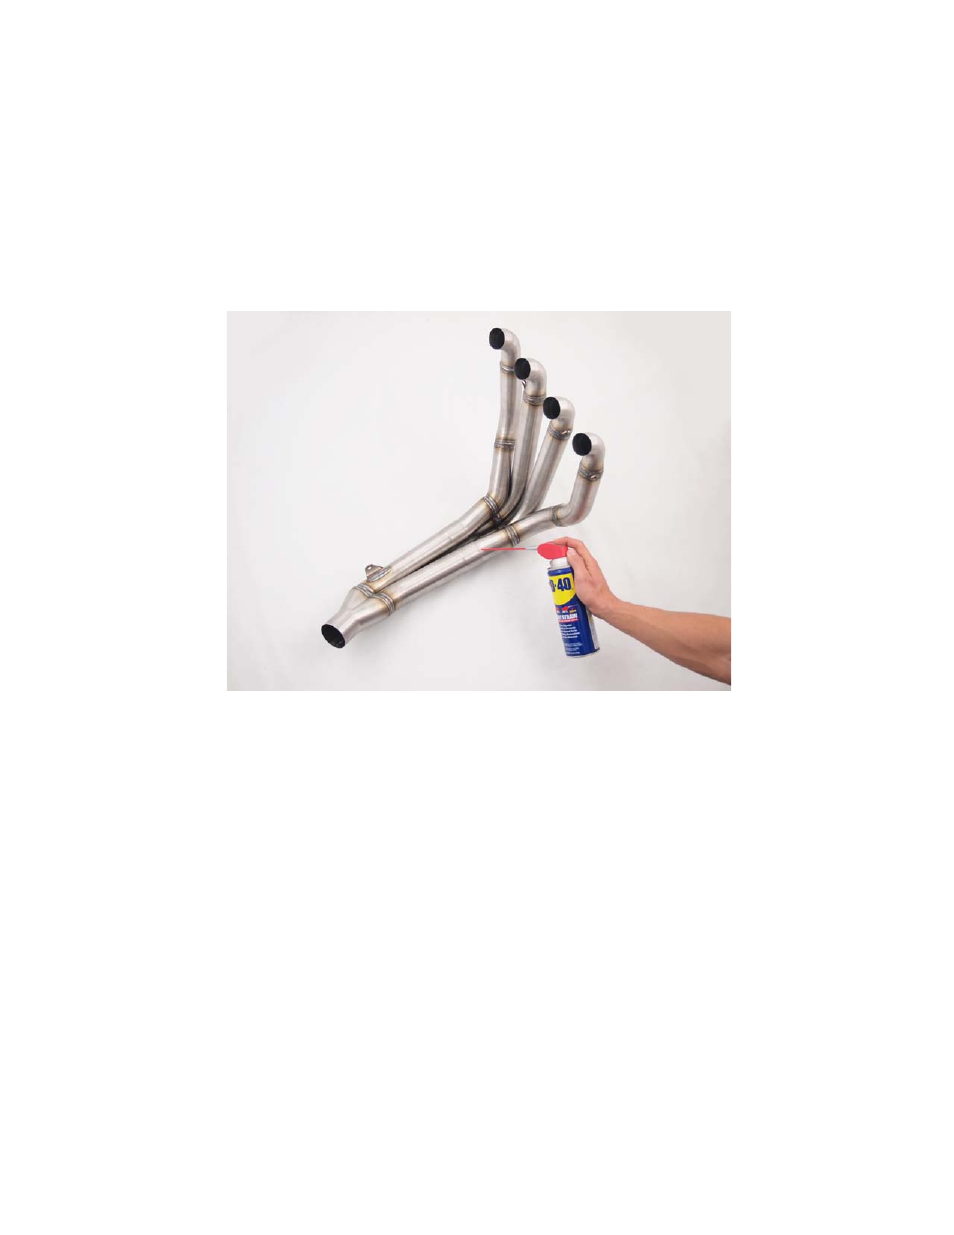
STEP 2: Pre-Assemble Headers and Collector to Ensure Proper Fit Between All
Parts:
The pre-assembled system is shown (Figure 2). Pre-assembly helps to detect any potential
shipping damage and ensures that all parts fit properly. Apply WD-40® to the pipe joints to ease
assembly, adjustment, and especially disassembly.
Figure 2
Caution: During all steps below, the fairings should remove with ease. If you
feel resistance, stop and assess the situation before continuing.
STEP 3: Remove Lower Side Fairings:
The locations of the bolts and quick rivets holding the
fairings in place are illustrated (Figure 3, 4, 5, and 6). Details are provided below:
• Two quick rivets are located in the lower nose of the front fairing, behind the front tire, and
hold the left and right panels together. Using a thin blade screwdriver lift the center of the
larger rivet head at location 1 (Figure 3) and then pull the rivet from the bodywork. Use a pin or
small hex head wrench to push the center of the smaller quick rivet inward at location 2 (Figure
3) and remove the rivet using a small flat head screwdriver. This will release the right panel
from the left panel.
• Remove the three quick rivets at location 3, 4, and 5 (Figure 4) using the previous method on
both sides.
• Remove the lower side fairing fasteners & washers at locations 6, 7, 8, & 9 (Figure 5).
• The lower side fairing is now connected to the upper side fairing and front nose fairing with
only tabs and slots (Figure 6). Gently pull the lower side fairing outward from the bike, starting
at the rear, to separate it from the front nose fairing.
• Repeat for the left side lower fairing.