Nstallation – Glastender LC84 User Manual
Page 6
Glastender, Inc. • 5400 North Michigan Road • Saginaw, MI • 48604-9780
800.748.0423 • 989.752.4275 • Fax 800.838.0888 / 989.752.4444 • www.glastender.com
3
i
nstaLLation
6. CONNECTION OF CO2 CYLINDERS
• Mount the regulator assembly conveniently near the
product supply and CO2 cylinder.
• Use either a regulator with a wall mounting bracket or
mount directly to the cylinder.
• An extension tube is mounted to the carbonator tank
with 1/4” barb fitting for ease of connection. Measure
and cut a length of 1/4” I.D. braided flexible tubing to
go from the CO2 regulator to the carbonator extension
tube (labeled C02). (Leave enough line to go through
the top cover of the unit.)
• Measure and cut 1/4” I.D. braided flexible tubing for
each syrup gas line. Connect one end to the regulator
manifold and the other end to syrup supply.
7. START-UP OF DISPENSING SYSTEM
•
Open main water supply valve.
Purge air from carbonator by lifting relief valve.
• Turn on “CARB” switch. (see fig. 3)
• Close all CO2 regulators.
• Open the valve on the CO2 cylinder. (The high pres
sure gauge will read about 800 P.S.I.)
• Adjust the carbonator regulator to 100 P.S.I.
• Operate a valve until carbonated water flows freely
(without spurting).
• Adjust the syrup regulator to 50 P.S.I.
• Adjust diet syrup regulator (if used) to 12 P.S.I.
• Check all connections for leaks.
• Insulate and tape all exposed refrigerated conduit lines.
• After refrigeration systems has cycled off once, turn on
recirculating switch. (Full ice bank is required to cool
tower.) Replace top cover.
• Follow standard brixing procedures.
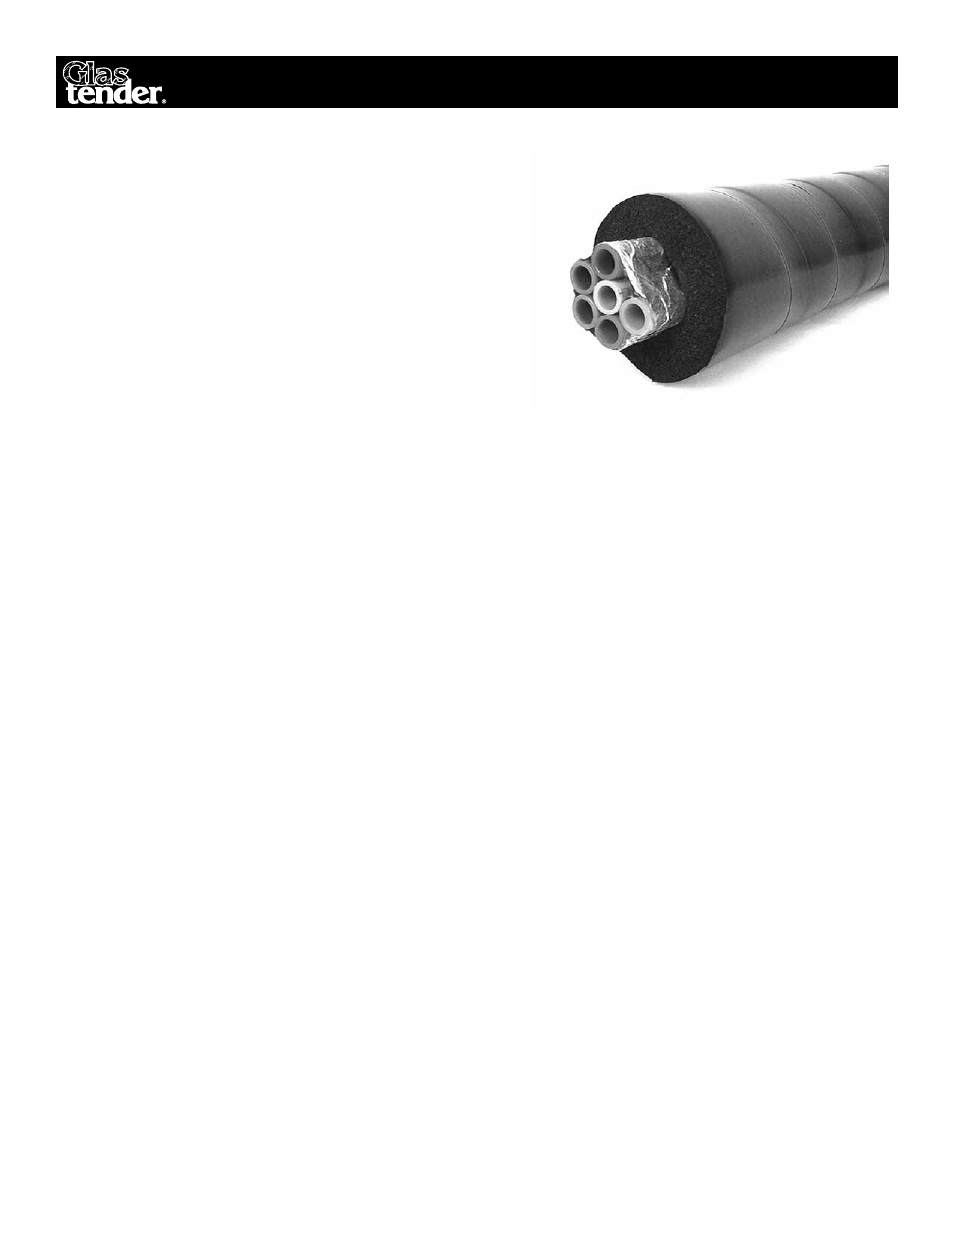
8. INSULATED CONDUIT
(Figure 5)
• The GLASTENDER TEMPLOCK insulated tube con-
duit is recommended for this remote Post-Mix applica-
tion. This manufactured conduit maximizes the cooling
performance of the system.
• Conduit may be run under floors, over ceilings, under
the counter or bar, and will not kink in an 18-inch radius
around a corner.
• When conduit is to be run across ceilings or under coun
ters, always place conduit straps every 3-ft. to prevent
sagging.
• On runs through ceilings that are also used for air con-
ditioning return ducts, check local fire codes. They may
require that the conduit be covered with a fire rated
metal flex duct.
• It is recommended that the chase protrude above the
floor level a minimum of 2 inches and should be sealed
off once the installation has been completed. By sealing
off the floor chase, you eliminate the possibility of for-
eign matter being spilled into it, which could permeate
the conduit.
Fig. 5 GLASTENDER TEMPLOCK Insulated Conduit