Calibration – Magikitch'n MKH High Efficiency Griddle User Manual
Page 11
Calibration
MKH Series Gas Griddle
L25-053 Rev. 1 (12/11)
11
22
0
1
40
22
0
1
40
250
20
0
1
50
°C
°F
250
20
0
1
00
80
120
550
260
50
0
28
0
240
450
550
1
50
°C
°F
1
00
80
120
50
0
260
28
0
CAP LINE
240
450
1
60
30
0
350
1
80
400
200
350
1
80
30
0
1
60
400
200
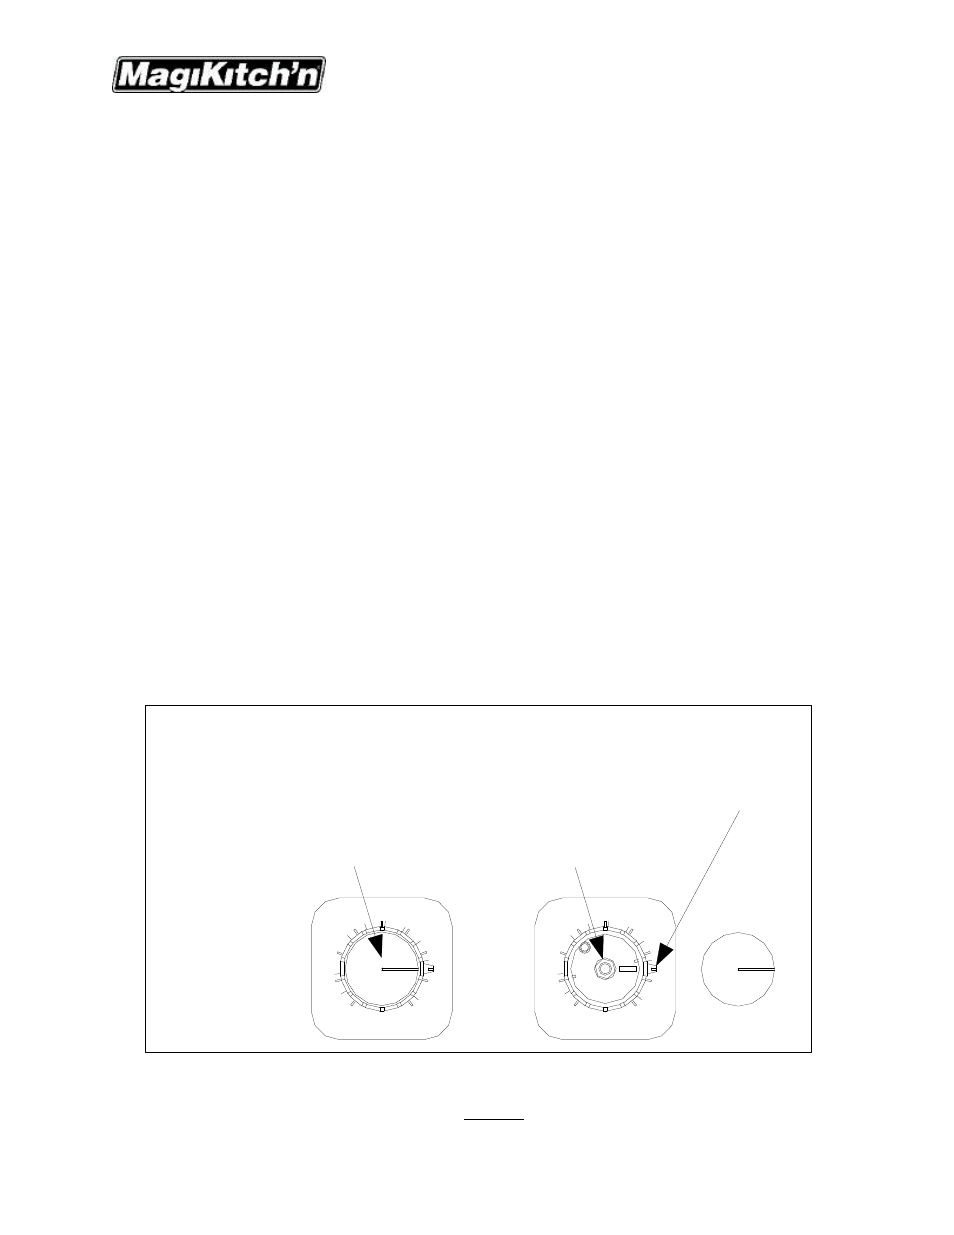
5/16" NUT
ALIGNED WITH ACTUAL TEMP.
TEMP. INDICATOR IS
ROTATE KNOB UNTIL
ON AND OFF
THIS CAP SNAPS
3. Thermostat Calibration Section
Each control typically operates a pair of burners with a Snap action, Electric or Solid State. The controls were
set at the factory. However, if the griddle’s surface temperature varies greatly from the setting on the
thermostat knob, adjust the thermostat using the following procedure:
3.1. Calibration Procedures
NOTE:
Hold the knob firmly when loosening or tightening the 5/16” locknut that holds the knob onto the
thermostat shaft to keep from changing temperature settings.
3.1.1. Solid State Thermostat
1.
Light pilots as in section 2.1.1.
2.
Set all the thermostat control knobs to the desired cooking temperatures.
3.
Wait 30 minutes (or 1 hour if griddle was cold) for surface temperature to stabilize.
4.
Place a reliable Grill surface thermometer,
or test instrument thermocouple, (able to register 550°F), In
the location above the thermostat being calibrated described in section 2.2.2.
5.
Check the temperature at each location every 5 minutes, and repeat until the temperature stabilizes
and does not change by more than 20°F over a 15 minute time period. You will need to remember the
average temperature for the following steps.
6.
If the thermostat is not operating with 10°F of the temperature set point, you may need to adjust the
control.
7.
To adjust the control, carefully remove the cap on the thermostat knob, See Figure 9, set cap aside.
8.
While holding the knob, loosen the 5/16" nut on the thermostat shaft, (DO NOT REMOVE).
9.
Once the knob is loosened from the thermostat shaft, rotate the knob so that the white indicator line of
the knob is aligned with the actual temperature that you monitored in step 5.
10.
Re-tighten the 5/16" nut while holding the knob in position, (do not allow the stem to turn or the
temperature setting will not be accurate).
11.
Set the control to the desired temperature and monitor as in step 5, readjust temperature control as
needed until desired temperature is achieved.
12.
Make sure the control knob is secured, replace cap.
Figure 9